


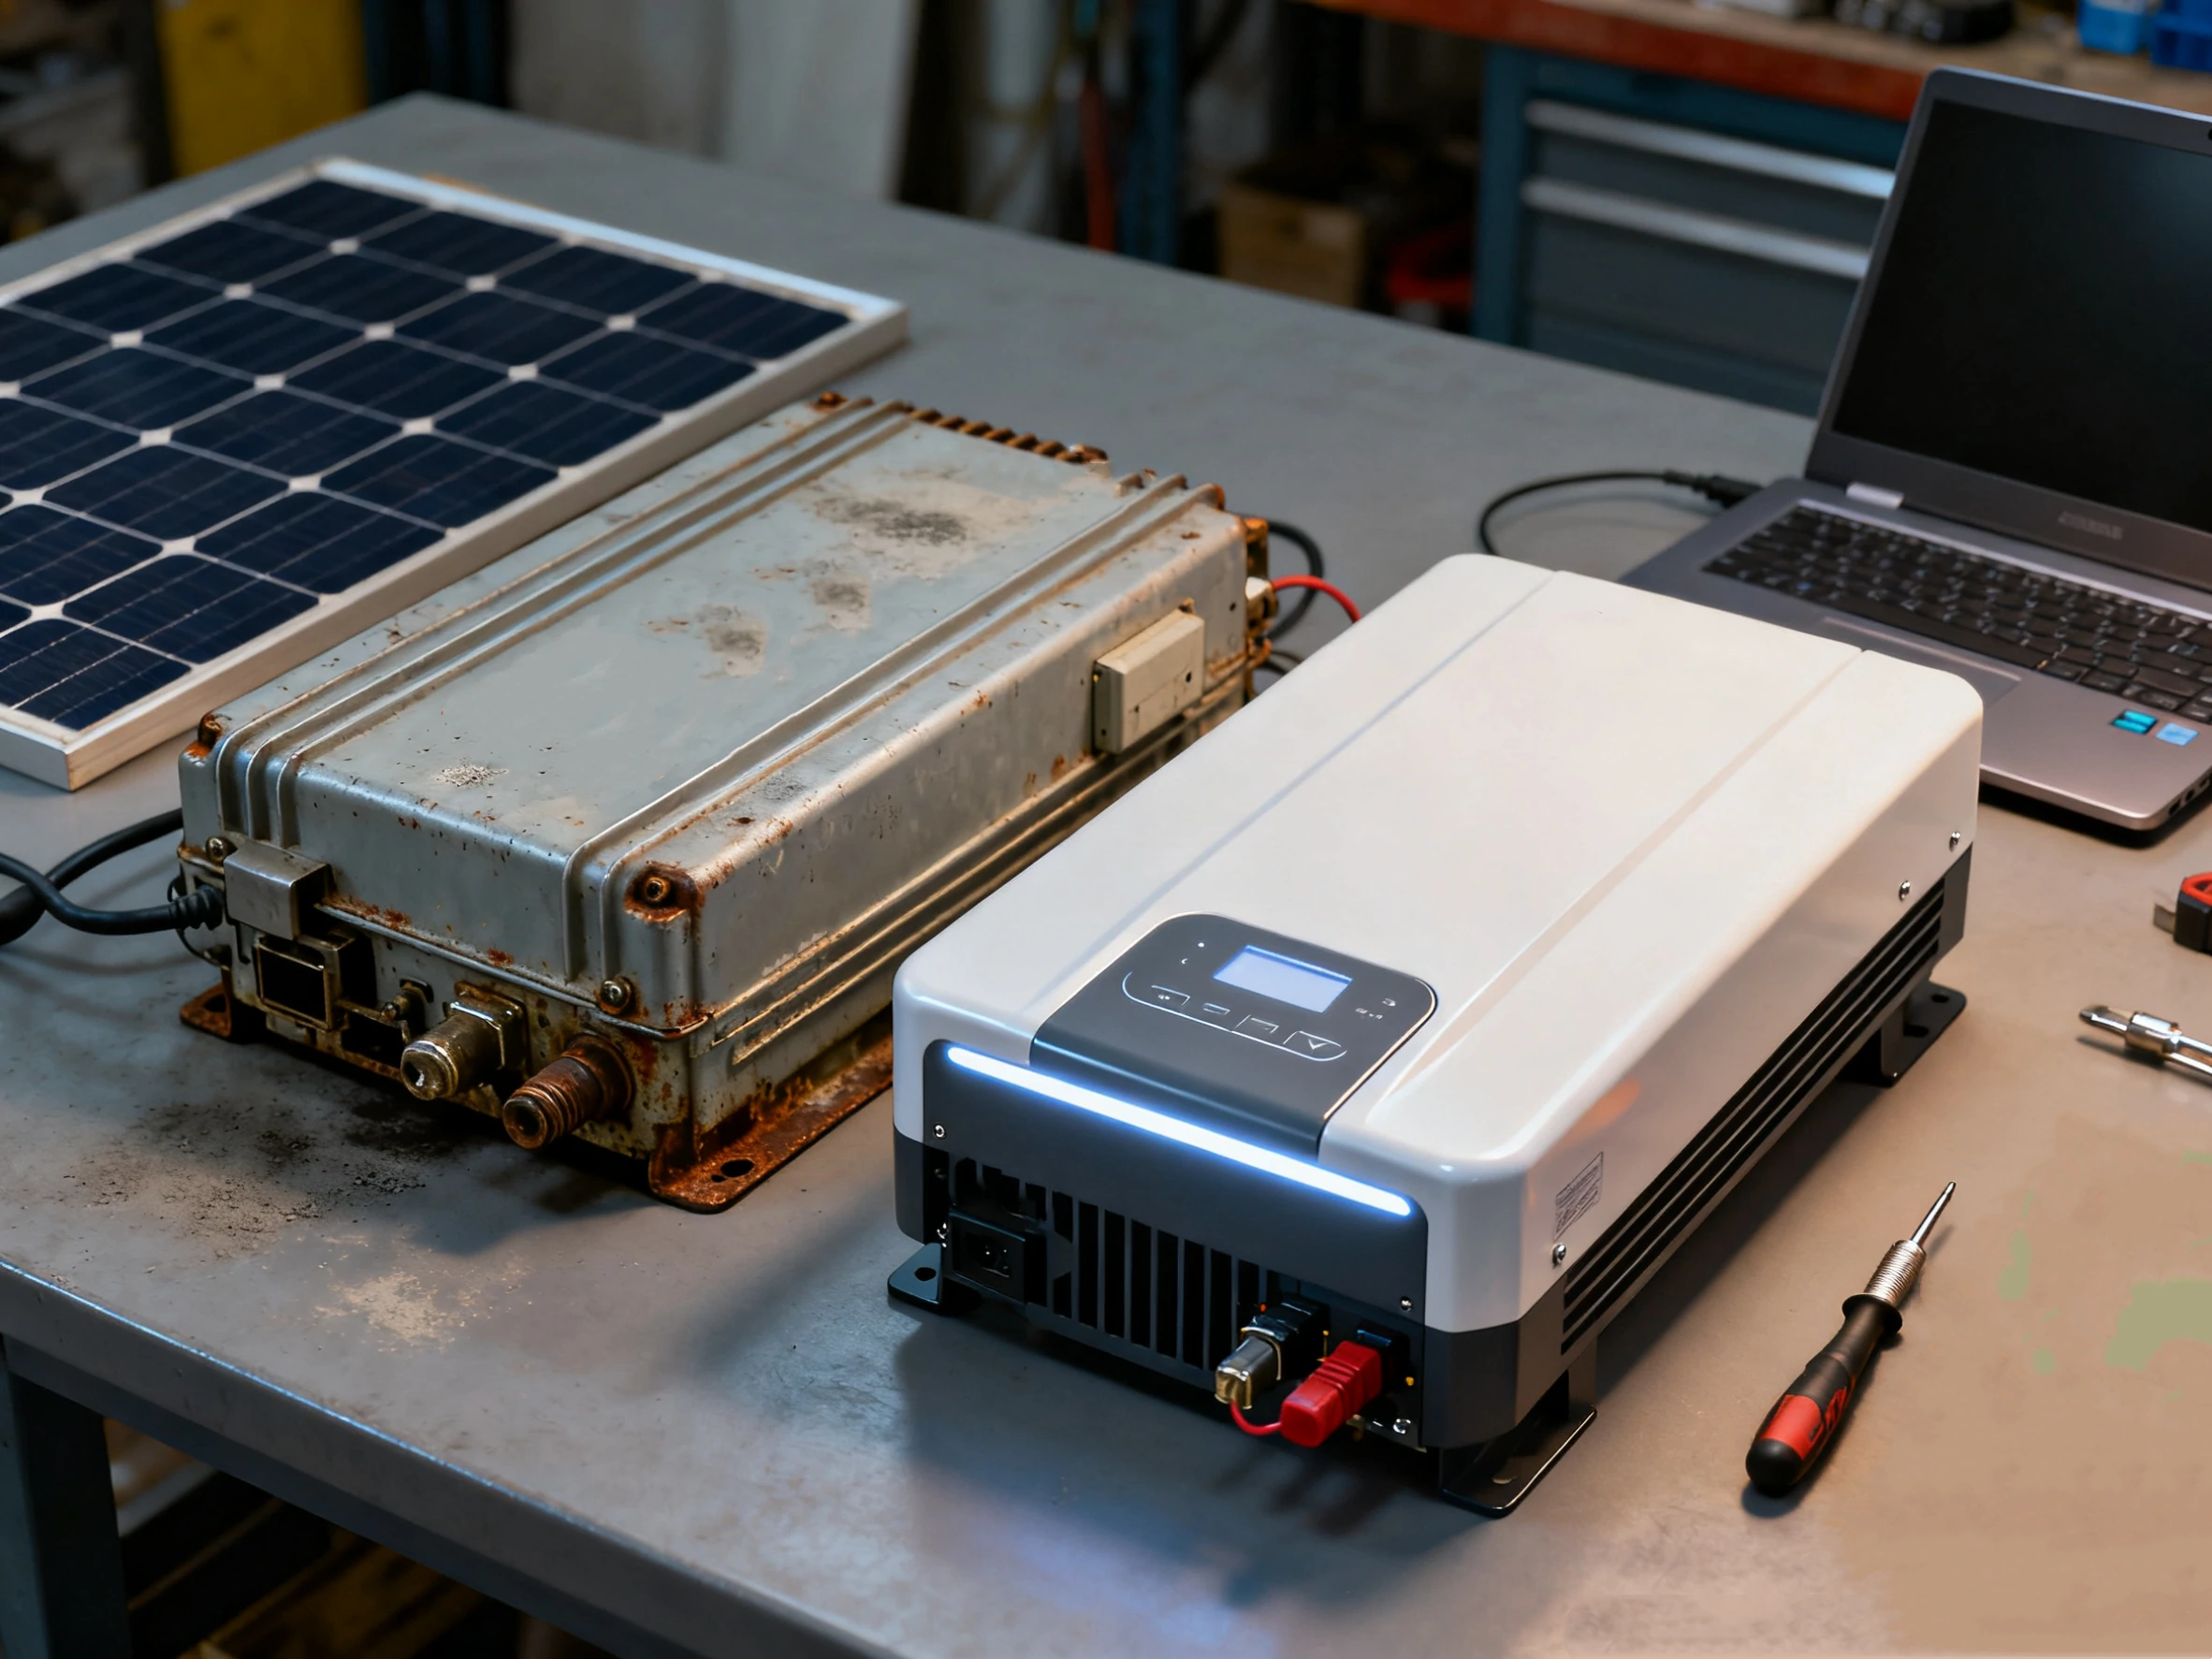
L'énergie solaire est devenue un élément essentiel de la vie moderne et durable, et au cœur de chaque système d'énergie solaire se trouve l'onduleur solaire. Ce dispositif essentiel convertit le courant continu (CC) généré par les panneaux solaires en courant alternatif (CA) qui alimente les habitations et les entreprises. Cependant, même les onduleurs solaires les plus fiables peuvent rencontrer des problèmes qui affectent la production d'énergie et l'efficacité du système. Comprendre les problèmes courants, savoir comment effectuer un dépannage de base de l'onduleur solaire et reconnaître quand l'aide d'un professionnel est nécessaire permet d'économiser du temps, de l'argent et du stress. Dans ce guide complet, nous vous guiderons à travers toutes les étapes, des simples réinitialisations aux diagnostics avancés, en vous fournissant des conseils pratiques pour assurer le bon fonctionnement de votre système solaire tout en maximisant la production d'énergie.
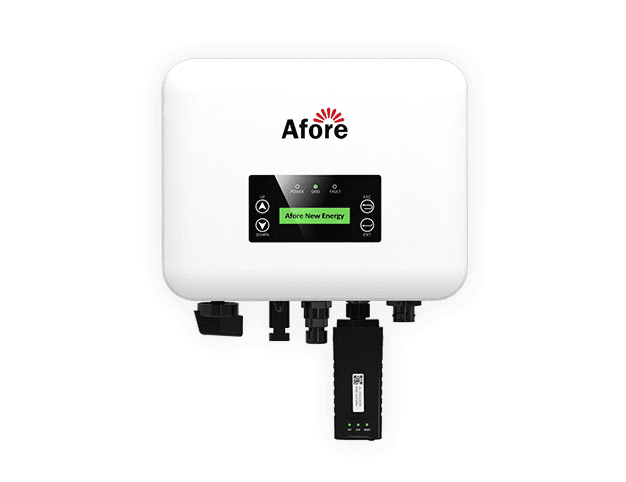
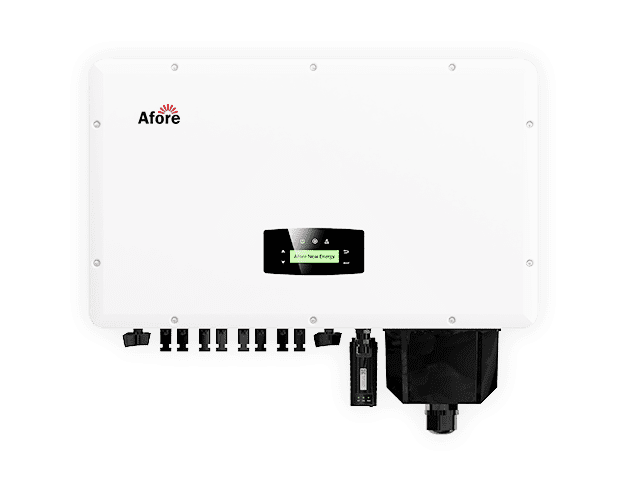
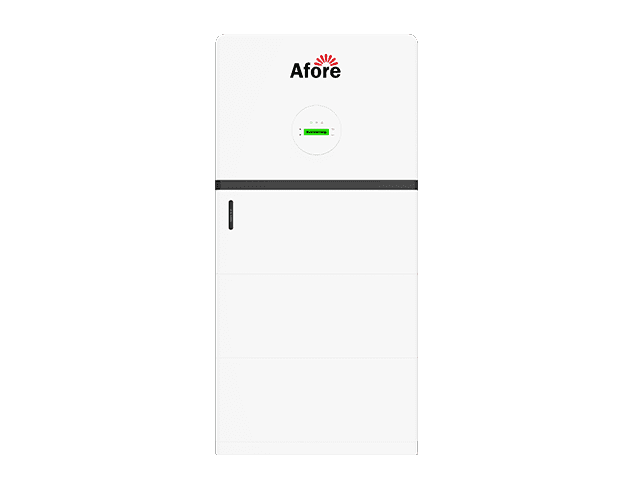
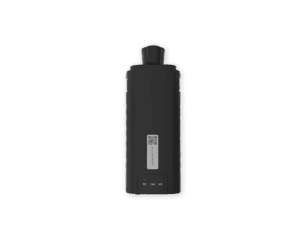
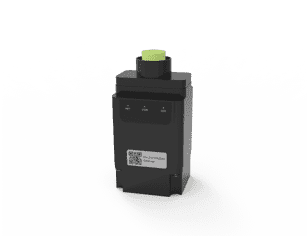
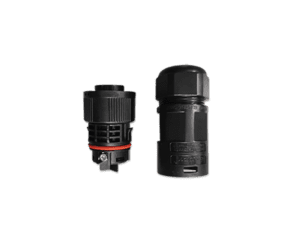
A onduleur solaire est le cœur d'un système d'énergie solaire. Il convertit le courant continu (CC) produit par les panneaux solaires en courant alternatif (CA) qui alimente votre maison ou votre entreprise. Sans onduleur solaire, l'énergie générée par vos panneaux solaires resterait inutilisable pour les appareils électriques courants.
Les onduleurs solaires sont essentiels car ils ne se contentent pas de convertir l'énergie, ils la régulent et l'optimisent. Ils surveillent les performances du système, détectent les pannes et communiquent parfois avec des plateformes de surveillance pour s'assurer que tout fonctionne efficacement. Un onduleur défectueux peut réduire considérablement votre production d'énergie.
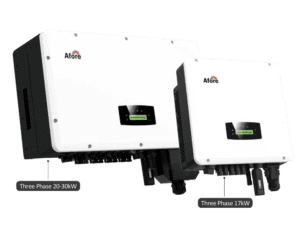
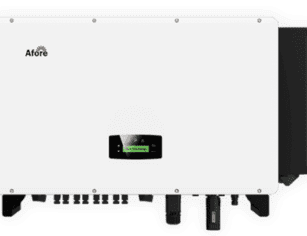
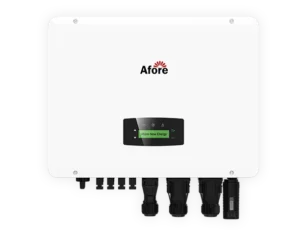
Il existe plusieurs types d'onduleurs solaires, chacun présentant des caractéristiques distinctes :
Posséder un système d'énergie solaire est un investissement judicieux, mais comme toute technologie, les onduleurs solaires peuvent rencontrer des problèmes qui affectent leurs performances. Il est essentiel de comprendre les problèmes les plus courants et de savoir comment les résoudre pour maintenir un rendement énergétique optimal et prolonger la durée de vie de votre système. Dans cette section, nous allons analyser les problèmes les plus fréquents des onduleurs et fournir des solutions pratiques que vous pouvez appliquer immédiatement.
L'un des problèmes les plus alarmants auxquels sont confrontés les propriétaires est l'absence totale de sortie d'un onduleur solaire. Plusieurs raisons peuvent être à l'origine de ce problème : un disjoncteur déclenché, un fusible grillé, des câbles déconnectés ou même des défauts internes de l'onduleur. Commencez par vérifier les déconnexions CA et CC et assurez-vous que le système est correctement connecté. Inspectez le câblage visible pour vérifier que les connexions ne sont pas desserrées ou endommagées. Si tout semble intact, une réinitialisation contrôlée de l'onduleur peut souvent rétablir le fonctionnement. Une surveillance et une maintenance régulières permettent d'éviter ces interruptions soudaines de l'alimentation.
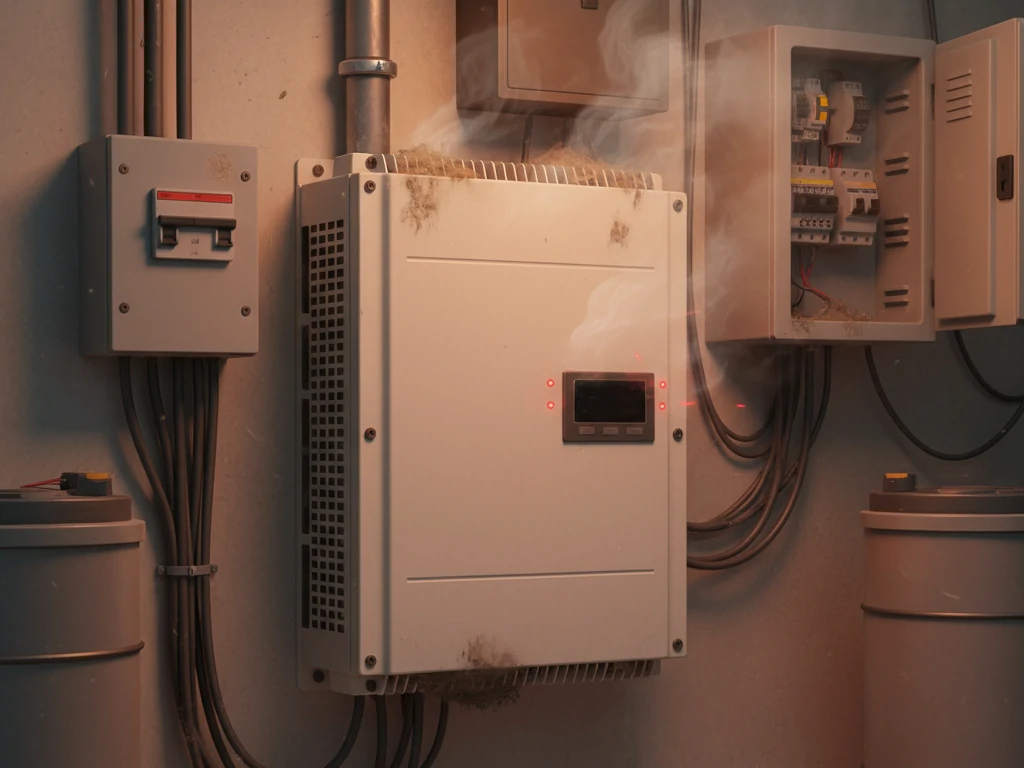
La surchauffe est un autre problème courant. Les onduleurs génèrent de la chaleur pendant leur fonctionnement, et des températures excessives peuvent déclencher des arrêts automatiques, voire des dommages permanents. Des facteurs tels qu'une mauvaise ventilation, des évents obstrués, des températures ambiantes élevées ou des environnements poussiéreux peuvent exacerber le problème. Pour éviter la surchauffe, veillez à ce que votre onduleur soit installé dans un endroit bien ventilé, à l'abri de la lumière directe du soleil. Nettoyez régulièrement les évents et les surfaces environnantes pour maintenir la circulation de l'air, et envisagez l'installation d'un petit ventilateur ou d'un dispositif d'ombrage si nécessaire. Ces mesures préventives peuvent considérablement prolonger la durée de vie de votre onduleur.
Les onduleurs solaires modernes affichent souvent des codes d'erreur ou des messages de défaut lorsque quelque chose ne va pas. Ces codes sont conçus pour aider à diagnostiquer les problèmes, mais ils peuvent être déroutants si l'on n'est pas correctement guidé. Les erreurs les plus courantes sont la surtension, la sous-tension, la déconnexion du réseau ou les échecs de communication. L'interprétation précise de ces messages est la première étape du dépannage d'un onduleur solaire. Souvent, pour résoudre le problème, il faut vérifier les connexions de câblage, les paramètres du système ou effectuer une réinitialisation sécurisée. Si les codes d'erreur persistent malgré le dépannage, il est recommandé de contacter un technicien professionnel.
Il arrive qu'un onduleur semble opérationnel, mais que votre système solaire produise moins d'énergie que prévu. Les causes peuvent aller de l'ombrage des panneaux, de l'accumulation de saletés ou d'une mauvaise orientation à une mauvaise configuration de l'onduleur ou à des inefficacités internes. Commencez par inspecter visuellement vos panneaux pour vérifier qu'ils ne sont pas ombragés ou sales, puis vérifiez que les paramètres de votre onduleur correspondent aux spécifications de votre système. L'utilisation d'outils de surveillance ou de multimètres peut aider à détecter les incohérences de tension. L'identification en temps utile de ces problèmes permet à votre système de fonctionner de manière optimale et d'éviter les pertes d'énergie inutiles.
Les arrêts intermittents des onduleurs peuvent être particulièrement frustrants parce qu'ils se produisent sporadiquement. L'instabilité du réseau, la fluctuation des conditions environnementales ou l'usure des composants internes en sont les causes. Pour résoudre le problème, surveillez le moment des arrêts et vérifiez les journaux d'erreurs ou les alertes du système. L'ajustement des paramètres de l'onduleur, la stabilisation des connexions au réseau et la garantie d'une ventilation adéquate peuvent souvent réduire ces occurrences. Toutefois, des arrêts persistants peuvent signaler la nécessité d'une évaluation professionnelle afin d'éviter des dommages à long terme.
De nombreux onduleurs modernes communiquent avec des plateformes de surveillance pour fournir des données de performance. Lorsque la communication échoue, cela peut vous empêcher de suivre la production d'énergie et de détecter les défaillances potentielles. Les causes peuvent être des problèmes de réseau, des câbles lâches, des microprogrammes obsolètes ou des problèmes de routeur. Commencez par inspecter toutes les connexions, assurez-vous que l'onduleur est correctement mis en réseau et vérifiez les mises à jour logicielles. Le rétablissement de la communication permet non seulement de restaurer la fonctionnalité de surveillance, mais aussi de procéder à un dépannage proactif de l'onduleur solaire.
Pour les systèmes avec stockage intégré, les problèmes d'onduleur peuvent se manifester par des problèmes de charge. Les causes les plus courantes sont la dégradation des batteries, un câblage incorrect ou une mauvaise configuration des paramètres de l'onduleur. Inspectez votre parc de batteries pour détecter les signes d'usure ou de déséquilibre, vérifiez les connexions et assurez-vous que les protocoles de charge de l'onduleur correspondent aux spécifications de votre système. La résolution rapide de ces problèmes permet d'éviter les pertes d'énergie, de prolonger la durée de vie des batteries et de maintenir l'efficacité globale du système.
Même les onduleurs solaires les plus fiables peuvent occasionnellement rencontrer des problèmes, des codes d'erreur ou des pannes temporaires. L'une des solutions les plus simples et les plus efficaces pour résoudre les problèmes mineurs consiste à effectuer une réinitialisation. Comprendre comment réinitialiser votre onduleur en toute sécurité est une partie essentielle du dépannage d'un onduleur solaire, et le faire correctement permet de gagner du temps, d'éviter d'autres dommages et de restaurer les performances optimales du système.
L'exécution d'une réinitialisation peut varier légèrement en fonction de votre système, mais le processus général suit une séquence sûre et standardisée :
Cette méthode est largement recommandée pour traiter les défauts mineurs tels que les erreurs de communication temporaires, les avertissements de faible puissance ou certains messages de défaut. Il s'agit d'une première étape essentielle dans le dépannage des onduleurs solaires avant de passer à des diagnostics plus avancés.
Tous les problèmes liés à l'onduleur ne nécessitent pas une réinitialisation. Effectuez une réinitialisation dans les cas suivants
Évitez les réinitialisations fréquentes, car des échecs répétés peuvent indiquer des problèmes sous-jacents nécessitant l'intervention d'un professionnel. Considérez la réinitialisation comme un outil de diagnostic plutôt que comme une solution permanente.
La sécurité est essentielle lors de la manipulation d'équipements électriques. Respectez les précautions suivantes pour éviter les accidents :
En respectant ces mesures de sécurité, la réinitialisation peut être un élément simple et sûr de votre kit de dépannage d'onduleur solaire.
Une réinitialisation correctement effectuée peut :
La réinitialisation de votre onduleur solaire est souvent la méthode la plus rapide et la plus simple pour résoudre des problèmes mineurs, mais elle doit toujours être associée à des inspections visuelles, à une surveillance et à une maintenance préventive pour obtenir les meilleurs résultats à long terme.
Même lorsqu'un onduleur solaire semble fonctionner normalement, des défauts subtils peuvent avoir un impact sur la production d'énergie et l'efficacité du système. Des tests réguliers et un diagnostic précis sont des éléments essentiels du dépannage des onduleurs solaires, qui aident les propriétaires et les techniciens à détecter les problèmes à un stade précoce et à maintenir des performances optimales. Cette section fournit des conseils pratiques sur l'évaluation de l'état de l'onduleur, à la fois visuellement et à l'aide d'outils de test.
La plupart des onduleurs solaires modernes sont dotés de panneaux d'affichage et de voyants lumineux qui indiquent leur état de fonctionnement. Une attention particulière à ces signaux est une étape fondamentale du dépannage. Les indicateurs visuels les plus courants sont les suivants
En observant ces indicateurs, vous pouvez souvent identifier des problèmes mineurs avant qu'ils ne se transforment en pannes majeures. Par exemple, un voyant clignotant peut indiquer un problème de communication temporaire plutôt qu'une défaillance matérielle grave. La documentation de ces relevés permet de suivre les problèmes récurrents et d'informer un service professionnel en cas de besoin.
Pour une évaluation plus précise, utilisez des outils de diagnostic tels que des multimètres et des logiciels de surveillance du système pour tester les performances de l'onduleur. Les étapes clés sont les suivantes :
Une surveillance régulière permet non seulement de résoudre les problèmes, mais aussi d'optimiser l'efficacité énergétique, en veillant à ce que votre onduleur solaire fournisse une puissance maximale à votre système.
Si les tests de base permettent de résoudre de nombreux problèmes courants, certains requièrent des compétences avancées en matière de diagnostic. Les techniciens certifiés en énergie solaire ont accès à des outils et à des logiciels spécialisés qui peuvent :
Faire appel à des services professionnels en cas de besoin garantit un diagnostic sûr et précis et permet d'éviter des dommages coûteux. Combiner votre propre dépannage d'onduleur solaire avec des inspections professionnelles constitue la meilleure stratégie pour assurer la fiabilité à long terme du système.
Les tests et diagnostics réguliers ne se limitent pas à la détection des pannes : ils fournissent des informations préventives qui peuvent prolonger la durée de vie de votre onduleur. En identifiant rapidement les écarts de performance mineurs, vous pouvez prendre des mesures correctives telles que le nettoyage des panneaux, l'ajustement du câblage ou la mise à jour des paramètres de l'onduleur avant qu'ils ne se transforment en pannes majeures.
La décision de réparer ou de remplacer un onduleur solaire est l'une des plus importantes que puisse prendre le propriétaire d'un système solaire. Si une réparation peut sembler rentable dans un premier temps, des pannes fréquentes ou des composants vieillissants peuvent faire du remplacement une décision plus judicieuse à long terme. Comprendre les facteurs en jeu permet aux propriétaires de faire des choix éclairés, de réduire les pertes d'énergie et de protéger leur investissement.
La première étape du dépannage d'un onduleur solaire consiste à évaluer avec précision l'étendue du problème. Les problèmes mineurs tels que des fusibles grillés, des câbles mal fixés ou des problèmes logiciels temporaires sont souvent facilement réparables. En revanche, des codes d'erreur persistants, des arrêts répétés, une surchauffe ou des défaillances de composants internes indiquent des problèmes plus profonds qui peuvent nécessiter un remplacement complet. Le fait de documenter soigneusement les messages d'erreur, les tendances en matière de performances et le comportement du système permet de déterminer clairement si une réparation est suffisante ou si un remplacement est nécessaire.
Lorsqu'il s'agit d'évaluer les réparations par rapport au remplacement, il faut tenir compte à la fois des coûts immédiats et des implications à long terme :
En tenant compte de ces facteurs, les propriétaires peuvent prendre une décision financièrement saine qui concilie le coût, les performances du système et la fiabilité.
La longévité est un autre facteur important dans la décision de réparer ou de remplacer un onduleur solaire. Les anciens onduleurs peuvent être sujets à des pannes récurrentes, même après réparation, alors que les nouveaux onduleurs peuvent prolonger considérablement la durée de vie du système. En outre, la couverture de la garantie doit être prise en compte. La réparation d'un onduleur défectueux sous garantie peut être couverte par le fabricant, alors que des réparations répétées sur des systèmes hors garantie peuvent ne pas être rentables. Dans certains cas, le remplacement assure une protection continue de la garantie et une tranquillité d'esprit.
Faire le bon choix :
En fin de compte, une décision bien informée donne la priorité à la sécurité, à l'efficacité énergétique et au bon sens financier. En prenant le temps d'évaluer soigneusement votre onduleur solaire, vous vous assurez que votre système solaire continuera à fonctionner à son plein potentiel pendant de nombreuses années.
Un onduleur solaire bien entretenu est essentiel pour une production d'énergie constante et une efficacité à long terme du système. Si le dépannage de l'onduleur solaire permet de résoudre les problèmes existants, la maintenance proactive permet de prévenir les problèmes potentiels avant qu'ils n'affectent les performances. La mise en œuvre de quelques pratiques simples peut considérablement prolonger la durée de vie de votre onduleur et protéger votre investissement dans l'énergie solaire.
La poussière, la saleté et les débris peuvent s'accumuler sur votre onduleur au fil du temps, obstruant le flux d'air et provoquant une surchauffe. Des inspections visuelles régulières permettent d'identifier les premiers signes d'usure ou d'endommagement, tels que :
Nettoyer le boîtier de l'onduleur et s'assurer que les évents ne sont pas obstrués améliore la circulation de l'air et réduit le risque d'arrêts thermiques. Une inspection régulière, idéalement tous les trois à six mois, permet également de détecter les problèmes mineurs avant qu'ils ne se transforment en défaillances majeures, ce qui en fait une étape cruciale du dépannage des onduleurs solaires.
Les onduleurs modernes s'appuient souvent sur un micrologiciel pour optimiser les performances et communiquer avec les systèmes de surveillance. La mise à jour du logiciel de votre onduleur garantit qu'il fonctionne efficacement et qu'il peut réagir avec précision aux conditions du réseau ou aux défaillances du système. En outre :
En surveillant activement les performances et en appliquant les mises à jour du micrologiciel, vous pouvez détecter rapidement les petits écarts, maintenir une efficacité maximale et éviter des réparations ou des remplacements coûteux.
L'environnement d'installation joue un rôle important dans la longévité de l'onduleur. La chaleur extrême, l'humidité et la lumière directe du soleil peuvent solliciter les composants internes et entraîner une défaillance prématurée. Pour atténuer ces risques :
Un emplacement approprié et la protection de l'environnement réduisent les contraintes exercées sur l'onduleur et minimisent la fréquence des interventions de dépannage, ce qui contribue à une fiabilité à long terme.
La mise en œuvre d'un entretien de routine permet non seulement d'éviter les pannes, mais aussi d'améliorer la production d'énergie. Les propriétaires qui entretiennent activement leurs onduleurs solaires en font l'expérience :
Les soins préventifs complètent le dépannage des onduleurs solaires en réduisant la probabilité d'apparition des problèmes, ce qui permet à votre système de fournir en permanence une énergie fiable et durable.
Les problèmes les plus fréquents sont la surchauffe, la perte de puissance, les codes d'erreur, les défaillances de communication et les arrêts intermittents. Ces problèmes sont souvent dus à des facteurs environnementaux, à des défauts de câblage ou à l'usure des composants. Une détection précoce par le biais d'une surveillance et d'inspections visuelles permet d'éviter que des problèmes mineurs ne se transforment en pannes majeures.
Une réinitialisation permet souvent de résoudre des problèmes mineurs. Commencez par couper le courant alternatif, puis coupez le courant continu ou le disjoncteur. Attendez 5 à 10 minutes pour permettre à l'onduleur de se décharger. Rebranchez d'abord l'entrée CC, puis l'entrée CA. Observez l'affichage pour vérifier que le fonctionnement est normal. Respectez toujours les consignes de sécurité et évitez les réinitialisations répétées sans traiter la cause sous-jacente.
Les signes d'un onduleur défaillant sont des codes d'erreur persistants, l'absence de sortie CA ou CC, des arrêts fréquents, des bruits inhabituels et une surchauffe. Une faible production d'énergie malgré un ensoleillement optimal et des panneaux fonctionnant correctement peut également indiquer des défaillances internes. Une surveillance constante et un diagnostic professionnel permettent de confirmer si l'onduleur doit être réparé ou remplacé.
Commencez par le dépannage de base de l'onduleur solaire : vérifiez le câblage, les connexions, la ventilation et les paramètres du système. Observez les codes d'erreur ou les voyants d'avertissement, effectuez une réinitialisation sûre si nécessaire et utilisez des multimètres pour tester la tension et le courant. Si les problèmes persistent, consultez un technicien certifié pour un diagnostic avancé afin d'éviter tout dommage supplémentaire.
Vous pouvez tester le fonctionnement de l'onduleur en mesurant l'entrée CC des panneaux solaires et la sortie CA de votre maison à l'aide d'un multimètre. En outre, surveillez l'affichage de l'onduleur pour détecter les voyants d'état, les codes d'erreur ou toute activité inhabituelle. La comparaison entre les performances réelles et la production d'énergie attendue permet de savoir si l'onduleur fonctionne correctement.
Les pannes mineures sont généralement moins coûteuses à réparer, comme les fusibles grillés, les câbles mal fixés ou les mises à jour logicielles. Toutefois, en cas de pannes répétées, d'endommagement des composants internes ou de vieillissement des onduleurs, le remplacement peut s'avérer une solution plus rentable à long terme. Tenez compte des pertes d'énergie, de la fiabilité du système et des implications de la garantie avant de prendre votre décision.
Les tâches de maintenance de base, telles que le nettoyage de l'onduleur, l'inspection des connexions et le contrôle des performances, peuvent être effectuées en toute sécurité par les particuliers. Les tests électriques complexes ou les réparations internes doivent être confiés à des professionnels qualifiés afin de garantir la sécurité et de préserver la couverture de la garantie.
Il est recommandé de procéder à une inspection visuelle tous les trois à six mois et à un entretien professionnel tous les un à deux ans. Des contrôles réguliers permettent de détecter les premiers signes d'usure, d'éviter les surchauffes et de maintenir une production d'énergie optimale. La tenue d'un journal d'entretien peut également permettre de suivre les problèmes récurrents pour le dépannage de l'onduleur solaire.
La couverture de la garantie peut être annulée en cas de réparation non autorisée, d'altération, de dégâts des eaux, de surcharge électrique ou de négligence. Respectez toujours les consignes de sécurité du fabricant, effectuez l'entretien avec soin et faites appel à des professionnels pour les réparations dépassant le cadre d'une inspection de base.
L'efficacité peut être améliorée par un entretien régulier, le nettoyage des panneaux et des évents de l'onduleur, une bonne ventilation, la mise à jour du micrologiciel et le suivi des tendances de la production d'énergie. Une configuration correcte du système, y compris l'orientation correcte des panneaux et le réglage de la tension, maximise également les performances de l'onduleur et réduit la nécessité de dépannages fréquents.