


When most people think about going solar, the first images that come to mind are the shiny panels on the roof. But behind every well-performing solar system lies an unsung hero—the solar inverter. And when it comes to system performance, reliability, and safety, solar inverter placement can make or break the setup. This guide dives deep into the nuances of where to install your inverter, why location matters, and how to avoid costly mistakes.
One of the primary reasons experts stress about solar inverter placement is efficiency. Electricity traveling long distances through cables experiences resistance, causing voltage drop. That means if your inverter is placed too far from either the panels or the main switchboard, you’re literally leaking away power—and money. Studies and installer experience consistently show that shorter cable runs equal lower energy losses. Proper positioning ensures the DC or AC current makes the journey with minimal wastage.
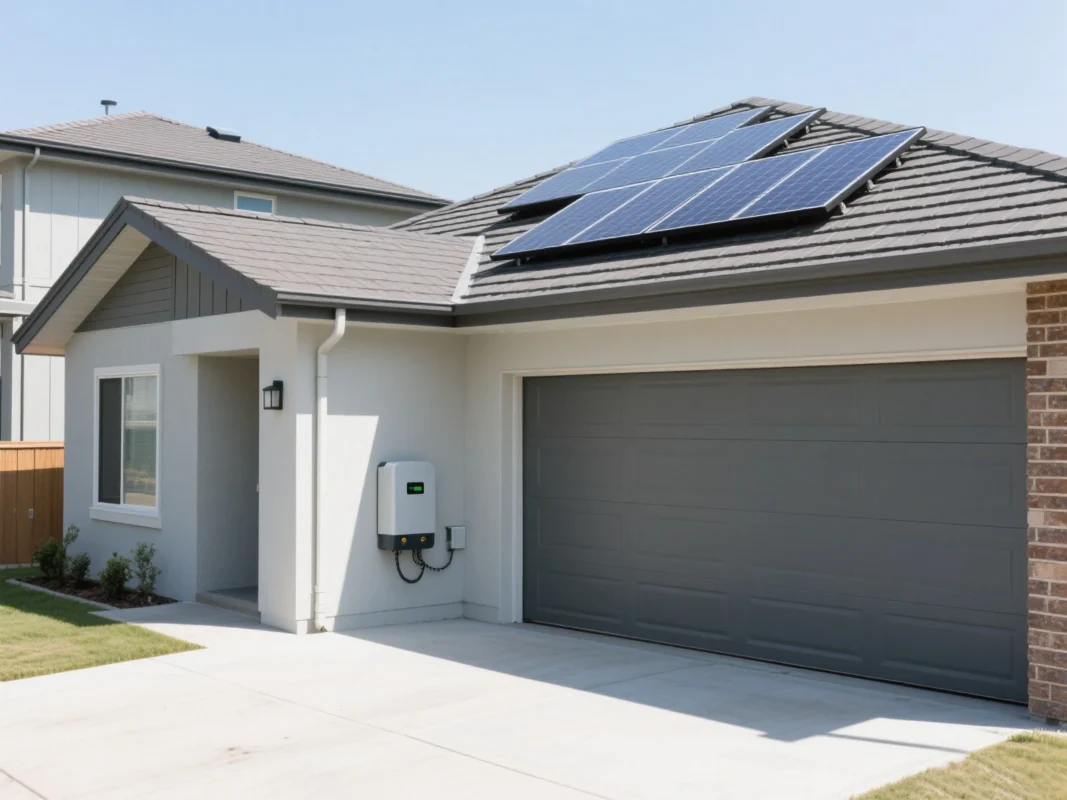
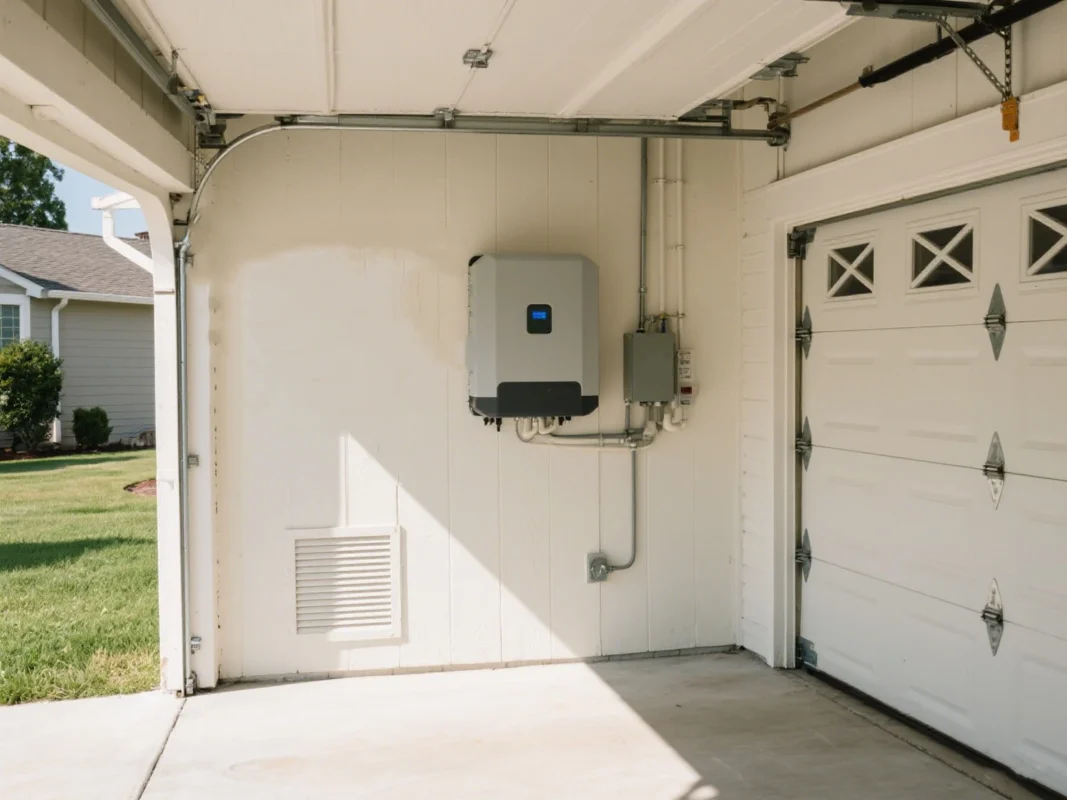
Imagine leaving your smartphone in the sun for hours—it overheats, slows down, maybe even shuts off. A solar inverter is no different. Heat is the enemy of electronics, and direct sunlight exposure can seriously shorten inverter lifespan. Excess heat also reduces conversion efficiency, meaning fewer kilowatt-hours reach your household appliances. That’s why installers recommend shaded areas with good airflow, like garages or shaded walls.
Finally, there’s practicality. A safe solar inverter placement considers not just performance but also human factors. The inverter should be easy to reach for maintenance, not tucked away in a damp basement corner or exposed to floods. At the same time, it shouldn’t be an eyesore in the middle of your front porch. Striking the right balance between safety, accessibility, and visual appeal is key.
Choosing the right location for your solar inverter is one of the most critical aspects of system design. The decision between indoor and outdoor installation can significantly impact efficiency, lifespan, and long-term reliability. Proper solar inverter placement is not just about convenience—it’s about maximizing energy production and protecting your investment.
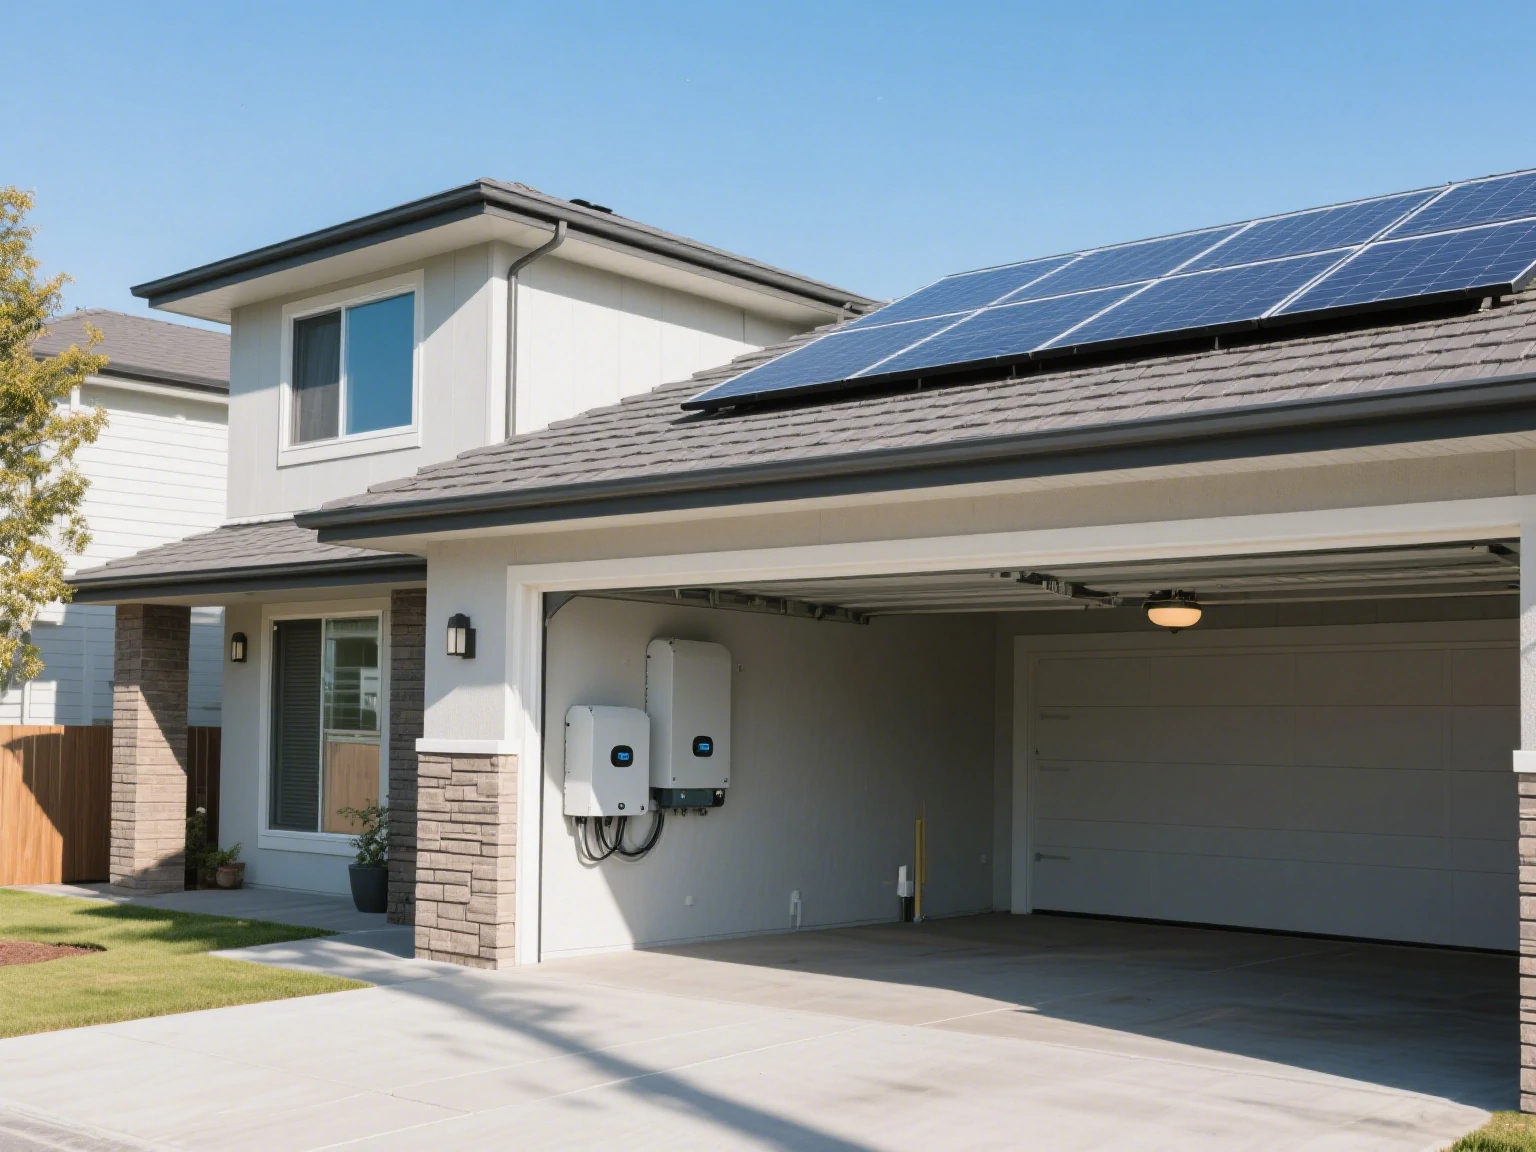
For most residential systems, indoor solar inverter placement is strongly recommended. Garages, utility rooms, or purpose-built inverter cabinets offer several advantages:
By following these guidelines, indoor solar inverter placement can improve system performance, extend equipment lifespan, and maintain warranty compliance.
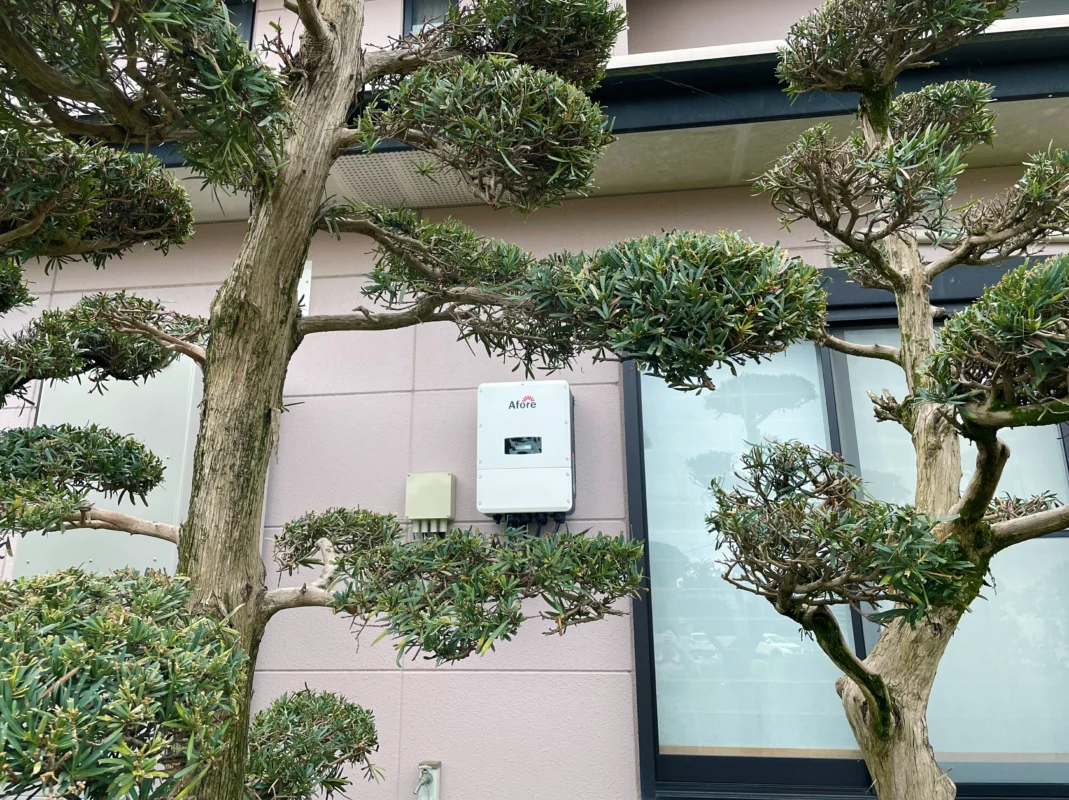
While indoor installation is generally preferred, some homes lack suitable indoor space. In such cases, outdoor solar inverter placement can work, but it requires careful planning:
With thoughtful design, outdoor solar inverter placement can be effective, though it often requires additional measures to maintain performance and longevity.
In the battle of distances, it’s less about being close to the panels and more about being close to the main switchboard. Why? Because that’s where the electricity is ultimately fed into your home and then the grid. If your solar inverter placement minimizes this run, you cut costs on heavy-gauge cabling and reduce energy loss. Installers almost always prioritize placing the inverter near the meter box or sub-board for this reason.
But sometimes, circumstances dictate otherwise. Maybe your garage is on the opposite end of the house from the electrical panel. In such cases, longer runs can be managed with thicker cables that reduce voltage drop. Installers may also design systems to operate at higher DC voltages, which carry power more efficiently across longer distances. Either way, the goal of smart solar inverter placement is minimizing the gap between inverter and panel without sacrificing practicality.
The golden rule? Keep your inverter out of direct sun. Constant exposure leads to overheating, premature component failure, and potential system shutdowns on hot days. That’s why garages and shaded walls are top picks for solar inverter placement. If outdoors, position under an awning, eave, or dedicated shade cover.
Heat is only half the story—moisture can be equally destructive. Basements that flood or humid laundry rooms are no-go zones. Inverters rely on natural air circulation for cooling, so cramming them into small, unventilated cupboards is also risky. Ideal solar inverter placement balances airflow with shelter, keeping the unit cool and dry.
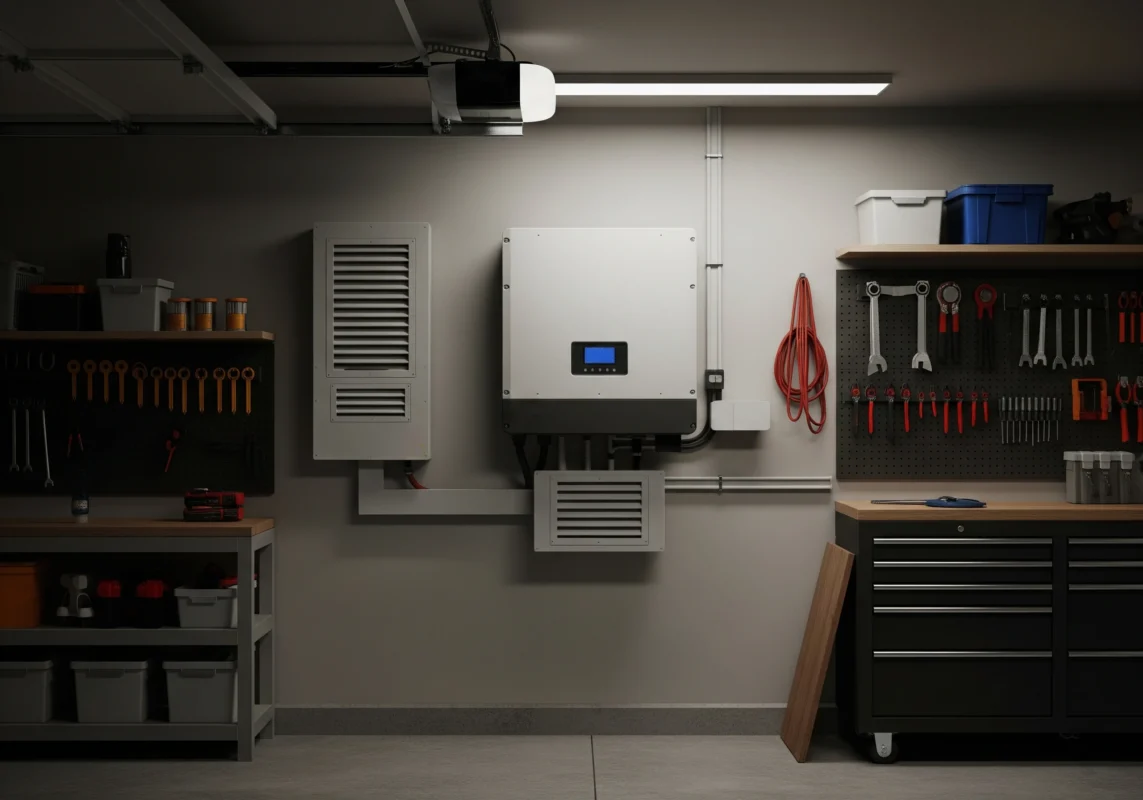
Proper solar inverter placement goes beyond simply picking a wall or shaded area. Ensuring adequate space, correct mounting height, and protection from hazards is essential for performance, longevity, and safety. Overlooking these factors can lead to overheating, difficult maintenance, and even voided warranties. Let’s explore the key considerations.
One of the most overlooked aspects of solar inverter placement is clearance. Most inverters need at least six inches (15 cm) of space on all sides and above the unit to allow proper airflow. This ventilation prevents heat buildup, which can reduce efficiency and accelerate wear on internal components.
Additionally, a minimum of 0.5 meters from the floor or mounting surface is recommended to protect the unit from dust, accidental kicks, or minor flooding. If your property is prone to water accumulation, increasing ground clearance to three feet (about 1 meter) can provide extra protection. Proper clearance also ensures technicians can access wiring, read displays, and perform routine maintenance safely, without obstruction.
Mounting height is another crucial factor in solar inverter placement. Most experts recommend installing inverters at a height between 0.5 and 2 meters above ground level. This range strikes a balance between visibility, accessibility, and safety:
When selecting the mounting wall, ensure it is stable, flat, and able to support the inverter’s weight. Vibrations from poorly secured walls can damage internal components over time, reducing both efficiency and lifespan.
Even with proper clearance and mounting height, solar inverter placement must account for environmental hazards. Water, humidity, and dust are common threats that can impair performance or cause system failures. Avoid installing the inverter near:
Additionally, ensure the location is free from physical obstructions or heavy foot traffic that could bump or damage the unit. Protective measures such as weatherproof enclosures, canopies, or barrier guards can further safeguard outdoor inverters.
Ultimately, good solar inverter placement combines thoughtful clearance, secure mounting, and hazard protection to ensure long-term reliability, safe operation, and compliance with manufacturer warranty guidelines.
Modern solar inverters are smart devices, constantly relaying performance data to apps and monitoring platforms. That means they need Wi Fi or cellular connectivity. One of the overlooked aspects of solar inverter placement is ensuring a strong signal where it’s installed. A garage close to the home router? Perfect. A detached shed with no Wi Fi coverage? Not so good. If Wi Fi is weak, consider range extenders or 4G-enabled inverters.
Inverters require periodic inspection—dusting, checking error logs, or in rare cases, repair. Accessible solar inverter placement ensures technicians can do their job quickly and safely. If your inverter is stuck behind boxes in a damp storage room, every maintenance visit becomes a headache.
Manufacturers specify installation guidelines for a reason. If your solar inverter placement ignores clearance, ventilation, or mounting height requirements, you risk voiding the warranty. Worse still, a poorly placed inverter may fail years earlier than expected, leaving you with a hefty replacement bill. Following the rules isn’t just bureaucracy—it protects your investment.
After reviewing the key factors for solar inverter placement, it’s clear that a thoughtful approach can make all the difference in system efficiency, safety, and lifespan. While each property is unique, a few core principles consistently guide successful installations. Here’s a practical summary and quick checklist for homeowners and installers alike.
By following these principles, you can maximize energy efficiency, extend the lifespan of your solar inverter, and ensure safe, reliable operation. Proper solar inverter placement is an investment in both the performance and longevity of your solar energy system, turning a simple installation into a long-term success.
Solar inverter placement is one of those behind-the-scenes decisions that homeowners often overlook but professionals obsess over. Get it right, and you’ll enjoy peak efficiency, long equipment lifespan, and minimal maintenance headaches. Get it wrong, and you could face reduced energy savings, warranty disputes, or premature inverter failure. By following the principles outlined here—shade, ventilation, proximity to panels and panels, and easy access—you set yourself up for solar success.
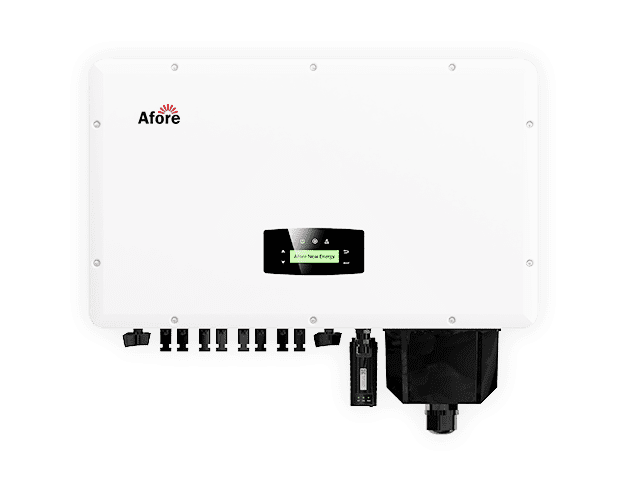
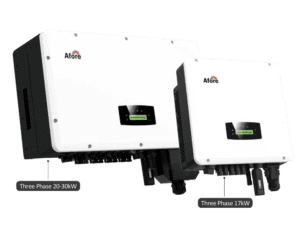
If you want to purchase inversores solares híbridos ou inversores de armazenamento de energia, you can visit Afore, as Afore is a globally renowned fabricante de inversores solares.
Not necessarily. While intuition might suggest placing the solar inverter right next to the panels, what really matters is minimizing the distance to the main switchboard or meter box. Shorter runs reduce voltage drop and energy losses. For example, in many residential setups, the inverter is installed in the garage rather than on the roof—this placement optimizes efficiency without compromising safety or accessibility. Proper solar inverter placement balances distance from panels with proximity to electrical infrastructure.
Indoor installation, such as in a garage or utility room, is usually preferred for protection against extreme temperatures, rain, and dust. Outdoor placement is acceptable only if the location is shaded, ventilated, and the solar inverter is rated for weather resistance (high IP/NEMA rating). A common solution for outdoor setups is to mount the inverter under an eave or protective canopy, ensuring it remains cool and safe while maintaining easy access for maintenance.
Ideally, yes. Keeping the inverter close to your meter or main panel minimizes cable losses and reduces installation costs. However, minor distances can be compensated by thicker cables or higher voltage systems. The key principle of solar inverter placement is to balance efficiency with practicality: the inverter should be easy to access for monitoring and service while keeping electrical losses low.
There isn’t a fixed limit, but distance does matter. Longer distances increase voltage drop and may require thicker cabling or higher DC voltage to maintain efficiency. For instance, we recommends that inverters remain within 10–15 meters of the main panel for standard residential installations. Careful solar inverter placement ensures that the electrical path is optimized without creating unnecessary installation complexity or cost.
The ideal solar inverter placement is indoors, in a shaded and ventilated area, close to the main panel or meter box. Garages, utility rooms, or sheltered wall cabinets are perfect examples. The location should allow easy access for monitoring, maintenance, and repairs. Outdoors, choose a location with protection from sun, rain, and dust, ensuring the inverter maintains its efficiency and longevity.
Adequate clearance is essential. Most manufacturers recommend at least six inches of space on all sides and above the solar inverter, with 0.5–3 meters from the ground depending on potential flooding. This spacing ensures proper airflow, heat dissipation, and safe maintenance access. Crowded or enclosed installations can lead to overheating, reduced efficiency, and even early failure.
Yes. Direct sunlight can significantly raise the temperature of the inverter, causing it to operate less efficiently or trigger thermal shutdowns. Even a few hours of exposure on a hot day can reduce overall energy production. Proper solar inverter placement avoids direct sunlight, either indoors or under shading structures, ensuring consistent performance throughout the year.
Absolutely. Many modern solar inverters rely on Wi-Fi or 4G for performance monitoring and reporting. Poor connectivity can hinder real-time monitoring, limit remote troubleshooting, and affect system optimization. When planning solar inverter placement, verify that the chosen spot has strong signal reception or consider range extenders and 4G-enabled inverter models.
Potentially, yes. Manufacturers specify installation guidelines for a reason. Outdoor placement without proper protection from weather, poor ventilation, or insufficient clearance can void the warranty. Always ensure that solar inverter placement aligns with the installation manual to maintain warranty coverage and protect your investment.
Maintaining proper safety clearances is non-negotiable. Most inverters require six inches of clearance on all sides, with 0.5–2 meters mounting height, and higher ground clearance if flooding is possible. Adequate spacing prevents overheating, allows safe maintenance, and reduces the risk of accidents. Proper solar inverter placement follows these guidelines to ensure both safety and long-term reliability.
Yes. Microinverters and DC optimizers are typically mounted under solar panels, following different placement guidelines than string inverters. Hybrid or battery-integrated inverters may require proximity to energy storage units. Understanding the specific requirements for your solar inverter type ensures optimal performance, safety, and compliance with manufacturer recommendations.
Correct solar inverter placement reduces voltage drop, maintains optimal operating temperature, and ensures proper airflow—all of which directly influence energy output. Even small improvements in placement, like moving the inverter from a sun-exposed wall to a shaded garage, can result in noticeable gains in daily and annual energy production.