


Está pensando em usar energia solar? Ótima escolha, mas seu sistema de energia solar só é tão eficiente quanto seu inversor. Uma instalação adequada do inversor solar é a espinha dorsal de uma configuração fotovoltaica (PV) que funcione bem. Sem ela, até mesmo os painéis solares da mais alta qualidade podem ter um desempenho inferior ou falhar completamente. Este guia se aprofunda no que fazer e no que não fazer no mundo real da instalação do inversor solar, ajudando os proprietários de casas, eletricistas e entusiastas da energia solar a tomar decisões inteligentes e à prova de futuro. Independentemente de você estar atualizando, solucionando problemas ou construindo um sistema do zero, entender como instalar um inversor solar da maneira correta economizará tempo, dinheiro e dores de cabeça no futuro.
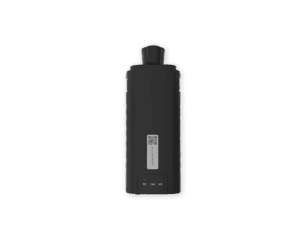
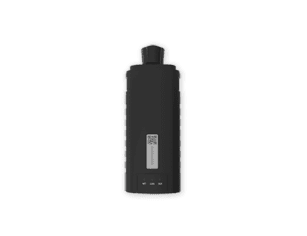
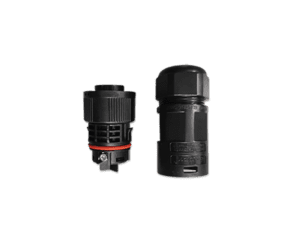
No centro de todo sistema de energia solar está um componente essencial: o inversor solar. Esse dispositivo inteligente converte a corrente contínua (CC) gerada pelos painéis solares em corrente alternada (CA), que pode ser usada por seus eletrodomésticos e pela rede elétrica. Sem um inversor solar instalado adequadamente, mesmo os painéis solares mais eficientes não serão capazes de alimentar sua casa de forma eficaz.
A instalação de inversores solares não se trata apenas de conectar alguns fios. É um processo diferenciado que afeta diretamente o desempenho, a eficiência, a segurança e a vida útil de seu sistema. Se for bem feita, otimiza sua produção de energia; se for mal feita, pode levar ao superaquecimento, à ineficiência ou até mesmo à falha do sistema.
Nos sistemas solares fotovoltaicos (PV), o inversor solar desempenha o papel fundamental de um tradutor - ele fala o idioma da rede. Ele também lida com a desconexão da rede, monitora o desempenho e pode até oferecer recursos de registro de dados para rastrear a produção solar.
Antes de iniciar a instalação de um inversor solar, é fundamental avaliar alguns fatores técnicos e logísticos importantes. Essas decisões não afetam apenas o bom andamento da instalação - elas podem moldar o desempenho geral, a segurança e o retorno sobre o investimento de todo o seu sistema de energia solar.
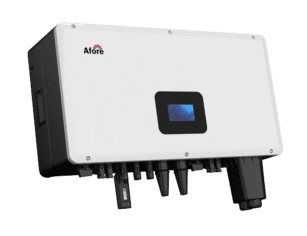
Nem todos os inversores solares são criados da mesma forma. Escolher o tipo certo para sua propriedade é o primeiro passo para garantir que a instalação do inversor solar atenda às suas necessidades de energia de forma eficiente.
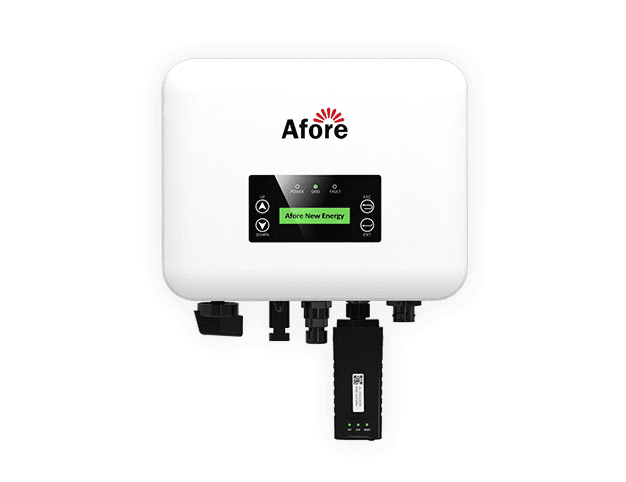
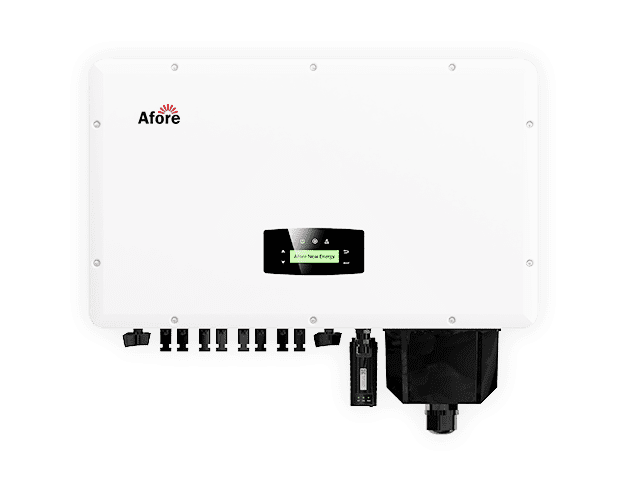
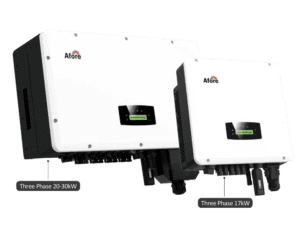
Esses são os mais comumente usados em instalações solares residenciais. Um inversor string conecta um grupo (ou "string") de painéis solares, convertendo sua saída CC combinada em CA. Os inversores de string são econômicos e relativamente fáceis de manter, mas seu desempenho pode ser afetado se até mesmo um painel do string estiver sombreado ou com baixo desempenho.
Os microinversores são montados na parte traseira de cada painel individual e convertem CC em CA diretamente na fonte. Isso permite que cada painel opere de forma independente, o que os torna uma ótima opção para telhados com sombreamento parcial ou painéis voltados para diferentes direções. Embora os microinversores tendam a ser mais caros, eles oferecem maior eficiência geral do sistema e monitoramento detalhado do desempenho.
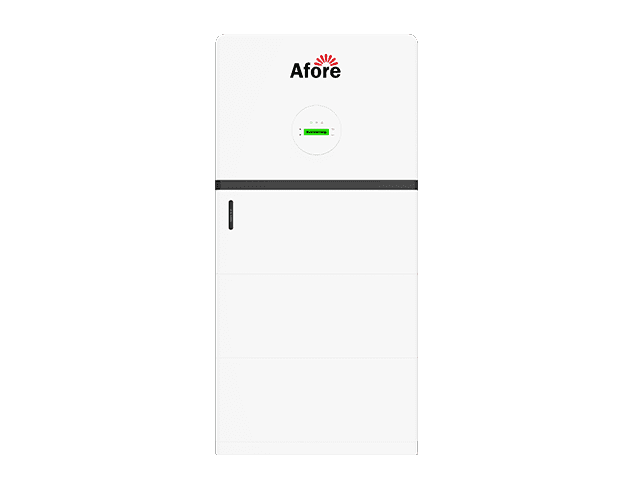
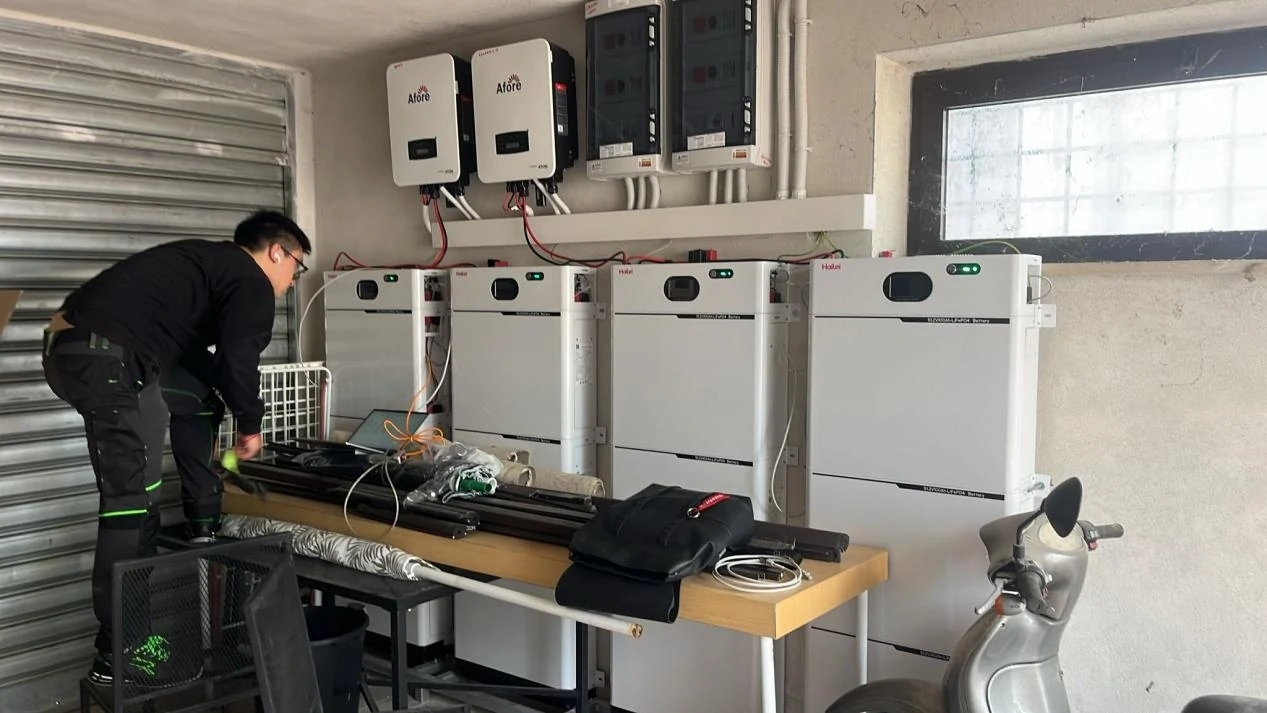
Esses inversores são projetados para sistemas que incluem painéis solares e armazenamento de bateria. A inversor híbrido gerencia o fluxo de energia dos painéis para a sua casa, para a rede e para a sua bateria. Se estiver planejando adicionar armazenamento agora ou no futuro, começar com um inversor híbrido pode economizar em atualizações futuras.
Normalmente encontrados em grandes fazendas solares comerciais ou em escala de serviços públicos, os inversores centrais funcionam de forma semelhante aos inversores string, mas em uma capacidade muito maior. Eles não são adequados para aplicações residenciais devido ao seu tamanho e à arquitetura centralizada.
Cada tipo de inversor oferece vantagens diferentes, dependendo do layout do seu sistema, das condições de sombreamento e se você planeja ou não usar o armazenamento da bateria. Para os proprietários de casas, a decisão mais comum se resume a escolher entre inversores de string e microinversores.
Acertar o tamanho de seu inversor solar é tão importante quanto escolher o tipo certo. Um inversor subdimensionado ou superdimensionado pode resultar em perda de energia, desempenho ruim ou até mesmo falha do equipamento.
Também conhecida como taxa de carga do inversor (ILR), essa métrica compara a potência combinada de seus painéis solares (CC) com a capacidade de saída do inversor (CA). Uma relação entre 1,1 e 1,3 é geralmente ideal para sistemas residenciais, permitindo que seus painéis funcionem próximo ao pico sem sobrecarregar o inversor.
Um inversor subdimensionado pode funcionar constantemente em sua capacidade máxima, desperdiçando a energia solar que seus painéis produzem. Por outro lado, um inversor superdimensionado pode operar de forma ineficiente, principalmente em condições de baixa luminosidade, como manhãs ou dias nublados. Ambos os cenários levam a perdas de energia e a menores retornos do sistema.
Se estiver pensando em adicionar mais painéis no futuro, certifique-se de que seu inversor tenha espaço suficiente. Um inversor híbrido, em particular, oferece flexibilidade se o armazenamento da bateria estiver em seu plano de longo prazo.
Os instaladores solares profissionais normalmente usam um software de modelagem de sistema para determinar a capacidade ideal do inversor com base na orientação do telhado, na exposição ao sol, nos padrões de consumo de energia e nas condições climáticas locais.
A instalação do inversor solar não é apenas uma questão de conectar alguns cabos. Trata-se de uma operação elétrica que deve atender a padrões locais e nacionais rigorosos. O não cumprimento pode levar a falhas de inspeção, garantias anuladas ou mau funcionamento perigoso.
Nos Estados Unidos, o NEC descreve os requisitos detalhados para aterramento, proteção contra sobrecorrente, chaves seccionadoras, dimensionamento de conduítes e muito mais. Essas regras são atualizadas a cada três anos e variam ligeiramente de acordo com a jurisdição.
A maioria dos municípios exige que você obtenha licenças antes de iniciar a instalação do inversor solar. Após a instalação, os inspetores locais de construção ou elétricos verificarão se o sistema é seguro e está em conformidade com os códigos antes de ser conectado à rede.
Sua concessionária local terá suas próprias diretrizes para conectar um sistema de energia solar à rede. Elas podem incluir limitações na capacidade do inversor, requisitos de proteção anti-ilhamento e recursos obrigatórios de desconexão remota.
Cada modelo de inversor vem com seu próprio conjunto de instruções e limitações de instalação. Seguir essas instruções com precisão não é apenas inteligente - é necessário para manter a cobertura da garantia.
Somente profissionais licenciados e certificados devem realizar instalações de inversores solares. Eles não apenas entendem os requisitos técnicos, mas também se mantêm atualizados com as regulamentações e práticas recomendadas em constante evolução.
A instalação do inversor solar é um trabalho técnico com implicações legais e de segurança. Ao trabalhar com profissionais que entendem essas normas e seguem as práticas recomendadas, você garante que seu sistema seja seguro e duradouro.
A instalação de inversores solares em ambientes internos e externos tem prós e contras:
Evite colocar o inversor solar:
Uma instalação de inversor solar bem executada não acontece por acidente. Ela requer uma abordagem deliberada, passo a passo, que garanta que cada componente seja colocado, conectado e configurado para atender aos códigos de segurança e proporcionar o máximo desempenho. Aqui está um detalhamento do que realmente acontece durante o processo de instalação - o que os profissionais procuram, como eles fazem e o que isso significa para o sistema de energia solar de sua casa.
Antes que um único fio seja passado ou um suporte seja montado, o instalador realizará uma avaliação completa do local. Essa etapa é, sem dúvida, a mais importante, pois define o tom de todo o processo de instalação do inversor solar.
Os principais pontos de avaliação incluem:
Nesse estágio, os projetistas de sistemas usam software de modelagem para simular a produção solar e validar o dimensionamento do inversor. Um bom começo aqui evita mudanças dispendiosas mais tarde.
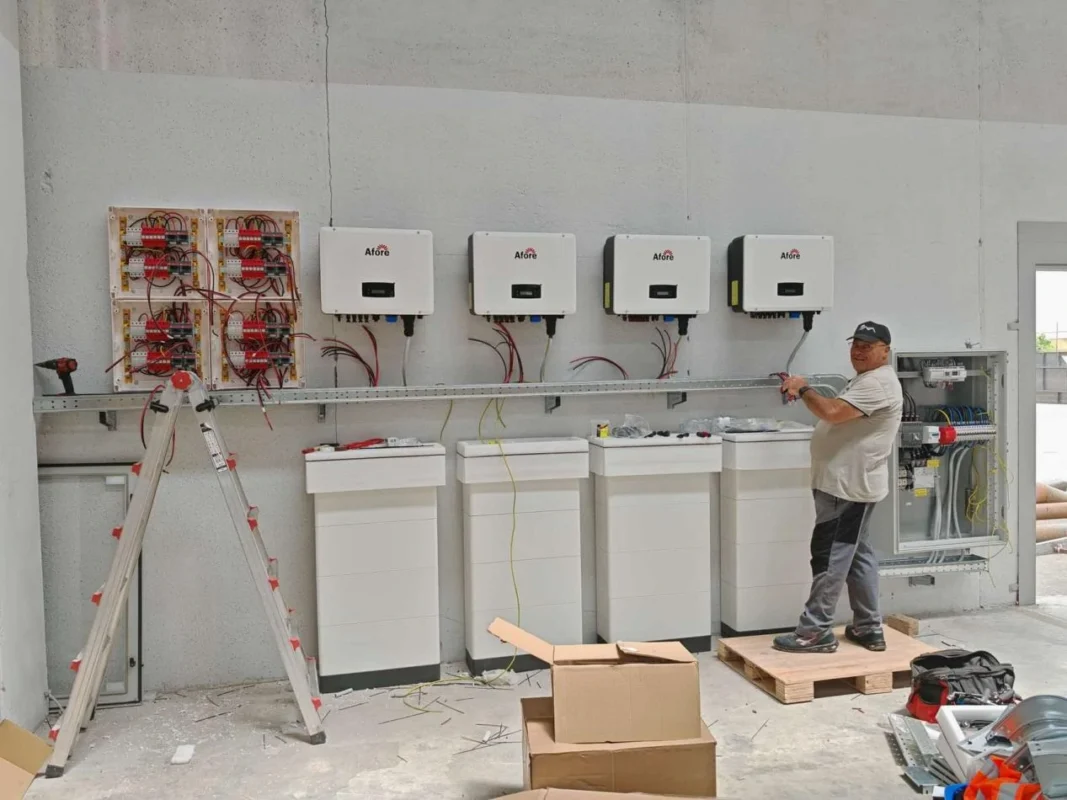
Após a conclusão do planejamento, a próxima etapa da instalação do inversor solar é a montagem física da unidade. Isso pode parecer simples, mas a qualidade do trabalho de montagem pode afetar a segurança e o desempenho.
Considerações importantes:
Alguns inversores solares modernos também exigem uma orientação específica - horizontal ou vertical - com base no projeto. Seu instalador seguirá exatamente as diretrizes do fabricante para garantir que a montagem atenda às condições de garantia.
É nesse ponto que as coisas se tornam técnicas e que a experiência profissional não é negociável. Uma configuração elétrica segura e em conformidade com os códigos é essencial para um sistema de energia solar funcional e duradouro.
As etapas normalmente incluem:
Nesse estágio da instalação do inversor solar, a precisão é tudo. Erros podem levar a falhas nas inspeções ou até mesmo a riscos de incêndio.
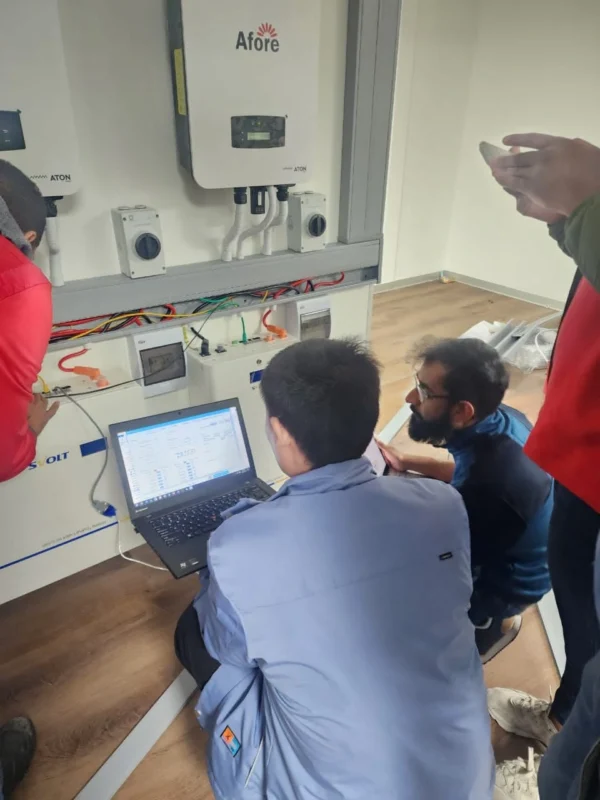
Depois que o sistema estiver fisicamente instalado e conectado, a próxima etapa é colocá-lo on-line e garantir que ele funcione como pretendido.
O que acontece durante o comissionamento:
Após esses testes, o sistema pode precisar de uma inspeção oficial de uma concessionária de serviços públicos ou do departamento de construção local antes de estar totalmente operacional.
Em termos leigos, a instalação de um inversor solar envolve cinco etapas principais:
Embora isso pareça simples, a execução real exige conhecimento técnico, uma forte compreensão do código elétrico e um entendimento de como os inversores solares interagem com todo o sistema de energia de sua casa.
As abordagens do tipo "faça você mesmo" são fortemente desencorajadas, não apenas por causa da segurança, mas também porque a instalação inadequada pode anular as garantias do fabricante e levar à falha do sistema. Para os proprietários de residências, a melhor opção é contratar uma empreiteira de energia solar licenciada com experiência comprovada em instalações de inversores solares.
Mesmo com painéis solares de primeira linha e as melhores intenções, uma instalação de inversor solar mal executada pode drenar silenciosamente a eficiência do seu sistema, causar problemas de confiabilidade a longo prazo ou até mesmo representar riscos à segurança. Entender e evitar as armadilhas mais comuns não apenas protege seu investimento, mas também garante que seu inversor solar funcione em seu potencial máximo desde o primeiro dia.
A escolha do tamanho errado do inversor é um dos erros mais frequentes - e caros - na instalação de inversores solares.
Muitos proprietários de casas presumem que maior é melhor, mas nem sempre é esse o caso. O superdimensionamento do inversor solar significa que ele frequentemente operará abaixo de sua capacidade ideal, especialmente em dias nublados ou nas primeiras horas da manhã. Isso pode resultar em uma menor eficiência geral do sistema.
Por outro lado, o subdimensionamento pode ser igualmente problemático. Quando o conjunto de painéis solares produz mais energia do que o inversor pode suportar, o excesso é simplesmente perdido. Embora um pequeno superdimensionamento dos painéis (overclocking) seja aceitável - muitas vezes até recomendado -, há limites. Uma incompatibilidade pode levar ao corte do inversor, ao superaquecimento e à redução da vida útil.
O que fazer em vez disso:
Trabalhe com um instalador solar qualificado que calcule a relação CC/CA do seu sistema, levando em conta seu uso de energia, as condições locais de luz solar e os planos de expansão futuros. A modelagem adequada do sistema ajudará a determinar a capacidade ideal do inversor para sua residência.
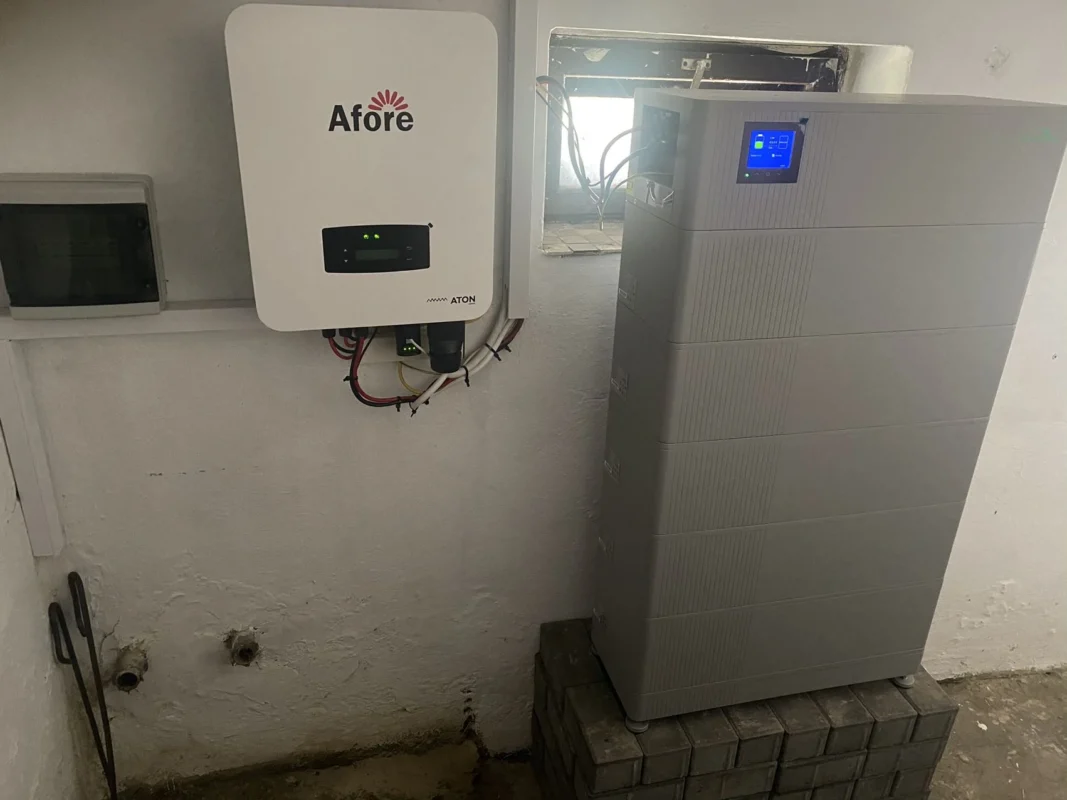
O local onde o inversor solar fica é mais importante do que a maioria das pessoas imagina. O posicionamento inadequado pode levar à ineficiência, ao desgaste mais rápido e, em casos extremos, à falha do sistema.
Alguns proprietários ou empreiteiros colocam os inversores sob luz solar direta ou em espaços confinados e sem ventilação, pensando que se trata apenas de "uma caixa na parede". Mas os inversores solares geram calor durante a operação. Se não puderem dissipá-lo adequadamente, os componentes internos se degradam mais rapidamente, reduzindo a produção e a vida útil.
Erros comuns de posicionamento incluem:
O que fazer em vez disso:
Escolha um local com sombra, bem ventilado e protegido dos elementos. Se for ao ar livre, certifique-se de que a unidade tenha grau de proteção IP65 ou superior e que não esteja exposta diretamente ao sol. As instalações em ambientes internos devem evitar armários pequenos ou gabinetes fechados. O posicionamento adequado é uma parte de baixo esforço e alto impacto de qualquer instalação de inversor solar.
Nem todos os eletricistas são treinados para realizar instalações de inversores solares, e nem todos os instaladores solares seguem as práticas recomendadas. Cortar caminho aqui pode levar a sérias consequências, desde riscos à segurança até garantias anuladas e inspeções fracassadas.
Alguns sinais de alerta incluem:
A instalação inadequada pode resultar em falhas de aterramento, flashes de arco, polaridade reversa ou configurações inadequadas do inversor - nenhuma das quais você deseja ter perto do sistema elétrico de sua casa.
O que fazer em vez disso:
Contrate profissionais licenciados e experientes em energia solar. Pergunte sobre suas certificações, políticas de garantia e experiência em projetos anteriores. Um instalador de boa reputação o guiará por todo o processo de instalação, desde a permissão até o comissionamento, com transparência e conhecimento.
Quando o inversor solar está instalado e funcionando, é fácil esquecê-lo - até que algo dê errado. Mas a manutenção regular é fundamental para manter a eficiência do sistema e prolongar a vida útil do inversor.
Embora os inversores solares sejam, em grande parte, autorreguláveis, eles não são isentos de manutenção. Poeira, insetos, corrosão, fios soltos ou falhas de software podem reduzir o desempenho ao longo do tempo.
Problemas comuns resultantes da falta de manutenção:
O que fazer em vez disso:
Marque inspeções anuais com seu instalador solar. Muitos analisam os dados mensalmente e agem em caso de quedas repentinas na produção ou alertas. O cuidado proativo é uma das maneiras mais simples de proteger seu investimento.
A fiação pode não ser a parte mais interessante de uma instalação de inversor solar, mas é uma das mais importantes. A fiação mal escolhida ou direcionada de forma inadequada pode levar a quedas de tensão, redução da eficiência e até mesmo riscos de incêndio.
Um erro comum é colocar o inversor muito longe dos painéis solares ou do painel de serviço principal. Quanto mais longo for o fio, maior será a resistência e mais energia será perdida na forma de calor. O uso da bitola errada do fio pode piorar o problema.
Outros erros de fiação incluem:
O que fazer em vez disso:
Mantenha as distâncias entre o inversor e o painel e entre o inversor e a rede tão curtas quanto possível. Se for inevitável fazer longos percursos, use a bitola e o tipo de fio corretos para a carga e as condições ambientais. Seu instalador deve calcular a queda de tensão e seguir rigorosamente os padrões de fiação locais e da NEC.
Nem todos os eletricistas são iguais. A instalação de um inversor solar requer conhecimento de sistemas CC, conformidade com a energia solar ligada à rede e processos de autorização. Escolha profissionais com:
Instaladores licenciados garantem que seu sistema atenda a todos os códigos locais e nacionais. Além disso, muitos fabricantes honram as garantias somente se profissionais certificados fizerem a instalação.
Pesquise instaladores com:
Vários fatores podem afetar o custo total:
Em média, os custos de instalação do inversor solar variam de $1.500 a $3.500, dependendo do tamanho, da localização e da complexidade do sistema. Os custos podem ser mais altos para sistemas prontos para bateria ou híbridos.
É fundamental adequar o inversor à saída do painel solar. Um número excessivo de painéis pode sobrecarregar o sistema; um número insuficiente, e você não estará maximizando o potencial.
Uma regra comum é ter uma relação CC/CA entre 1,1 e 1,3. Por exemplo, um inversor de 5 kW geralmente pode lidar com painéis de 5,5 a 6,5 kW. Consulte sempre o instalador e as diretrizes do fabricante.
Em sistemas de inversores de cadeia:
Embora não haja um limite rígido, a distância excessiva pode causar:
A distância ideal geralmente é inferior a 15 metros. Se for necessário mais, os instaladores podem usar fiação mais grossa ou instalar subpainéis para compensar.
Limpe periodicamente as aberturas de ventilação do inversor e monitore se há sinais de corrosão, ferrugem ou problemas na fiação. Mantenha a área livre de detritos.
A maioria dos inversores solares atuais oferece monitoramento remoto. Rastreamento:
A maioria dos inversores solares tem uma vida útil de 10 a 15 anos. Considere fazer a atualização quando:
Inversor solar A instalação é mais do que uma etapa técnica - é uma parte fundamental do seu sistema de energia solar que afeta o desempenho, a longevidade e o ROI. Ao compreender as práticas recomendadas, evitar armadilhas comuns e trabalhar com profissionais certificados, você pode garantir que seu investimento em energia solar seja inteligente e sustentável. Não importa se você é um proprietário de casa que está explorando a energia solar ou um entusiasta experiente da energia solar que está atualizando seu sistema, fazer a instalação correta do inversor solar é fundamental para aproveitar toda a energia do sol.
O custo de uma instalação de inversor solar varia de acordo com vários fatores: o tipo de inversor, o tamanho do sistema, as taxas de mão de obra em sua região e se faz parte de uma nova configuração solar ou de um retrofit.
- Os inversores String geralmente variam de $1.000 a $2.500, incluindo a instalação.
- Os microinversores, que são instalados em cada painel, normalmente custam de $1.000 a $4.000, especialmente para sistemas maiores.
- Os inversores híbridos, que suportam o armazenamento da bateria, podem custar entre $2.000 e $4.500, dependendo da marca e da capacidade.
Lembre-se de que esse preço inclui não apenas o hardware, mas também a instalação profissional, a permissão e a configuração da conexão à rede. Evite escolher com base apenas no preço; um inversor solar de qualidade instalado adequadamente pode se pagar por meio de maior eficiência e confiabilidade.
O local ideal para o inversor solar é um ponto sombreado, bem ventilado e de fácil acesso. O calor é o inimigo da eficiência, portanto, seja instalado em um ambiente interno ou externo, o inversor deve evitar a luz solar direta e espaços confinados.
As práticas recomendadas incluem:
- Montagem em uma parede sólida e vertical com bom fluxo de ar
- Mantê-lo fora de porões, sótãos ou garagens sem ventilação
- Uso de gabinetes à prova de intempéries (IP65 ou superior) para configurações externas
Colocar o inversor muito próximo a fontes de calor ou em gabinetes fechados pode levar a desligamentos frequentes ou à degradação do desempenho. Um instalador profissional avaliará o layout de sua casa para encontrar o local mais seguro e eficiente durante o processo de instalação do inversor solar.
Uma instalação típica de inversor solar envolve várias etapas importantes:
1. Avaliação e planejamento do local, incluindo a determinação do posicionamento ideal e da compatibilidade elétrica.
2. Montar o inversor de forma segura em uma superfície com espaço livre e ventilação adequados.
3. Conectar os fios CC dos painéis solares ao inversor.
4. Ligar a saída de CA ao painel de disjuntores de sua casa.
5. Aterramento do sistema e instalação de desconectores de segurança.
6. Comissionamento, em que o inversor é configurado, testado e sincronizado com a rede.
A maioria dos inversores solares modernos também inclui módulos Wi-Fi ou Bluetooth para monitoramento do desempenho. Um instalador licenciado cuidará de toda a configuração e garantirá que a instalação atenda aos códigos elétricos locais e aos requisitos da concessionária.
Não é qualquer eletricista. Embora os eletricistas gerais possam ser qualificados para trabalhar com a fiação doméstica, a instalação de inversores solares exige um conhecimento mais profundo dos sistemas fotovoltaicos, da conversão CC-CA e da conformidade com a rede.
Para garantir que seu sistema seja seguro, eficiente e totalmente coberto pela garantia, o instalador deve ser:
- Licenciado e segurado
- Familiarizado com a NEC e os códigos de construção locais
- Experiência em trabalhos específicos de energia solar
- Preferencialmente certificado pelo NABCEP (nos EUA) ou equivalente em seu país
O uso de um eletricista não especializado pode economizar dinheiro a curto prazo, mas pode levar a falhas nas inspeções, problemas de desempenho ou riscos à segurança. Sempre verifique as credenciais antes de contratar.
O número de painéis que um inversor solar pode manipular depende de sua capacidade e da potência total de sua matriz solar. Isso é determinado pela relação CC/CA, também conhecida como razão de carga do inversor (ILR).
Por exemplo:
- Um inversor de 5 kW normalmente pode suportar de 5,5 a 6,5 kW de painéis solares.
- É comum superdimensionar ligeiramente a matriz de painéis (até 130%) para maximizar a produção durante os horários de pico do sol.
O número de painéis também dependerá da potência de cada painel. Sempre trabalhe com um projetista ou instalador de sistemas para calcular a configuração ideal - painéis demais podem sobrecarregar o inversor, enquanto painéis de menos o subutilizam.
Você deve evitar colocar o inversor solar nos seguintes locais:
- Luz solar direta: Isso pode causar superaquecimento e reduzir a eficiência.
- Espaços mal ventilados: Sótãos, armários ou galpões fechados sem fluxo de ar levam ao estresse térmico.
- Ambientes úmidos ou molhados: A umidade pode corroer os componentes internos e reduzir a vida útil.
- Próximo a materiais inflamáveis: Os códigos de segurança proíbem a instalação próxima a fontes de combustível ou produtos químicos voláteis.
Durante a instalação do inversor solar, o instalador deve inspecionar e rejeitar locais inadequados. Se não houver um espaço interno ideal disponível, uma instalação externa com um gabinete à prova de intempéries geralmente é a próxima melhor solução.
A distância é mais importante do que a maioria dos proprietários de imóveis imagina. Quanto maior for a distância entre o inversor solar e o painel elétrico principal (ou medidor da concessionária), maior será a probabilidade de você perder energia devido à queda de tensão.
Melhores práticas:
- Mantenha a distância abaixo de 15 metros sempre que possível.
- Se for inevitável fazer longas extensões, o instalador deverá aumentar a bitola do fio para compensar a perda de energia.
- Em alguns casos, um subpainel pode ser instalado mais próximo do inversor para aumentar a eficiência.
Os instaladores profissionais calcularão essas distâncias e usarão os materiais adequados para garantir que seu sistema funcione de forma segura e eficiente, em total conformidade com o código elétrico.