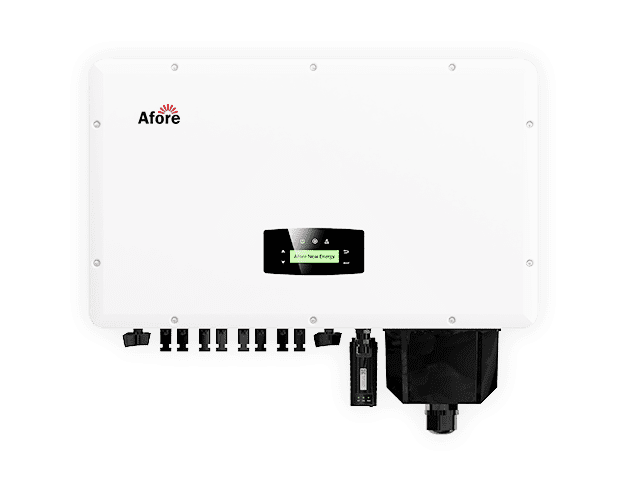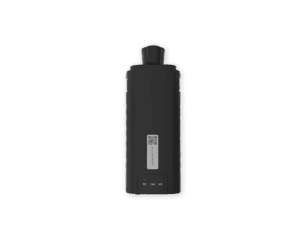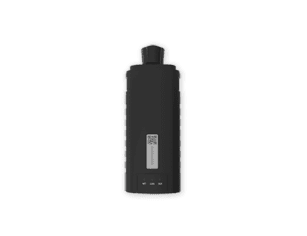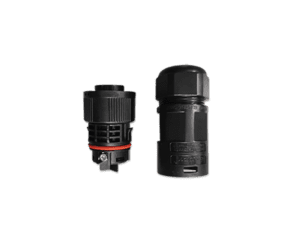


If you’ve ever wondered what makes a solar inverter tick or why some units outperform others, a hands-on solar inverter teardown is like opening a treasure chest of engineering secrets. Today, we’re going deep, not just at the surface. I’ll walk you through everything from inverter internal hardware to assessing capacitor quality solar components, giving you the insight to understand what separates a high-quality solar inverter from a subpar one.
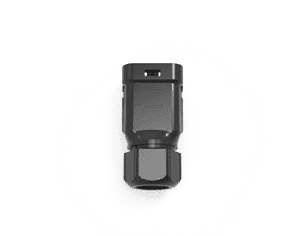
Performing a solar inverter teardown might sound technical, but it’s one of the most insightful ways to truly understand how a solar inverter works. Beyond the curiosity factor, a teardown gives you a close-up look at what separates a well-engineered device from a cheaply made unit. If you’ve ever wondered why some inverters last for years while others fail within months, this hands-on approach can reveal the answers.
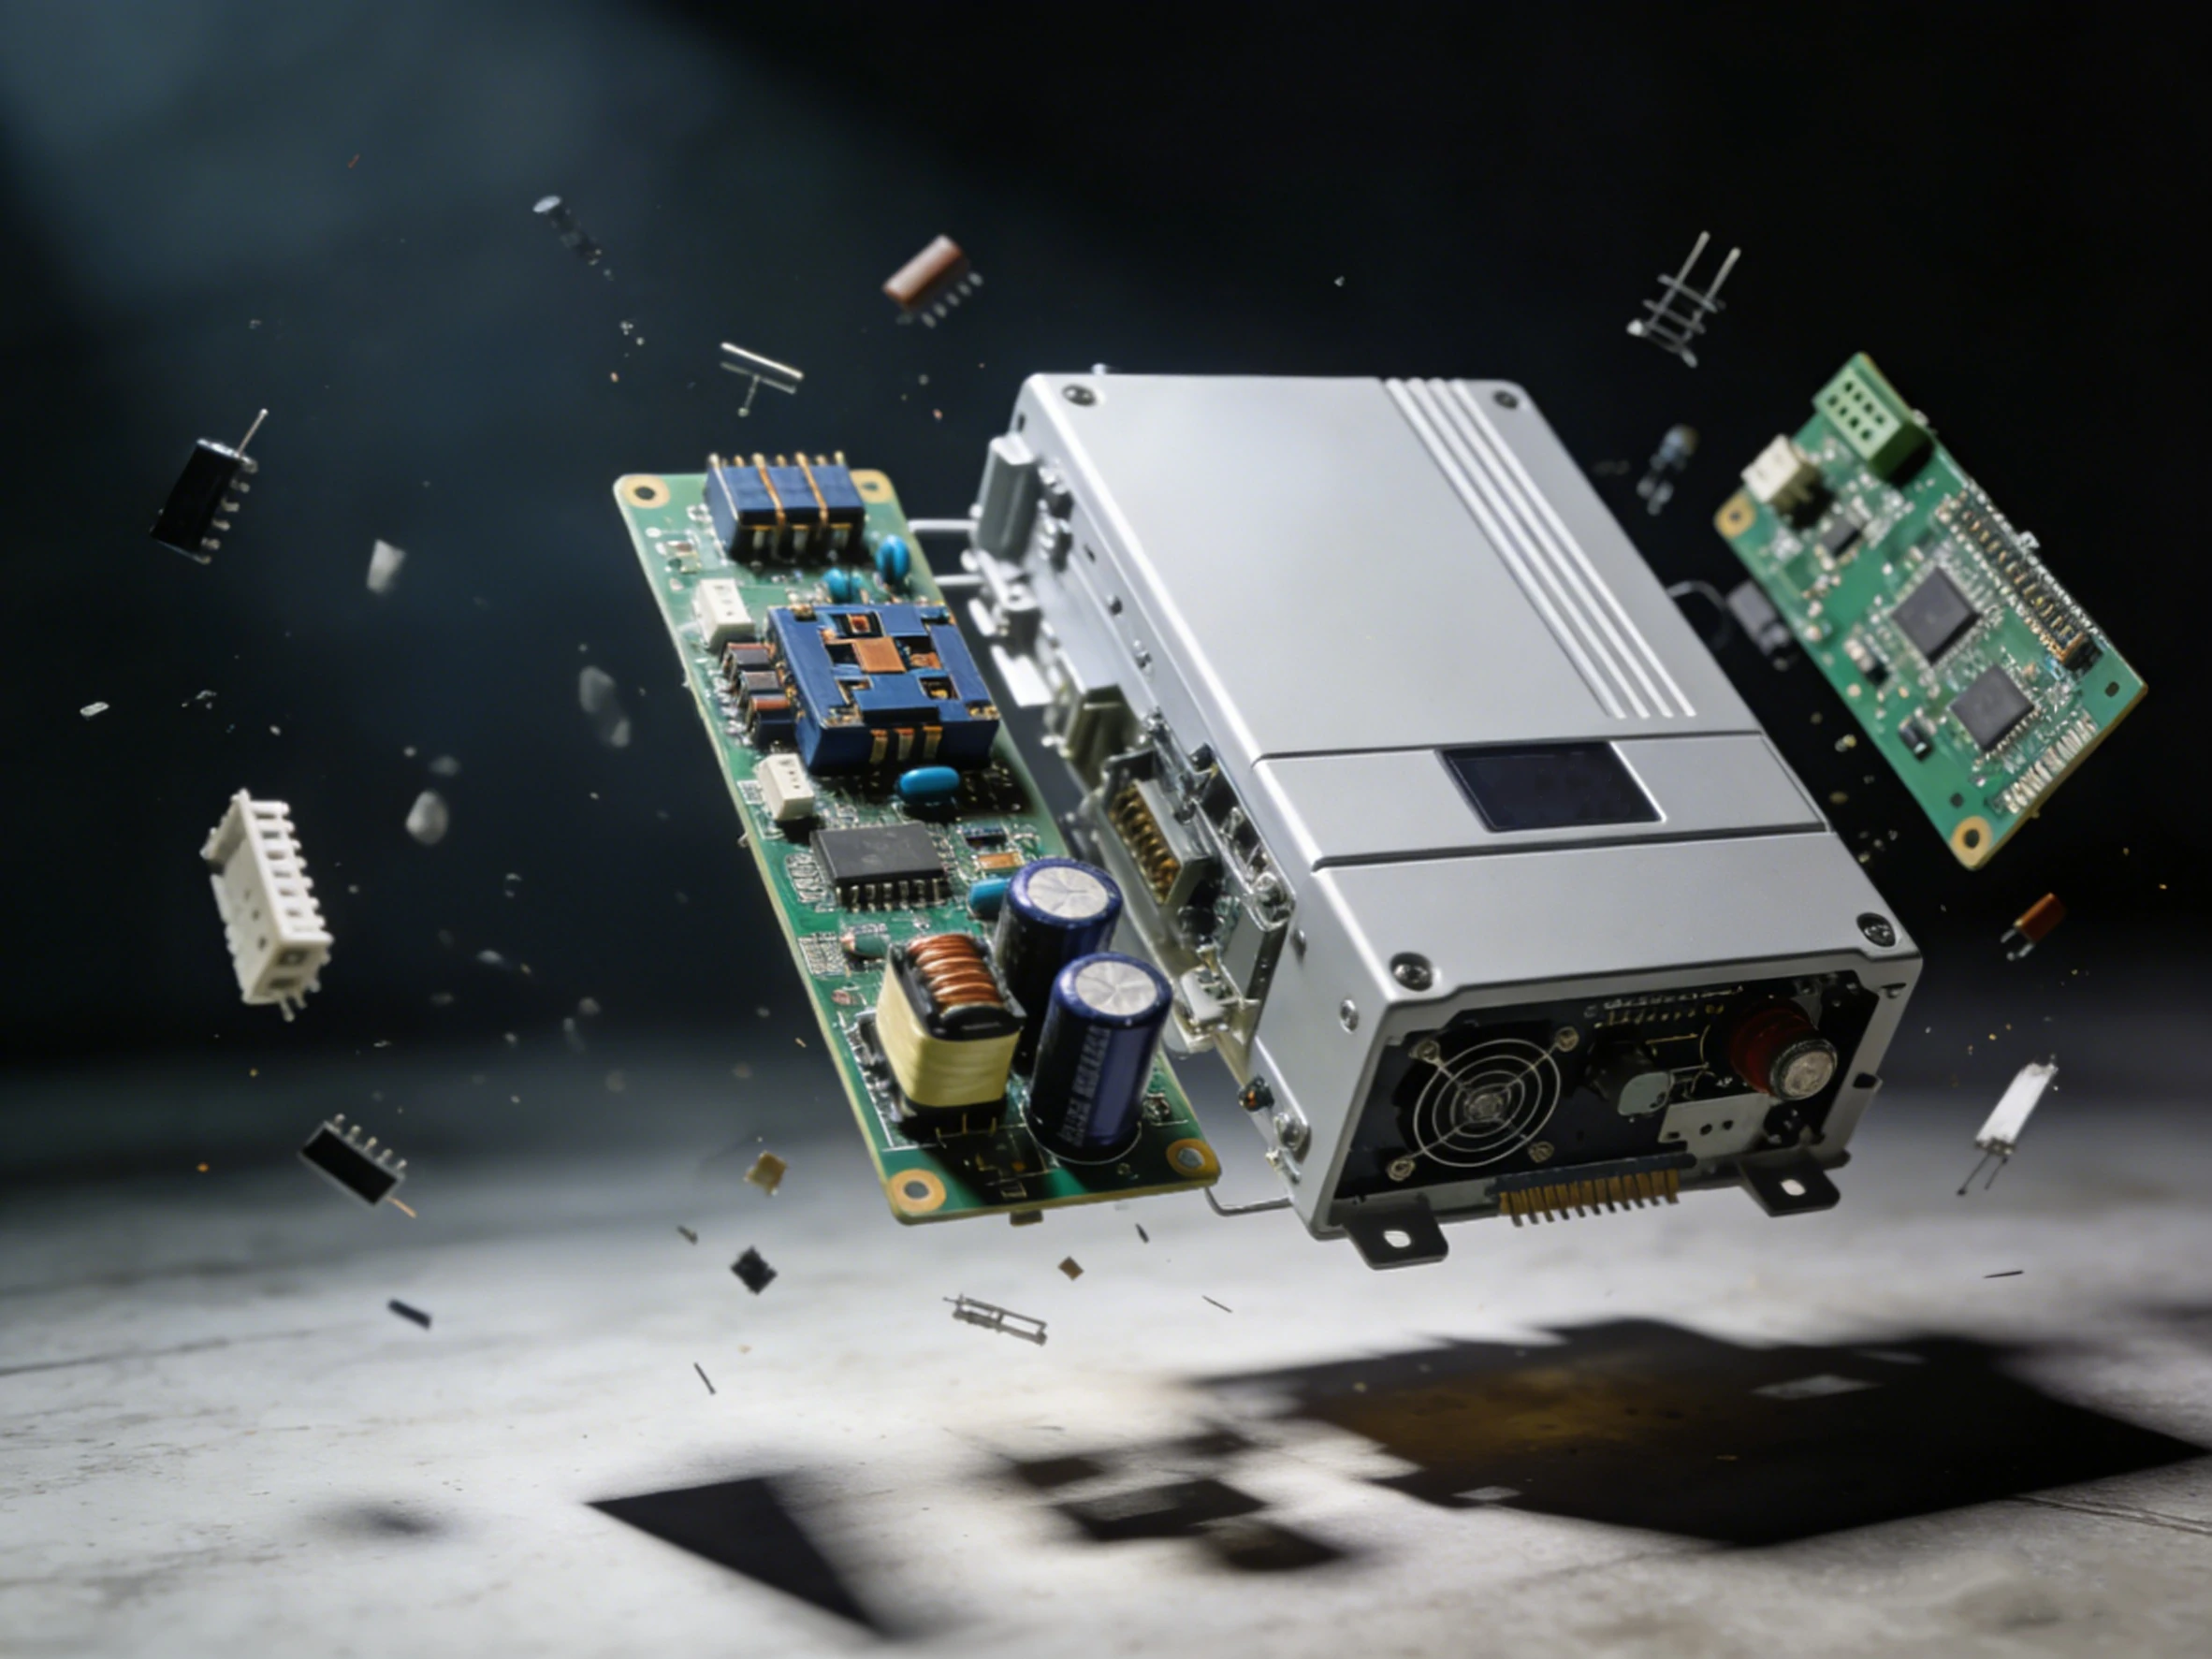
One of the first things a teardown exposes is the difference between quality construction and poor design. High-quality inverters often feature carefully organized inverter internal hardware, with components spaced to allow airflow and reduce heat buildup. Thick copper traces, clean soldering, and robust connectors signal a unit built to last. On the flip side, a poorly designed inverter may cram components too closely together, use flimsy PCBs, or rely on small, cheap capacitors. Even a quick glance at the board layout can tell you whether corners were cut.
Capacitor selection is another critical indicator. When you open a solar inverter, noticing capacitor quality solar components can immediately indicate reliability. High-grade capacitors tend to be larger, rated for higher temperatures, and often have features to handle long-term stress. Cheap electrolytics, by contrast, are prone to bulging or leaking, which is a common cause of inverter failures.
A teardown isn’t just about spotting poor craftsmanship—it’s a chance to understand how the device operates. Observing the inverter internal hardware shows you the flow of electricity from the DC input to the AC output, revealing the critical stages of power conversion. Components like IGBTs, MOSFETs, and transformers form the heart of the inverter, controlling current switching and voltage regulation. By seeing how these parts are arranged and connected, you can appreciate the engineering decisions that balance efficiency, heat management, and durability.
Even simple observations can be informative. Are the control boards shielded from high-power sections? Are the capacitors grouped near heat sources or protected by thermal pads? These small details often determine whether an inverter will maintain consistent performance under high load or fail prematurely.
Heat is a silent killer for electronic devices, and inverters are no exception. A solar inverter teardown often reveals how heat and stress are managed—or ignored. Properly designed inverters include heat sinks, thermal pads, or airflow channels that prevent hot spots. Poorly designed units may lack these features, leaving sensitive components vulnerable to thermal fatigue.
By examining thermal management, you can predict long-term reliability. Capacitors, IGBTs, and other heat-sensitive components perform much better when they stay within safe temperature ranges. A teardown also allows you to see mechanical stress factors: loose mounting, insufficient support for heavy components, or thin PCB material can all contribute to failure over time. Understanding these factors gives you a clear picture of why some inverters overheat faster than others and which design choices extend the device’s lifespan.
In short, a solar inverter teardown is more than just a visual exercise—it’s a diagnostic tool that highlights build quality, component function, and thermal management. For anyone interested in solar inverter performance, reliability, or repair, this hands-on approach provides insights that datasheets and spec sheets simply cannot.
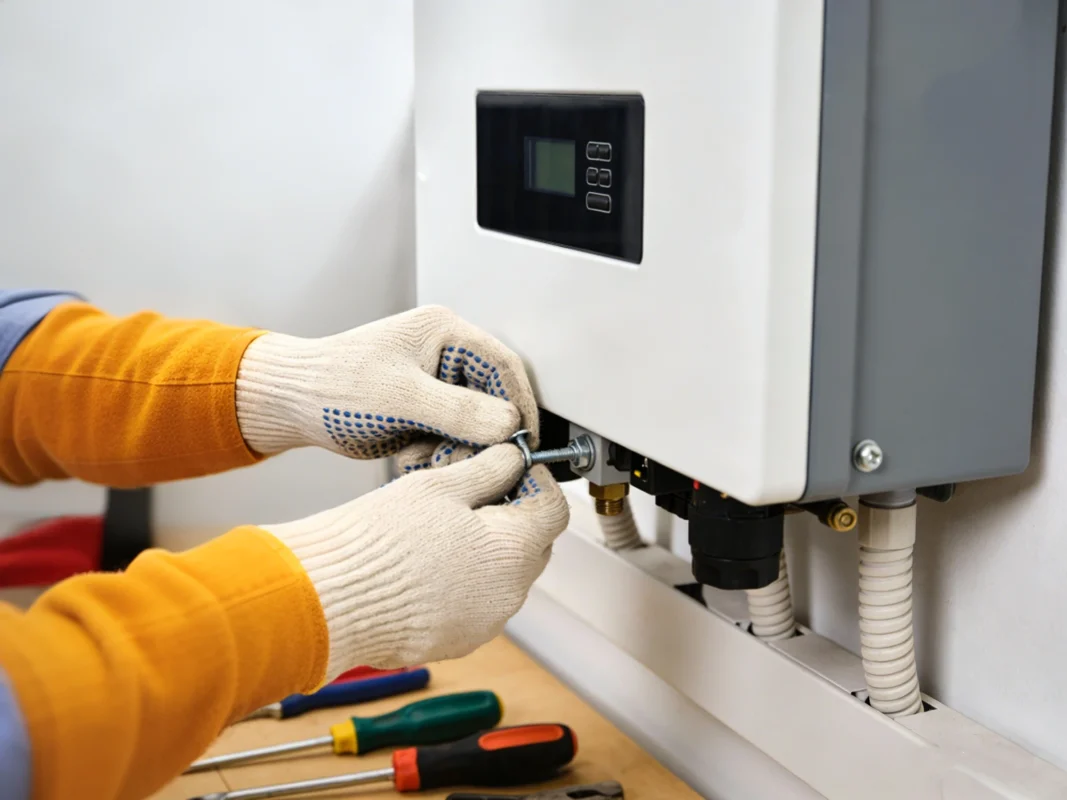
Before diving into a solar inverter teardown, having the right tools is crucial—not just for efficiency, but for safety. The first essentials are insulated screwdrivers and pliers. These allow you to open the casing and manipulate components without risking electric shock. Even a disconnected inverter can store dangerous charge in capacitors, so insulated tools are non-negotiable.
A digital multimeter is another must-have. It helps you check voltages, continuity, and identify potentially faulty components before touching them. If you want to get really precise, a thermal camera can reveal hot spots or uneven heat distribution in the inverter internal hardware, giving you insight into thermal management.
Other helpful items include a magnifying glass for inspecting solder joints and delicate components, and labeled trays to organize screws and small parts during disassembly. Taking these precautions ensures your solar inverter teardown is safe, organized, and informative. By combining the right tools with careful handling, you’ll gain the full benefits of exploring solar inverter construction without compromising safety.
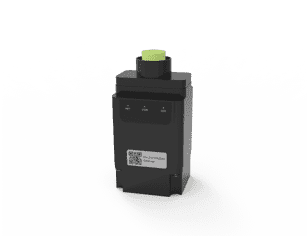
Performing a solar inverter teardown might seem intimidating at first, but with a systematic approach, it becomes a fascinating journey into electronics. Breaking down the device step by step not only reveals the quality of inverter internal hardware, but also helps you understand how each component contributes to overall performance. Here’s a structured approach to safely explore the inner workings of a solar inverter.
Before touching anything, ensure the solar inverter is completely disconnected from both the solar array and the AC load. Safety is critical: even after disconnecting, capacitors can store dangerous voltage for minutes or even hours. Lay out a clean workspace, and use labeled trays to organize screws, small parts, and connectors. Trust me, losing a tiny fastener or jumper can turn reassembly into a frustrating puzzle.
Take a moment to photograph the inverter before disassembly. These images will act as a reference and help you reassemble everything correctly. It’s a simple step, but it makes the teardown process smoother and less error-prone.
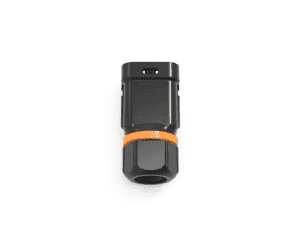
Using insulated screwdrivers, carefully remove the casing of the solar inverter. Observe how the manufacturer has arranged the inverter internal hardware. Are the components neatly spaced for airflow, or is the board densely packed? High-quality inverters often have a thoughtful layout that balances space and thermal management, while poorly designed units may cram parts together, increasing the risk of overheating.
Pay attention to any sealing or protective gaskets. These small design details are often overlooked but play a big role in dust and moisture resistance, contributing to long-term reliability.
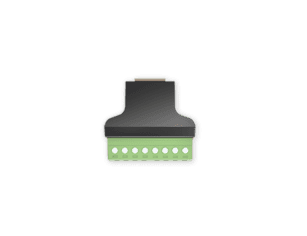
Once the casing is removed, the printed circuit boards (PCBs) are fully visible. Start with the DC input section: look for fuses, surge protection devices, and rectifiers. Then move to the power conversion stage, where you’ll find IGBTs and MOSFETs. Understanding the role of an IGBT in a solar power converter is key—they act as high-speed switches, controlling the flow of high currents with minimal energy loss.
Check the capacitors carefully. Capacitor quality solar components are a major indicator of durability. High-grade units are larger, rated for higher voltages, and often heat-resistant. Smaller or cheap capacitors may show signs of stress, like bulging or discoloration, which hints at potential failure points.
Thermal management is often the make-or-break factor for inverter longevity. Look for heat sinks, thermal pads, or fans that help dissipate heat from critical components. Even a small solar inverter can generate significant heat under full load, and poor cooling can accelerate wear on capacitors and semiconductors.
During your teardown, notice airflow paths and component spacing. Overcrowded boards or blocked vents are a red flag, suggesting the unit may overheat more easily than its well-designed counterparts.
As you go deeper into the solar inverter teardown, take notes, photos, or even videos of each stage. Documenting component placement, solder quality, and wiring paths is invaluable for analysis. This record allows you to identify design strengths and weaknesses, compare different inverters, and even plan repairs or upgrades if needed.
Focus on key observations:
These details help you differentiate a high-quality solar inverter from a poorly made one and offer insights into why some units fail faster than others.
After completing your teardown and inspection, carefully reassemble the inverter. Refer to your notes and photos to ensure every screw, connector, and PCB is back in place. Once assembled, a cautious test under low load conditions can verify that all components are functioning as expected.
Performing this step methodically ensures you gain maximum insight from the solar inverter teardown without compromising safety. With each teardown, your understanding of inverter internal hardware deepens, and you’ll be better equipped to evaluate, maintain, or repair inverters in the future.
A solar inverter teardown doesn’t just satisfy curiosity—it uncovers the very elements that determine performance, reliability, and longevity. By carefully analyzing the inverter internal hardware, you can see which design choices make a unit robust and which shortcuts compromise it. Let’s break down the critical components you’ll encounter during a teardown and why they matter.
At the heart of any solar inverter is the power stage. This includes IGBTs, MOSFETs, transformers, and inductors. These components are responsible for converting the DC power from solar panels into usable AC electricity.
IGBTs, for example, act as high-speed switches that handle large currents efficiently. Their placement, cooling, and soldering quality directly affect the inverter’s performance. MOSFETs complement IGBTs by handling fast switching in lower voltage sections. Transformers and inductors manage voltage transformation and filtering, ensuring the AC output is stable and clean. In a teardown, the thickness of copper windings and the quality of insulation can indicate how well the inverter will hold up under long-term stress.
Capacitors are among the most telling components in a solar inverter teardown. They smooth voltage fluctuations, filter noise, and store energy temporarily. Observing capacitor quality solar components provides a clear view of the manufacturer’s priorities.
High-quality inverters typically use large, heat-resistant capacitors rated above their nominal voltage, often with polymer or film construction. These components can endure thermal cycling without degrading quickly. In contrast, cheap electrolytic capacitors are smaller, rated just above operating conditions, and prone to swelling or leakage. Spotting these differences during a teardown gives immediate insight into reliability.
The control electronics govern how the solar inverter manages power conversion. Microcontrollers, gate drivers, sensors, and monitoring circuits ensure the inverter maintains output voltage, frequency, and efficiency.
During a teardown, inspect the soldering quality and layout of these boards. Well-designed control electronics are usually shielded from heat-intensive areas, neatly arranged, and connected via reliable traces. Poorly built control circuits often show crowded layouts, minimal thermal separation, or cheap components, which can lead to erratic performance or premature failure.
Safety is paramount in any solar inverter. During a teardown, you’ll notice fuses, surge protection devices, and thermal cut-offs strategically placed throughout the inverter internal hardware. These components prevent catastrophic failures by cutting power during overloads, spikes, or overheating.
A well-built inverter includes multiple layers of protection. Fuses are easy to spot—they often sit near input terminals. Surge protection devices absorb voltage spikes, and thermal sensors ensure the inverter shuts down safely if internal temperatures rise too high. Observing these features in a teardown tells you how seriously the design considers real-world conditions.
Thermal management is not just about fans or heat sinks—it’s a combination of component spacing, airflow paths, thermal pads, and material choices. During a teardown, check how heat-sensitive elements like IGBTs and capacitors are cooled.
A high-quality solar inverter will have components mounted on heat-conductive pads or directly to large heat sinks, with airflow unobstructed. Thermal pathways are clearly considered in the layout. Poor designs often cram components, leaving hot spots that accelerate wear, especially in capacitor quality solar elements.
Finally, don’t overlook the mechanical elements. Connectors, terminals, and mounting hardware ensure a solid, vibration-resistant build. Loose or flimsy connections can lead to arcing, resistance buildup, and eventual component failure. In a teardown, sturdy connectors and well-supported boards indicate thoughtful engineering, while cheap clips or inadequate mounting often signal potential weak points.
Not every solar inverter is created equal. A teardown can quickly reveal shortcuts, weak components, and design flaws that may compromise performance or longevity. Understanding the signs of a poorly built inverter helps you make informed choices, whether for purchase, repair, or maintenance.
One of the first things to notice is the layout of the inverter internal hardware. Poorly designed units often cram components onto the board with minimal spacing. This overcrowding can restrict airflow and increase heat accumulation, which leads to faster component degradation. In contrast, well-engineered inverters have neatly spaced boards that allow for proper thermal management.
Capacitors are critical to voltage smoothing and power stability. Cheap or undersized capacitors, especially in the capacitor quality solar category, are prone to bulging, leaking, or failing under thermal stress. During a teardown, spotting small, low-grade capacitors is a strong indicator of potential long-term reliability issues.
Heat is the silent enemy of electronics. Poorly built inverters often lack sufficient heat sinks, thermal pads, or airflow channels. Components like IGBTs and MOSFETs can overheat quickly, leading to reduced efficiency or outright failure. A well-designed inverter addresses thermal issues with thoughtful placement and adequate cooling solutions.
Check the solder joints and mechanical connectors. Cold solder joints, thin PCB traces, or loose connectors can cause intermittent failures, arcing, or resistance buildup. Strong, clean connections are a hallmark of quality, while messy or minimal soldering often points to cost-cutting measures.
Finally, safety components like fuses, surge protection devices, and thermal cut-offs are essential. A poorly built inverter may skimp on these, leaving the device vulnerable to overloads or spikes. During a teardown, missing or minimal protection devices are a clear red flag.

Working on a solar inverter teardown can be both educational and revealing, but field experience teaches lessons that manuals rarely cover. These practical tips help you explore safely while getting the most insight from the process.
Even when an inverter is disconnected, capacitors can store dangerous charge. Always use insulated tools and consider wearing gloves or safety glasses. Taking these precautions prevents accidents and allows you to focus on examining the inverter internal hardware without worry.
Photos, notes, and labeled trays for screws and small parts are invaluable. Capturing the layout of components, wiring, and connectors makes reassembly straightforward and helps you analyze capacitor quality solar and other critical parts later. Clear documentation ensures you can compare different inverters or identify design improvements over time.
Pay attention to heat sinks, airflow channels, and component spacing. Understanding thermal management reveals why some solar inverters overheat faster than others. Similarly, inspecting mechanical supports and connectors shows whether the unit is built to withstand vibration and long-term stress.
Rushing a teardown increases the risk of damage or missed observations. Move deliberately, examine each section, and cross-check your notes. The value of a solar inverter teardown lies in the details, so patience often leads to the most meaningful insights.
A high-quality string solar inverter contains well-organized inverter internal hardware, including IGBTs, MOSFETs, transformers, and capacitors designed to handle high temperatures. Proper thermal management, robust soldering, and protective components like fuses and surge protectors are standard. These features ensure long-term reliability and efficient power conversion.
Overheating often comes from poor layout, insufficient heat sinks, or cheap capacitor quality solar components. Crowded boards restrict airflow, and low-grade capacitors or semiconductors degrade under heat. Well-designed inverters separate high-heat areas, use thermal pads or fans, and select components rated for real-world operating conditions.
An IGBT acts as a high-speed switch that converts DC electricity from solar panels into AC power. It manages high current with minimal loss and works alongside MOSFETs and other components in the power stage. In a teardown, observing properly cooled and securely soldered IGBTs indicates the inverter is built for efficiency and durability.
Look for crowded PCBs, small or low-grade capacitors, thin copper traces, and weak soldering. Missing fuses, surge protectors, or inadequate thermal design are also red flags. High-quality inverter internal hardware and capacitor quality solar components are clearly designed with long-term performance in mind.
Absolutely. By examining component quality, thermal design, and board layout, a teardown reveals potential failure points and maintenance priorities. Understanding the solar inverter internals allows safer repairs, informed upgrades, and better evaluation when selecting replacements.