


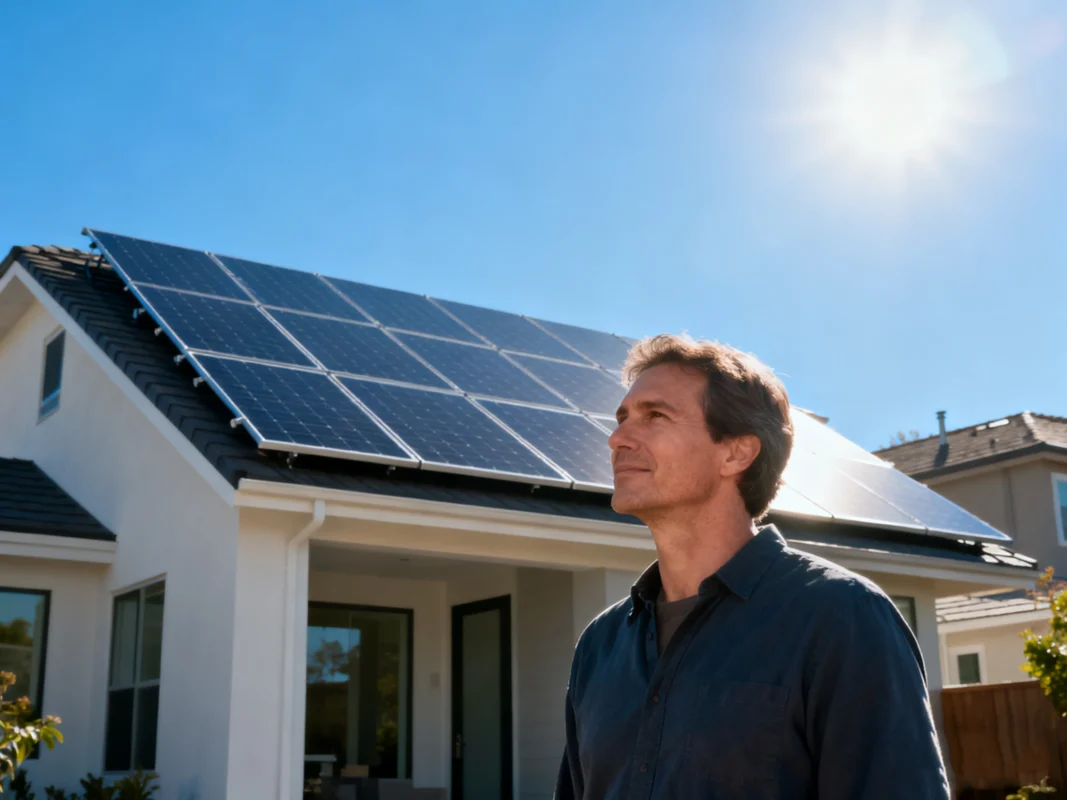
Harnessing the sun’s energy has never been more practical or affordable. A well-designed home solar setup can not only slash your electricity bills but also give you energy independence and reduce your environmental footprint. At the heart of this system lies the solar inverter, converting the sunlight captured by your panels into usable electricity for every corner of your home. Whether you’re considering a DIY installation or professional setup, understanding the components, costs, and benefits of solar power is the first step toward a smarter, greener household.
In recent years, homeowners have increasingly turned to solar energy as a sustainable and cost-effective alternative to traditional electricity sources. With rising energy costs and growing environmental concerns, investing in a home solar setup has become an attractive option for many.
Beyond reducing electricity bills, a home solar setup offers numerous advantages. It provides energy independence, enhances property value, and contributes to a cleaner environment by reducing carbon footprints.
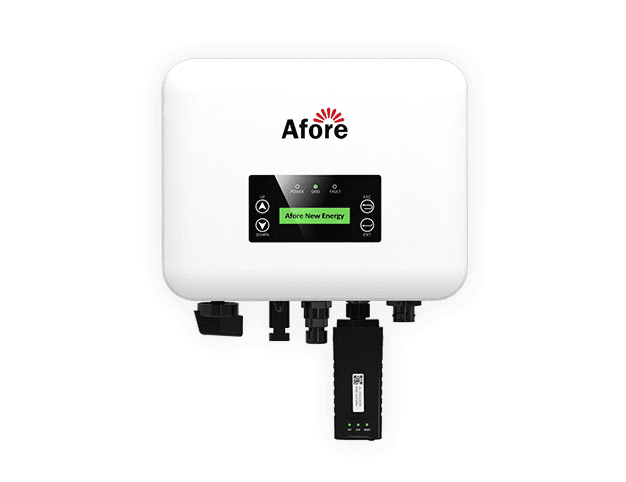
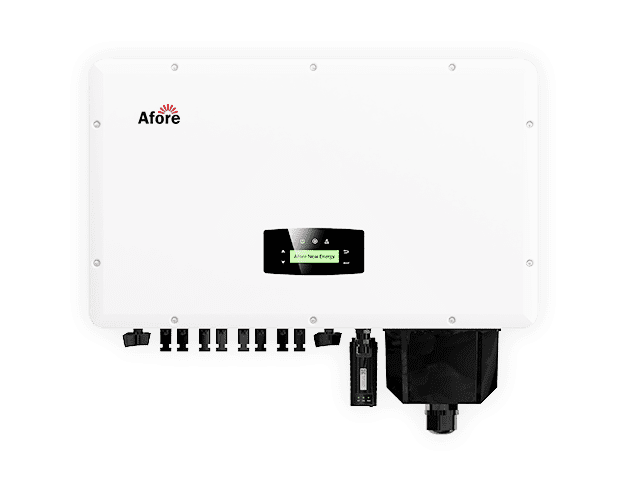
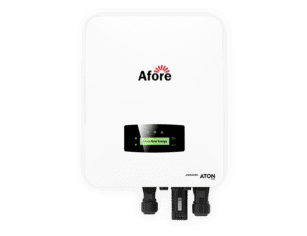
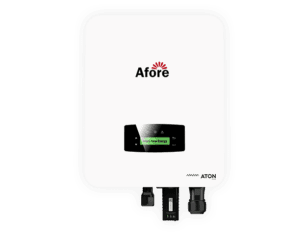
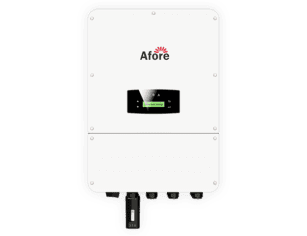
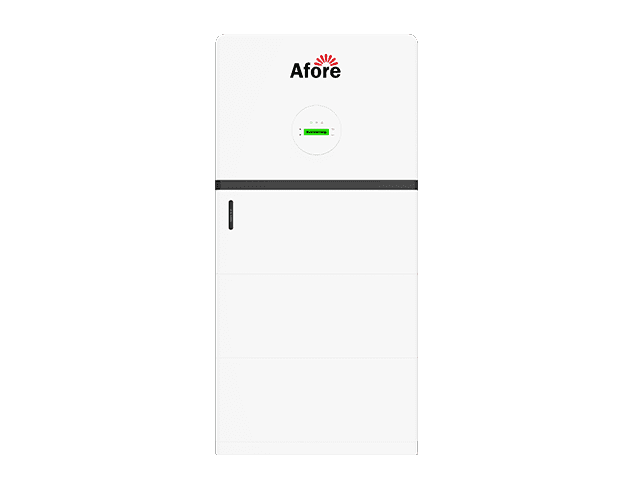
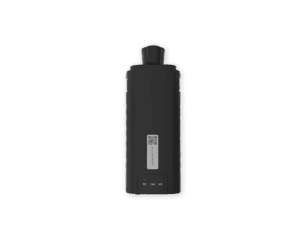
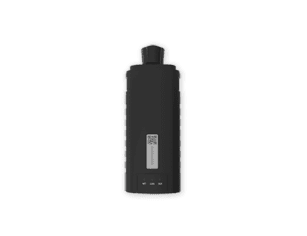
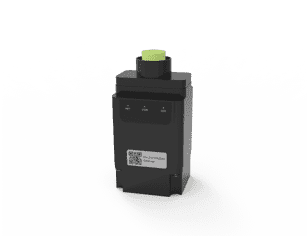
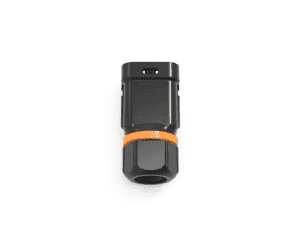
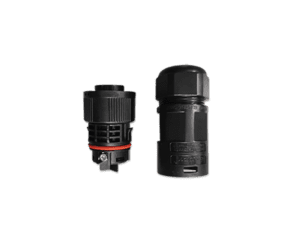
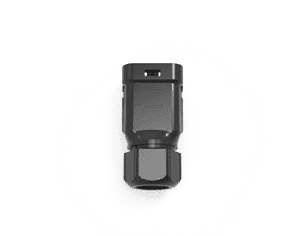
A crucial component of any home solar setup is the solar inverter. This device converts the direct current (DC) electricity generated by solar panels into alternating current (AC) electricity, which is used to power household appliances. Choosing the right solar inverter is essential for maximizing the efficiency and longevity of your solar system.
When planning a home solar setup, understanding how solar panels work and what options you have is essential. Solar panels are the foundation of your renewable energy system — they capture sunlight and convert it into electricity that can power everything from your lights to your refrigerator. But choosing the right panels and knowing how to install them can make the difference between a system that thrives for decades and one that underperforms.
A well-designed home solar setup relies on three key elements: efficient solar panels, a reliable solar inverter, and correct installation. Let’s break down what you should know before investing in your system.
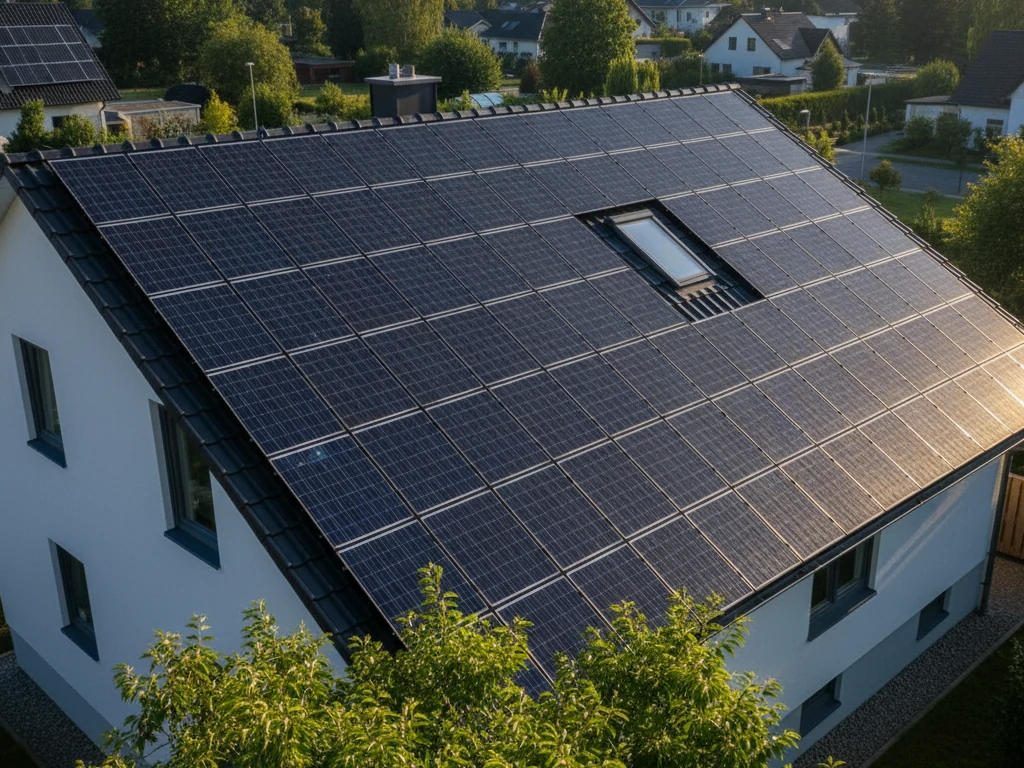
Not all solar panels are created equal. The type you choose for your home solar setup will affect how much electricity you generate, how much space you need, and even how your roof looks.
These are the most efficient and durable panels available today. Made from a single crystal structure, monocrystalline panels perform exceptionally well in limited spaces and under direct sunlight. Their sleek black color also makes them a popular choice for homeowners who care about aesthetics. Although they tend to be more expensive, they deliver long-term value and a higher energy yield — ideal for anyone aiming to maximize their investment in a home solar setup.
Polycrystalline panels are slightly less efficient but more affordable. They’re made from multiple silicon fragments melted together, resulting in a bluish hue. For larger rooftops or lower budgets, these panels can be an excellent fit, providing steady performance without breaking the bank.
Lightweight and flexible, thin-film panels offer a modern alternative for unique roof shapes or off-grid setups. While their efficiency is lower, they perform better in shaded or high-temperature environments. Homeowners who prioritize design flexibility or temporary installation often prefer these panels for their home solar setup.
When comparing panel types, consider your energy goals, roof space, and climate conditions. The right choice will balance cost, performance, and longevity — ensuring your solar inverter can convert every bit of sunlight into clean, usable power.
With so many online resources available, many homeowners wonder whether a DIY home solar setup is a good idea. The short answer: it depends on your technical skills, local regulations, and risk tolerance.
Building your own solar system can significantly lower upfront costs, and it gives you full control over every component — from the panels to the solar inverter. However, installing solar panels requires electrical knowledge, proper permitting, and adherence to local safety codes. Mistakes in wiring or placement can reduce efficiency or even pose safety hazards. DIY systems also may not qualify for certain rebates or warranties, which could affect long-term savings.
On the other hand, hiring a certified installer provides peace of mind. Professionals handle everything — design, permits, and grid connection — ensuring that your home solar setup meets all regulations and performs efficiently. They also optimize panel placement and configure the solar inverter for maximum energy output. While this option costs more upfront, it often delivers better long-term performance, reliability, and financial returns.
Bottom line: if you have strong electrical and construction skills, a DIY approach can be rewarding. But if you prefer guaranteed results and long-term support, professional installation is the safer path.
Even the best solar panels can underperform if they’re not installed correctly. The placement and angle of your panels directly influence how much power your home solar setup can produce throughout the year.
For homes in the Northern Hemisphere, panels should generally face south to capture the most sunlight. The ideal tilt angle often matches your latitude, but installers may adjust it slightly to optimize seasonal performance. A few degrees of misalignment can mean the difference between average and excellent efficiency.
Trees, chimneys, and nearby buildings can cast shadows on your panels, drastically reducing output. During the design phase of your home solar setup, perform a shading analysis to identify problem areas. Even partial shading can disrupt the current flow, especially in systems with a single string solar inverter. If shading is unavoidable, microinverters or power optimizers can help maintain performance by isolating each panel’s output.
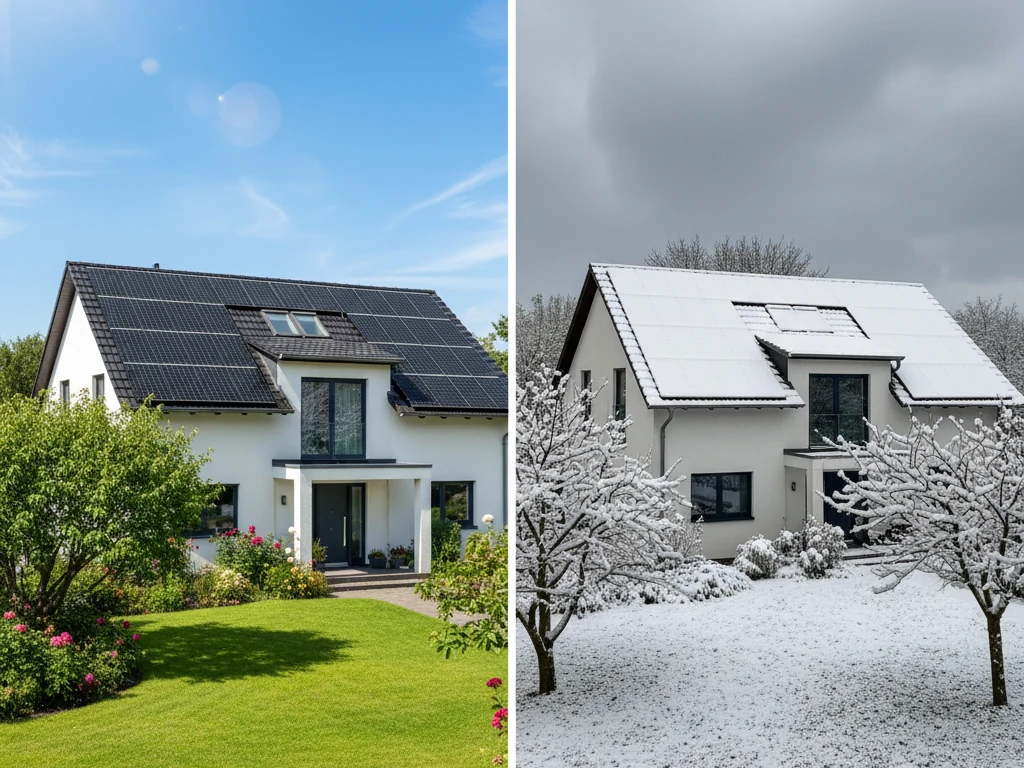
Contrary to what many believe, solar panels perform well even in cooler climates. In fact, solar cells are more efficient in lower temperatures — they just need sunlight, not heat. However, dust, snow, and debris can accumulate and block sunlight. Regular cleaning and maintenance keep your home solar setup performing at its best year-round.
Before installation, ensure your roof is in good condition and can support the additional weight of the panels and mounting hardware. A solid foundation ensures the longevity of your entire home solar setup and prevents costly repairs down the road.
Proper efficiency and placement planning can raise your system’s energy production by up to 25%. When your panels, roof, and solar inverter all work in harmony, you’ll enjoy consistent energy savings and decades of sustainable power.
Before you purchase panels or install a home solar setup, you need to know how much solar power your household actually uses. This calculation determines the number of panels you’ll need, the type of solar inverter that fits your system, and your overall budget. A thoughtful, data-driven approach will prevent you from overspending on unnecessary capacity or under-sizing your system so it can’t meet your daily energy needs.
Calculating your home’s solar power requirements may sound technical, but it’s a straightforward process that combines your current energy consumption, local sunlight availability, and the efficiency of your solar components. Once you understand these factors, designing an optimized home solar setup becomes much easier.
The amount of solar power needed for a typical home depends mainly on how much electricity you use. Start by checking your electricity bills to determine your average monthly consumption in kilowatt-hours (kWh). Divide that by 30 to find your daily energy use. For example, if your home consumes 900 kWh per month, your daily requirement is about 30 kWh.
Next, consider your location’s average sunlight hours. A region that receives 5 peak sunlight hours per day will require fewer panels than one with only 3 hours of strong sunlight. Multiply your daily energy use by your local sunlight hours to estimate how much solar capacity you’ll need.
A typical home solar setup ranges between 5 kW and 10 kW in capacity for an average household. Smaller homes or energy-efficient properties might require less, while larger homes with electric vehicles or high appliance usage may need more.
Don’t forget to factor in system losses—such as inverter inefficiencies, wiring resistance, and occasional shading—which usually account for 10–20% of total output. Your solar inverter plays a critical role here: a high-quality inverter ensures maximum energy conversion efficiency and minimizes power loss.
Once you know your target system size, you can estimate the number of panels required. The calculation depends on the wattage rating of the panels you choose. Most modern panels produce between 300 and 400 watts of electricity per hour under optimal conditions.
Here’s a simple method:
For instance, a 6-kW system (6,000 watts) using 350-watt panels would require roughly 17 panels (6,000 ÷ 350 ≈ 17).
However, numbers alone don’t tell the whole story. The actual panel count depends on:
If your roof space is limited, higher-efficiency panels may be worth the extra cost, since they generate more energy per square foot. For ground-mounted systems, you can choose lower-cost panels and allocate more space instead.
It’s also wise to anticipate future energy demands. If you plan to add an electric vehicle, new HVAC system, or home battery, sizing your home solar setup slightly larger now can save significant upgrade costs later.
A practical way to ensure your home solar setup meets your household needs year-round is to apply the 20% rule. This principle suggests designing your system to generate about 20% more electricity than your current usage.
Why? Because real-world conditions rarely match laboratory ratings. Dust accumulation, cloudy days, temperature changes, and inverter inefficiencies all reduce actual output. By oversizing your system slightly, you create a buffer that keeps your energy production steady through seasonal variations.
For example, if your home uses 9,000 kWh annually, aim to design a system capable of producing around 10,800 kWh per year. The extra capacity ensures that even on overcast or short winter days, your home solar setup continues to meet your needs without relying heavily on grid electricity.
When applying this rule, remember to check that your roof or installation area can handle the additional panels. It’s also essential to confirm that your solar inverter can accommodate the higher input without overloading. Hybrid or multi-input inverters are excellent choices for systems designed with future expansion in mind.
Although manual calculations are useful for getting a rough estimate, using online solar calculators or professional assessment tools can give you a more accurate projection. These tools take into account your exact location, roof pitch, orientation, and local weather patterns to generate precise numbers.
To use one effectively, you’ll typically enter:
The results help you estimate how many panels your home solar setup requires and what size solar inverter is suitable for your configuration.
However, while these digital tools are helpful, consulting a licensed solar technician or energy auditor adds a layer of professional accuracy. Experts can assess unique variables—like partial shading, electrical load patterns, and structural considerations—that online calculators can’t.
When you take the time to correctly calculate your solar needs, your home solar setup becomes more than just an energy system — it turns into a long-term investment that saves money, boosts energy independence, and supports a sustainable future.
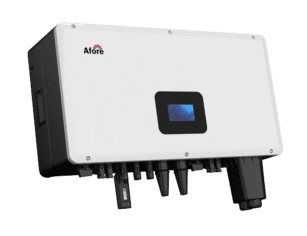
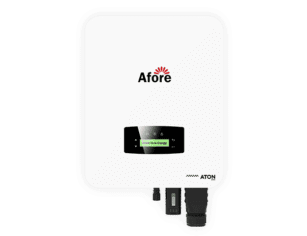
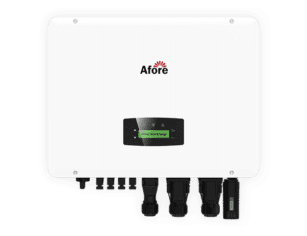
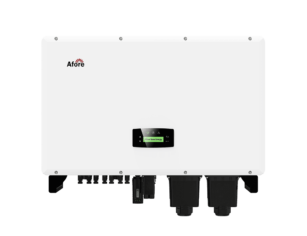
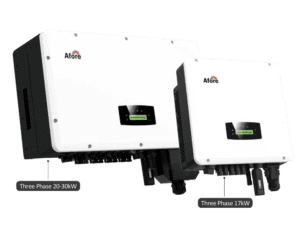
У "The сонячний інвертор plays a pivotal role in your home solar setup. There are different types:
Selecting the appropriate inverter ensures optimal performance and longevity of your solar system.
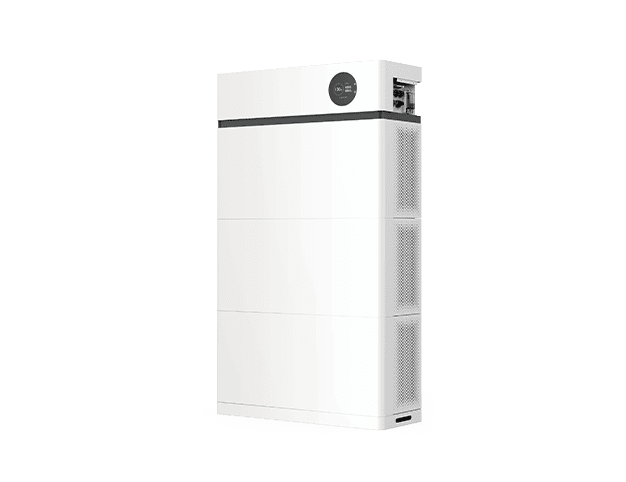
Incorporating a battery storage system allows you to store excess energy generated during the day for use at night or during power outages. This adds resilience and flexibility to your home solar setup.
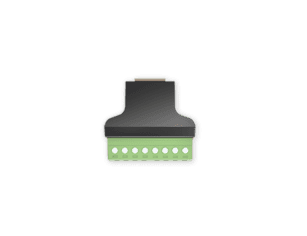
Proper wiring and charge controllers are essential for the safe and efficient operation of your solar system. They regulate the flow of electricity and protect against overcharging or system failures.
Once you’ve designed your home solar setup and chosen the right components, it’s time to bring the system to life. The installation process is where your planning meets practical execution — turning sunlight into usable energy for your home. Whether you opt for a professional installer or take the DIY route, understanding each step helps you ensure your system is safe, efficient, and compliant with local regulations.
Installing a solar system isn’t just about placing panels on your roof. It’s a coordinated process that involves electrical connections, safety checks, and the careful integration of your solar inverter, the brain of the entire system. Here’s how to do it right from start to finish.
Before anything else, evaluate your property. Check your roof’s condition, angle, and orientation. A solid, well-positioned roof is crucial for supporting your panels and achieving maximum sunlight exposure. Ensure that nearby trees or buildings won’t cast excessive shade on your array.
Using your earlier calculations, determine how many panels you’ll need and where to place them for optimal efficiency. Design the layout so that airflow can circulate beneath the panels — this prevents overheating and improves performance. Select a solar inverter that matches your system size and type, whether it’s a single-string setup or one that uses microinverters for more granular control.
Every region has its own rules for solar installations. Before you begin, apply for the necessary permits and verify local building codes and electrical standards. Proper documentation ensures your home solar setup is legally compliant and safe to connect to the grid.
Once permits are approved, it’s time to install the mounting system. This involves attaching rails or brackets to your roof structure at precise locations. The panels are then securely fastened onto these mounts. Proper alignment and tight sealing around roof penetrations are essential to prevent water leaks and structural issues.
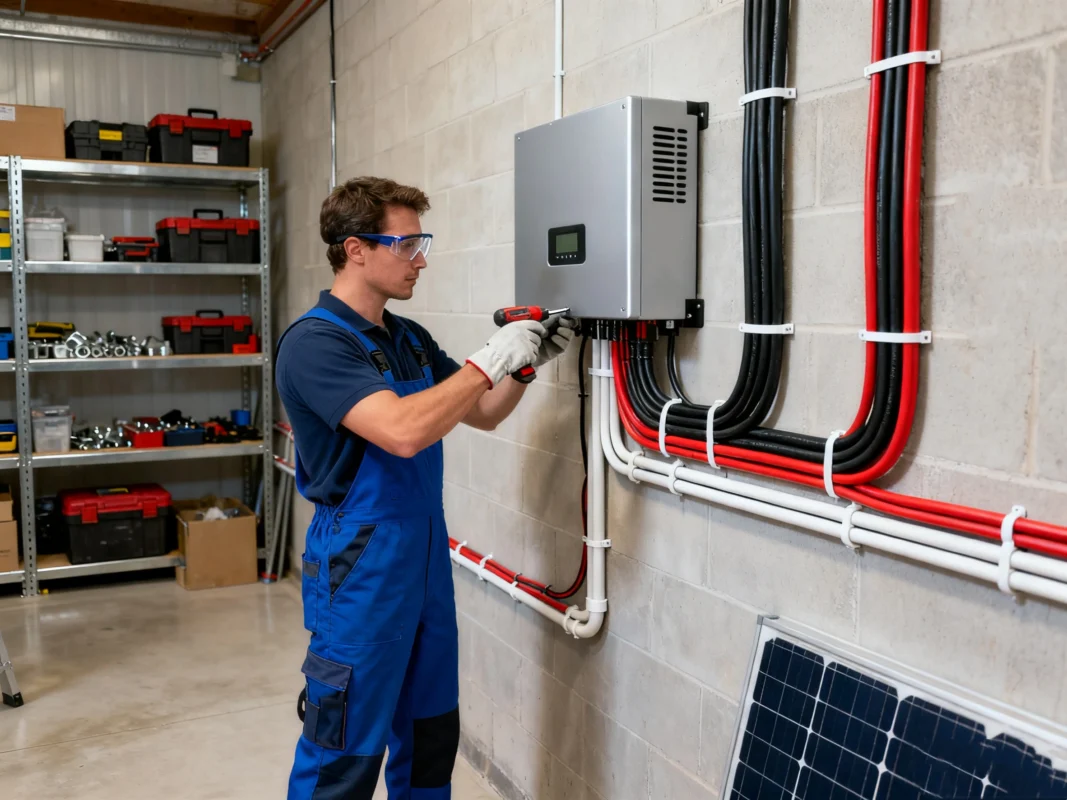
After the panels are physically installed, the electrical wiring connects them to your solar inverter and the home’s main electrical panel. This stage demands caution and precision. Wires must be correctly sized, insulated, and grounded to prevent voltage drops or safety hazards. The inverter converts the direct current (DC) generated by your panels into alternating current (AC) — the same type of electricity your household appliances use.
If your home solar setup includes a battery storage system, connect it to your inverter following manufacturer and safety guidelines. The battery stores excess energy produced during the day for nighttime use or during grid outages. Many systems also include monitoring software that tracks energy production and consumption, allowing you to spot issues early and optimize performance.
Before activating your system, a qualified electrician or local inspector must verify that the installation meets all electrical and safety standards. Once approved, your home solar setup can be officially connected to the grid. The final step involves testing — ensuring that the inverter, panels, and batteries communicate correctly and that energy flows seamlessly throughout your system.
The solar inverter is the heart of your installation. It bridges the gap between your panels, your battery bank, and your home’s electrical system.
When connecting your inverter:
If your system includes batteries, a hybrid inverter setup can manage both solar input and stored energy automatically. This ensures you always have power, even when the grid is down. Some systems also allow for modular expansion — meaning you can add more panels or batteries later as your energy needs grow.
The inverter’s efficiency directly affects your system’s overall performance. A well-matched and properly installed inverter minimizes power losses, ensures stable voltage, and protects against overloads.
Once everything is connected, your home solar setup undergoes a final round of testing. This process verifies that:
Testing typically takes a few hours and includes safety checks for grounding, insulation, and power flow. Once verified, the system is commissioned — meaning it’s officially active and generating electricity for your home.
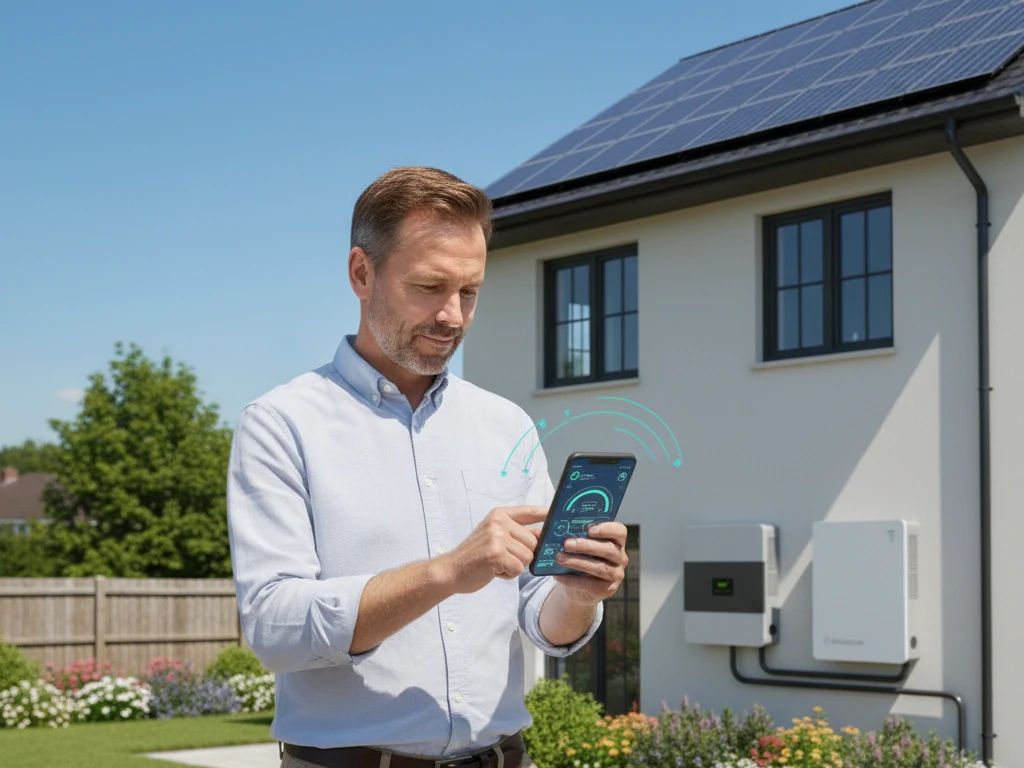
At this point, you can monitor your energy production in real-time. It’s an incredibly satisfying moment to watch your electricity meter slow down — or even spin backward — as your panels feed clean power into your home.
A home solar setup is relatively low-maintenance, but regular care ensures long-term reliability and efficiency.
Dust, pollen, and bird droppings can reduce sunlight absorption. Cleaning the panels with water and a soft brush every few months helps maintain peak performance.
Check your solar inverter display periodically for error messages or abnormal readings. Make sure all electrical connections are tight and free of corrosion.
Over time, tree growth can cast new shadows on your panels. Keep branches trimmed to preserve sunlight exposure.
A professional inspection once a year ensures that your system remains safe, compliant, and efficient. Technicians can test voltage levels, examine mounting hardware, and verify that your inverter and batteries are functioning correctly.
Use your inverter’s monitoring tool or a dedicated energy app to track daily and monthly production. Sudden drops in performance could signal dirt buildup, shading, or equipment issues that need attention.
The installation of a home solar setup is more than a construction project — it’s an investment in energy independence and sustainability. Taking the time to understand how each component works, especially your solar inverter, ensures your system operates safely and efficiently for decades.
By following proper installation steps, keeping up with regular maintenance, and monitoring performance, homeowners can enjoy the full benefits of solar energy: lower bills, reliable power, and a greener planet.
Contrary to common belief, solar panels can be effective during winter months. While shorter days and lower sun angles reduce energy production, panels still generate electricity from available sunlight. Additionally, cooler temperatures can enhance panel efficiency.
In regions with frequent overcast conditions, it’s advisable to install a larger system or incorporate battery storage to compensate for reduced sunlight.
Standard grid-tied solar systems typically shut down during power outages for safety reasons. However, systems equipped with battery storage or off-grid capabilities can continue to supply power during outages.
Understanding the cost and return on investment (ROI) of a home solar setup is one of the most important steps before making the switch to solar energy. While the initial expense may seem high, the long-term financial and environmental benefits often outweigh the upfront cost. When you consider reduced energy bills, government incentives, and the system’s lifespan, a well-planned solar installation becomes a valuable investment rather than an expense.
Let’s break down the main factors influencing cost, the potential savings, and how to calculate when your home solar setup will pay for itself.
If you’re considering a DIY home solar setup, the most obvious advantage is the potential for lower installation costs. By handling the labor yourself, you can avoid professional installation fees and possibly save thousands.
However, there are important trade-offs. The total cost of a DIY solar system typically includes:
On average, a small to medium home solar setup can cost anywhere between $7,000 and $18,000 before applying any tax incentives or rebates. This range depends on system size, location, and equipment quality. Keep in mind that installing your own system requires a solid understanding of electrical work and local building codes. Mistakes in wiring or system sizing can lead to inefficiencies or safety hazards, reducing your long-term savings.
DIY systems may also have limited access to warranties or maintenance support. For homeowners confident in their technical skills, though, the savings and satisfaction of building a system independently can be substantial.
A professionally installed home solar setup costs more upfront but offers several key advantages that contribute to its value. Certified installers handle the design, permitting, wiring, and connection to the grid. They also ensure that your system operates safely, efficiently, and within regulatory guidelines.
Typical installation costs vary depending on system size and local labor rates, but a complete 6-kilowatt system — suitable for an average household — often falls between $15,000 and $25,000 before incentives. The price includes solar panels, mounting hardware, wiring, monitoring equipment, and a high-quality solar inverter.
Although professional installation costs more, the expertise and precision provided usually result in higher system performance, better durability, and peace of mind. Many homeowners find that the additional expense pays off through improved efficiency and fewer maintenance issues over time.
One of the biggest factors that improve the ROI of a home solar setup is financial incentives. Many governments and local authorities offer rebates, tax credits, or performance-based incentives to encourage homeowners to adopt renewable energy. These can significantly reduce your upfront cost — sometimes by 20–30% or more.
There are generally three types of incentives available:
These incentives vary by region and are often time-sensitive. Before installing your home solar setup, it’s worth researching what’s available in your area or consulting an energy specialist who can help you navigate the application process.
When combined with the natural savings from reduced energy bills, these incentives can shorten the payback period dramatically.
The payback period represents how long it takes for your home solar setup to generate enough savings to cover its installation cost. Calculating it is straightforward: divide your total installation cost (after incentives) by your estimated annual savings on electricity bills.
Наприклад:
Given that most solar panels last 25 to 30 years, you would enjoy around 15 to 20 years of virtually free electricity after the system pays for itself.
The ROI of a solar system can also be viewed in percentage terms. Using the same example, a 10-year payback on a 25-year lifespan means your system delivers an average 10% annual return — significantly higher than most traditional investments.
However, ROI can vary depending on several factors:
Many homeowners also value the non-financial benefits of a solar investment — such as energy independence, environmental impact reduction, and increased property value. Studies consistently show that homes with solar systems sell faster and at higher prices than those without them.
While the payback period is an important milestone, the real strength of a home solar setup lies in its long-term value. Once your system is paid off, nearly all the electricity it generates is pure savings.
Over 25 years, the average homeowner can save tens of thousands of dollars in energy costs, depending on local electricity rates and system performance. These savings become even more significant as utility prices rise over time.
Furthermore, having a reliable solar inverter and battery storage system can shield you from unexpected power outages and grid fluctuations. This resilience adds another layer of value — not easily measured in dollars but deeply felt in everyday convenience and peace of mind.
For most homeowners, the answer is yes. While the upfront cost of a home solar setup requires careful budgeting, the combination of energy savings, incentives, and long-term reliability makes solar one of the most rewarding investments available today.
When you factor in both the tangible (financial savings) and intangible (energy independence and sustainability) returns, solar power stands out as a practical and responsible choice. With proper planning and the right solar inverter, your system can pay for itself within a decade and provide decades of free, clean energy.
Investing in a home solar setup is not just about saving money — it’s about building long-term stability, reducing reliance on the grid, and contributing to a cleaner future. The numbers make sense, but the real return comes from knowing that every sunrise powers your home, your savings, and your independence.
While solar panels reduce carbon footprints, the manufacturing and disposal processes have environmental impacts. Choosing high-quality panels and recycling old equipment can mitigate these effects.
Assess factors like roof orientation, shading, and local climate to determine your home’s suitability for solar installation.
Select components that match your energy needs and budget. Consulting with professionals can provide valuable insights.
While DIY installation can save money, professional installers ensure safety and compliance with regulations.
Regularly monitor your system’s performance and make adjustments as needed to maintain efficiency.
The amount of solar power needed depends on your household’s average energy consumption, roof size, and the amount of sunlight your area receives. On average, a typical family home requires a 5–7 kilowatt (kW) system to cover most of its electricity needs.
To calculate this more precisely, review your electricity bills for the past year and divide your total annual kilowatt-hour (kWh) usage by 1,200 (a rough estimate of kWh produced per kW of solar per year in sunny regions). This will give you the approximate system size your home solar setup should have.
The number of solar panels depends on their individual wattage and your total energy needs. For example, if you need a 6 kW system and each panel produces 400 watts, you’ll need about 15 panels.
Roof space and panel efficiency also play a role. If your roof is small or shaded, you may need higher-efficiency panels to produce the same output. Your solar inverter should be sized to handle the total capacity of your system to ensure optimal performance.
While solar energy offers major benefits, there are a few drawbacks to consider:
• High upfront costs: Even though long-term savings are strong, the initial investment can be substantial.
• Weather dependence: Output drops on cloudy or rainy days.
• Space requirements: Homes with limited roof area may not generate enough power.
• Energy storage costs: Adding batteries increases system price.
• Gradual efficiency loss: Panels lose about 0.5%–1% efficiency per year.
That said, these challenges are often outweighed by the long-term financial and environmental advantages of a home solar setup.
Yes — solar panels do work in winter. While shorter days and cloudy weather reduce sunlight exposure, cold temperatures can actually improve panel efficiency. Snow may temporarily block sunlight, but panels are typically installed at an angle that allows snow to slide off easily.
Even in cold climates, a well-designed home solar setup with a quality solar inverter continues to produce a reliable amount of electricity throughout the winter months.
Standard grid-tied solar systems automatically shut down during a power outage for safety reasons. This prevents electricity from flowing back into the grid while utility crews make repairs.
However, if your home solar setup includes a battery storage system or a hybrid solar inverter, you can still power essential appliances when the grid is down. This configuration allows your system to switch seamlessly into “off-grid” mode, keeping your lights, refrigerator, and essential electronics running.
A DIY home solar setup typically costs between $7,000 and $18,000, depending on the size, components, and energy needs of your home. This estimate includes panels, wiring, mounting hardware, and a solar inverter.
While doing it yourself can save on labor, it’s important to have the right electrical skills and follow local regulations to ensure safety and compliance. For complex systems, consulting an electrician or solar expert is highly recommended.
Starting your solar journey involves several steps:
1. Assess your energy use – Review your utility bills to understand how much power you need.
2. Evaluate your property – Check your roof’s orientation, shading, and condition.
3. Plan your system – Determine your desired system size, panel type, and solar inverter configuration.
4. Obtain permits – Contact local authorities for necessary approvals.
5. Install and inspect – Set up your panels, connect the wiring, and complete safety inspections before turning it on.
With careful planning, your home solar setup can start producing clean energy within weeks.
Most solar panels are designed to last 25 to 30 years, though many continue functioning beyond that with slightly reduced efficiency. The solar inverter usually needs replacement every 10 to 15 years.
Regular maintenance, such as cleaning panels and inspecting wiring, helps maximize lifespan and maintain performance.
Yes — multiple studies show that homes with a home solar setup sell faster and at higher prices than homes without one. Buyers value the lower energy costs and sustainability factor.
While the exact increase depends on your market and system size, it’s common for solar installations to raise property value by 3–5% or more.
Yes, it’s possible — but it requires a large enough home solar setup combined with substantial battery storage. An off-grid system must generate enough electricity to meet your needs during both sunny and cloudy periods.
However, going fully off-grid also means you won’t have utility backup during prolonged bad weather or unexpected demand spikes. Many homeowners choose a hybrid model, where solar covers most usage but remains connected to the grid as a safety net.
A home solar setup requires minimal maintenance. Cleaning the panels a few times a year and checking for dirt, debris, or shading is usually sufficient.
It’s also wise to inspect the solar inverter regularly to ensure it’s working efficiently. Annual professional checkups can help detect wiring issues or minor performance drops early, extending your system’s lifespan.
After 25 years, panels typically continue to produce around 80–85% of their original output. While they may not be as efficient, they still generate usable power.
At this stage, homeowners often choose to upgrade to newer panels with higher efficiency while recycling the older ones — a process that reuses valuable materials like aluminum and silicon.
Yes, solar panels still generate electricity on cloudy days, though production may drop to 10–25% of their normal output. Modern panels are designed to capture diffuse sunlight, so your home solar setup continues working even when the weather isn’t perfect.
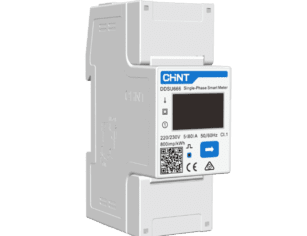
The solar inverter is the core of your solar energy system. It converts the direct current (DC) produced by solar panels into alternating current (AC), the form of electricity used in homes.
Beyond conversion, it also monitors performance, detects faults, and communicates with your utility grid or battery storage. A high-quality inverter ensures your home solar setup runs efficiently, safely, and reliably.
Absolutely. While the upfront cost of a home solar setup can be significant, the long-term savings, energy independence, and environmental benefits make it a strong financial and lifestyle investment. Most homeowners recover their costs within 6–10 years and enjoy decades of nearly free electricity afterward.