


If you’ve ever owned a solar PV system, you know how crucial the solar inverter is to keeping your energy flowing smoothly. Over time, however, even the most robust inverters can lose efficiency, fail, or simply become outdated. That’s where solar inverter replacement comes into play. But replacing an inverter isn’t just about swapping old for new; it’s about understanding how to repower PV plants, upgrade old string inverters, and maximize your system’s energy potential.
In this guide, we’ll dive deep into the world of inverter replacement—covering everything from the basics to advanced retrofitting strategies. Whether you’re a seasoned solar installer, a facility manager, or a DIY enthusiast, this article is your go-to inverter retrofit guide.
A solar inverter is the heart of your PV system. It converts DC power from solar panels into AC power for your home or the grid. Over time, inefficiencies can creep in. Some common reasons for solar inverter replacement include:
Replacing an old inverter isn’t just a maintenance task—it’s a smart financial decision. Studies show that modern inverters can significantly increase energy yield, sometimes by up to 10–15%, especially in older installations.
Knowing when it’s time for a solar inverter replacement can save you money, prevent downtime, and improve your system’s overall performance. Not every glitch means a full replacement, but certain signs are hard to ignore. Let’s break them down.
If your inverter is constantly tripping or displaying unusual error codes, it’s more than just a temporary hiccup. Older inverters can struggle with maintaining consistent output, especially if your PV system has been expanded over time.
For example, a string inverter installed 12 years ago may start shutting down randomly during peak sunlight hours. Replacing it with a modern unit can restore stability, increase reliability, and reduce maintenance calls.
One of the clearest signs that your inverter is aging is a drop in energy production. You may notice your monthly kWh readings are lower than usual, even though your panels are clean and shaded minimally.
This often happens because old inverters lose efficiency over time, especially under partial load conditions or when paired with older panels. Upgrading your inverter, especially when repowering PV plants or integrating a hybrid inverter, can restore lost energy and improve system performance.
Planning to expand your system or integrate battery storage? Older inverters may not handle new configurations. For instance, if you’re adding more panels or considering a hybrid inverter, your existing unit may lack the capacity or necessary features.
In such cases, upgrading old string inverters is not just recommended—it’s essential for system longevity and efficiency. Ignoring this can lead to mismatched strings, inefficient energy conversion, or even inverter damage.
Technology evolves rapidly. Older inverters may lack modern features like:
If your inverter doesn’t provide insights into performance or alerts you only after a failure occurs, it’s a prime candidate for solar inverter replacement. Modern units not only improve energy yield but also allow proactive maintenance, saving you from costly downtime.
Most standard string inverters last between 10–15 years. Once you reach that age, even if the inverter appears to work fine, its efficiency can be declining quietly. Moreover, older inverters may be out of warranty, meaning any failure could result in full replacement costs.
Replacing your inverter proactively can:
Takeaway: Don’t wait for a catastrophic failure. Planning a solar inverter replacement around the 10-year mark is often more cost-effective than emergency replacements.

Assess Your Current System
Before you rush into buying a new unit, analyze your current system:
While a top-tier inverter can seem expensive upfront, consider lifetime energy savings and reduced maintenance. Factor in installation costs, downtime, and potential ROI.
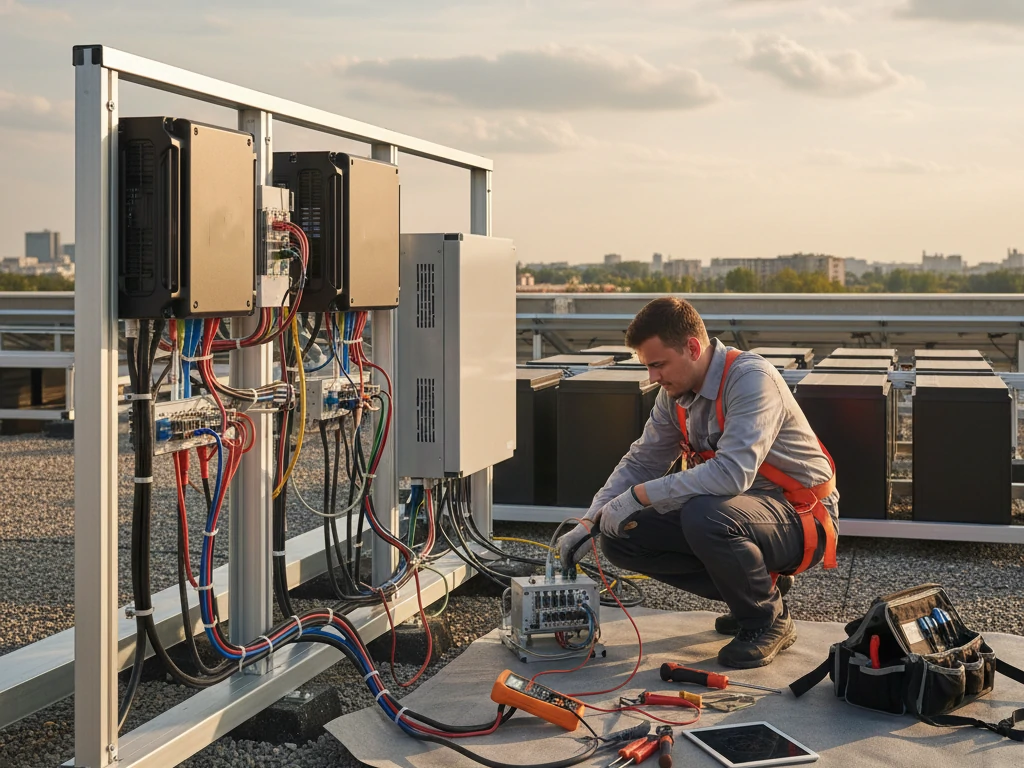
Replacing a solar inverter might sound intimidating, but with careful planning and a structured approach, it can be straightforward. Here’s a practical inverter retrofit guide to ensure your solar inverter replacement is smooth, safe, and efficient.
Before touching anything, remember: solar inverters deal with high DC voltages, which can be dangerous. Always:
Tip from experience: Even experienced installers never skip this step. Safety is non-negotiable. A small mistake can lead to serious injury or system damage.
Before removing the old inverter, take notes or photos of every connection:
This documentation will make installation of the new inverter much easier, especially if you’re upgrading from a string inverter to a hybrid inverter or repowering PV plants.
Carefully disconnect all wiring and unmount the old inverter from the wall or rack. Check the surrounding area for:
Even if you’re replacing the inverter, this is a good opportunity to perform minor maintenance that can extend the life of your PV system.
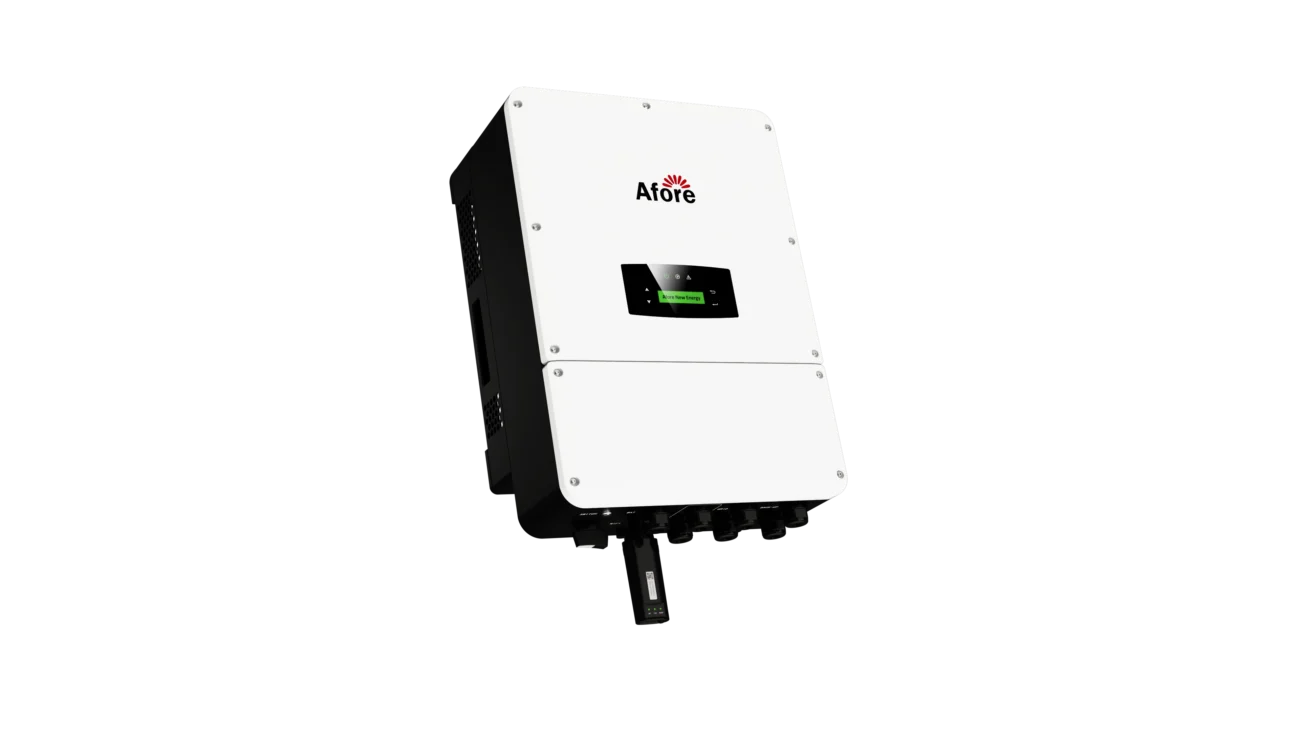
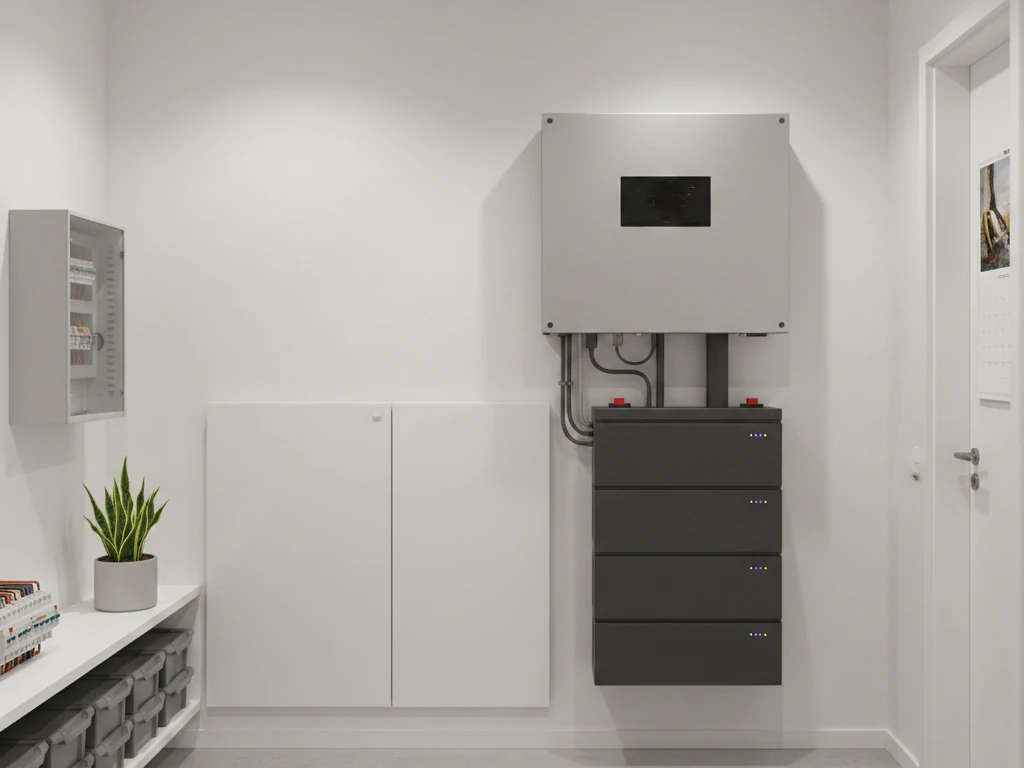
Mount your new inverter securely and connect the wires according to your documentation:
If you’re installing a hybrid inverter, make sure battery connections follow manufacturer guidelines and local electrical codes.
Once everything is connected, power up the system and check for:
Many new inverters come with remote monitoring apps or built-in diagnostics. Use these tools to ensure your system is running optimally after the solar inverter replacement.
Replacing the inverter doesn’t end with installation. Track your system regularly:
Proper maintenance after replacement ensures your PV system stays efficient and reliable for years. This proactive approach is especially important when repowering PV plants or upgrading old string inverters.
Many older systems use string inverters that are less efficient than today’s models. Upgrading old string inverters offers several benefits:
When performing such upgrades, always consider panel compatibility and grid regulations. In some cases, you may need to replace only the inverter, but in others, a partial panel or string adjustment may be necessary.
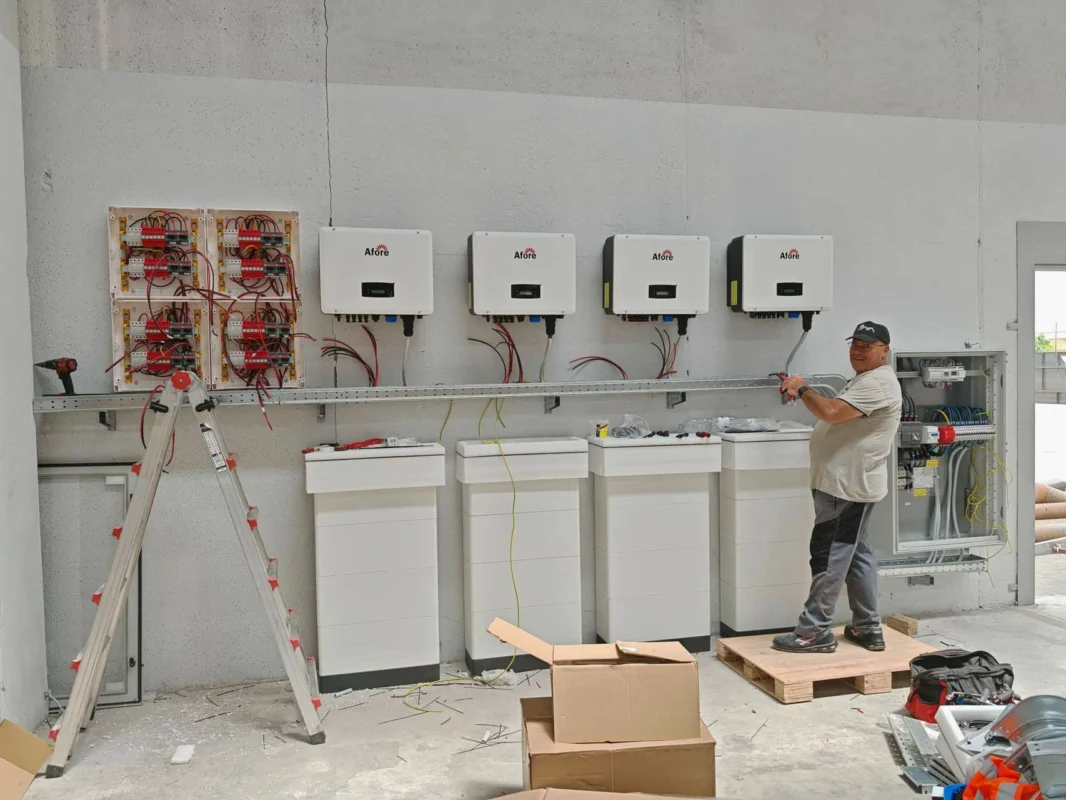
Repowering PV plants involves modernizing older solar farms to increase output and extend lifespan. This often includes solar inverter replacement. Benefits include:
Repowering can breathe new life into underperforming PV plants, making them competitive with newer installations.
While solar inverter replacement can bring significant efficiency and reliability benefits, it’s not always as simple as swapping old for new. Understanding the technical challenges beforehand ensures a smoother process and avoids costly mistakes.
One of the most common challenges is ensuring your new inverter works seamlessly with your existing solar panels. Different inverters have specific:
If you’re upgrading old string inverters, mismatched voltage or string size can lead to reduced energy output or inverter faults. Always check the technical specs of your new inverter against your panel configuration.
Modern inverters often include features to comply with local grid regulations, such as:
Older systems might not have these features, and simply replacing the inverter without checking local requirements can lead to non-compliance. This is especially important when repowering PV plants, as grid operators may require updated inverter capabilities.
Wiring issues are another technical hurdle. Many older installations have:
Replacing an inverter can expose these weaknesses, and failing to address them can reduce efficiency or pose safety risks. An inverter retrofit guide often includes a wiring audit to prevent problems before powering up the new unit.
Newer inverters may have more advanced load balancing and multi-MPPT capabilities. While this improves energy capture, it can also introduce complexity if your system layout is outdated.
For example, adding a hybrid inverter or splitting strings differently may require careful planning to avoid:
Tip from the field: Map out each string and check the DC input per MPPT before final installation. This avoids performance bottlenecks and maximizes energy yield.
If your current PV system has monitoring tools or battery storage, integrating them with a new inverter can be tricky. Challenges include:
When upgrading old string inverters to a modern or hybrid unit, plan for monitoring integration to ensure real-time visibility and proactive maintenance.
Lastly, physical and environmental factors can affect the replacement process:
Even if an inverter is technically compatible, poor installation conditions can shorten its lifespan. Considering these factors during the solar inverter replacement planning stage prevents premature failures and maximizes ROI.
While some technically-minded homeowners may consider DIY solar inverter replacement, the risks often outweigh the benefits:
Hiring a professional ensures safety, correct commissioning, and peace of mind.
Match inverter capacity to your panels. Oversized or undersized units can cause efficiency losses.
Look for high MPPT efficiency, low standby losses, and proven reliability.
If adding battery storage, a hybrid inverter simplifies integration and maximizes energy storage utilization.
Modern inverters offer remote monitoring, alert notifications, and predictive maintenance features, all of which enhance system performance over time.
While the cost of solar inverter replacement varies, consider:
Many installers provide financing or trade-in programs to offset initial expenses.
Replacing a solar inverter isn’t just a technical necessity; it’s a strategic move for anyone serious about maximizing solar energy output. From upgrading old string inverters to repowering PV plants and integrating hybrid solutions, the right inverter ensures your system operates at peak efficiency for years to come.
Whether you’re managing a large solar farm or a home rooftop setup, understanding the nuances of solar inverter replacement can save you money, reduce downtime, and future-proof your renewable energy investment.
Remember, the key is careful planning, proper installation, and ongoing monitoring. Take the time to choose the right unit, consider professional installation, and watch your system thrive.
Replace your inverter when it shows signs of failure, consistent energy loss, or lacks compatibility with system upgrades. Age, repeated faults, and outdated features are strong indicators.
Absolutely. High-efficiency inverters can increase energy yield by up to 15%, improve reliability, and enable better integration with batteries or smart systems.
Replacing an inverter may affect warranty terms, especially if panels are older. Always check with the manufacturer before proceeding. Some warranties remain valid if the installation is certified.
Challenges include compatibility with older panels, grid code compliance, wiring limitations, and potential load balancing issues. Proper planning and professional installation mitigate these risks.
Yes. Modern inverters offer higher conversion efficiency, better MPPT tracking, and reduced energy loss, which can significantly boost overall system output.