




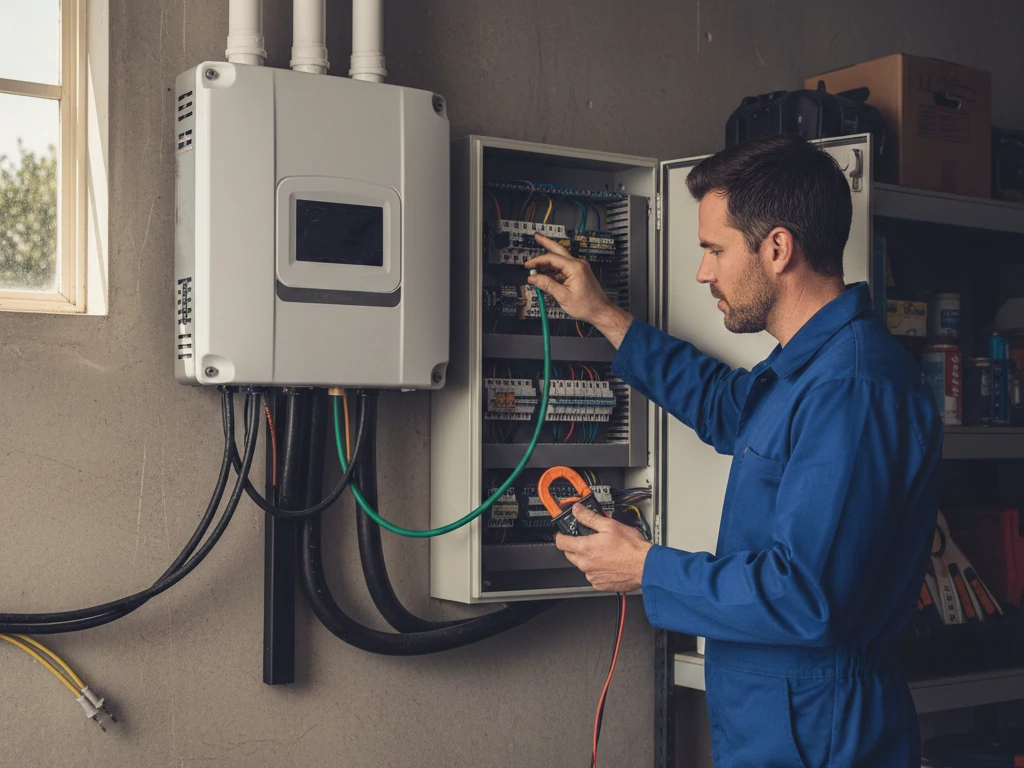
If you’ve ever dealt with electrical systems, especially solar setups, you might have run into the term inverter earth leakage. At first, it sounds technical and scary, but don’t worry—by the end of this guide, you’ll understand exactly what it is, why it matters, and what you can do about it. Whether you’re a homeowner with a solar inverter or an electrician troubleshooting a system, knowing how to identify and fix earth leakage is crucial.
Let’s start with the basics. Earth leakage happens when a small amount of current escapes from an electrical circuit to the ground (earth) instead of following its intended path. In an ideal world, electricity flows neatly through wires and loads, but in reality, imperfections occur. With inverters—especially those used in solar systems—these leakages can be more noticeable because they involve DC-to-AC conversion and sensitive electronics.
Think of it like a tiny drip from a faucet. It may not flood the house immediately, but over time, it can cause issues or even pose a safety hazard.
You might wonder, “Why should I care if a few milliamps leak?” Well, there are several reasons:
Proper earthing and monitoring of inverter earth leakage are not just technical steps—they’re essential for safety and reliability.
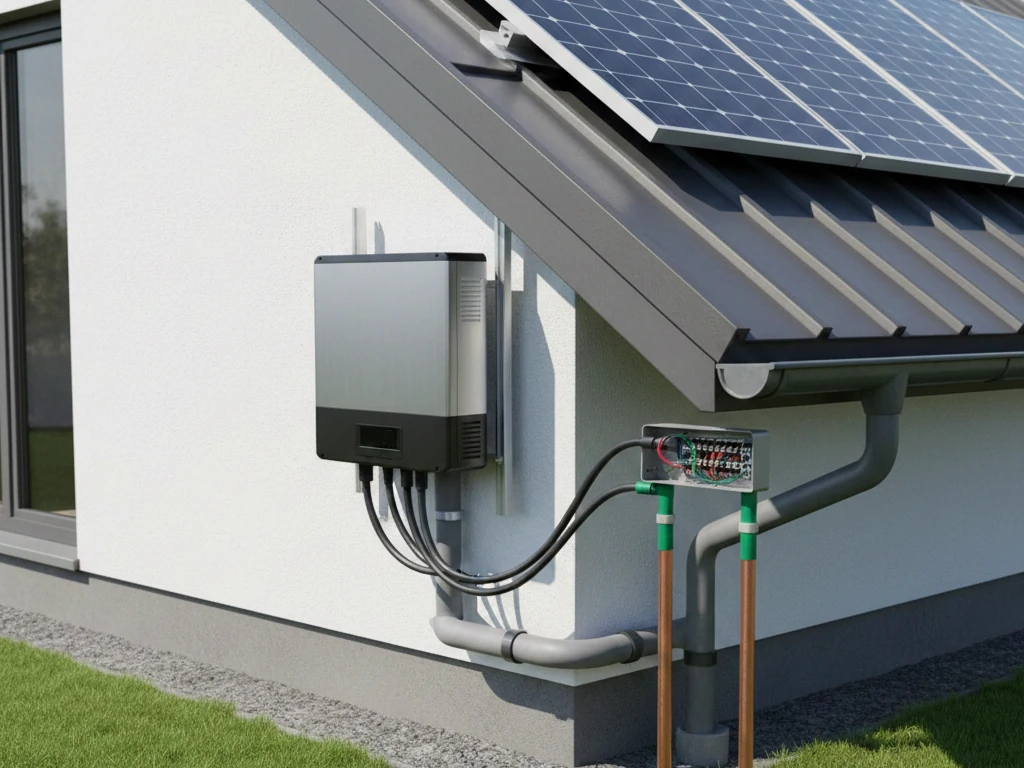
Understanding why inverter earth leakage happens is the first step in preventing it. In most cases, the causes are straightforward, but they can easily be overlooked—especially in solar inverter setups where DC-to-AC conversion adds complexity. Let’s break down the main culprits and what to watch for.
One of the most frequent triggers of earth leakage is moisture. Water is a natural conductor, so even small amounts of condensation on inverter terminals or wiring can create leakage paths. For example, rooftop inverters or units installed near humid areas are particularly vulnerable. Many homeowners notice that their RCDs trip more often during the rainy season or in high-humidity months—classic signs of moisture-induced leakage. Simple solutions like ensuring proper covers, using moisture-resistant connectors, and checking seals can significantly reduce this risk.
Over time, wires and inverter components naturally degrade. Insulation may crack, become brittle, or wear down due to heat cycles and environmental exposure. When this happens, electricity can escape to the earth instead of flowing along the intended path. Aging insulation is particularly common in systems that are over five years old. Regular inspections and replacement of old wires can prevent many earth leakage problems before they escalate.
Not all leakage originates from the inverter itself. Appliances connected to your system, especially those with frayed cords, damaged plugs, or internal faults, can create paths for current to leak to earth. In hybrid solar setups, this can be particularly noticeable because multiple devices draw power simultaneously, increasing the likelihood of leakage. Checking each connected device systematically can help identify the root cause.
A solid earth connection is essential to safely channel any stray current. If the grounding rod is shallow, corroded, or loosely connected, leakage currents may find unintended paths—often triggering RCDs or tripping breakers. Poor earthing is surprisingly common in DIY or older installations. Ensuring a deep, corrosion-free ground rod and tight connections to the inverter can dramatically reduce leakage incidents.
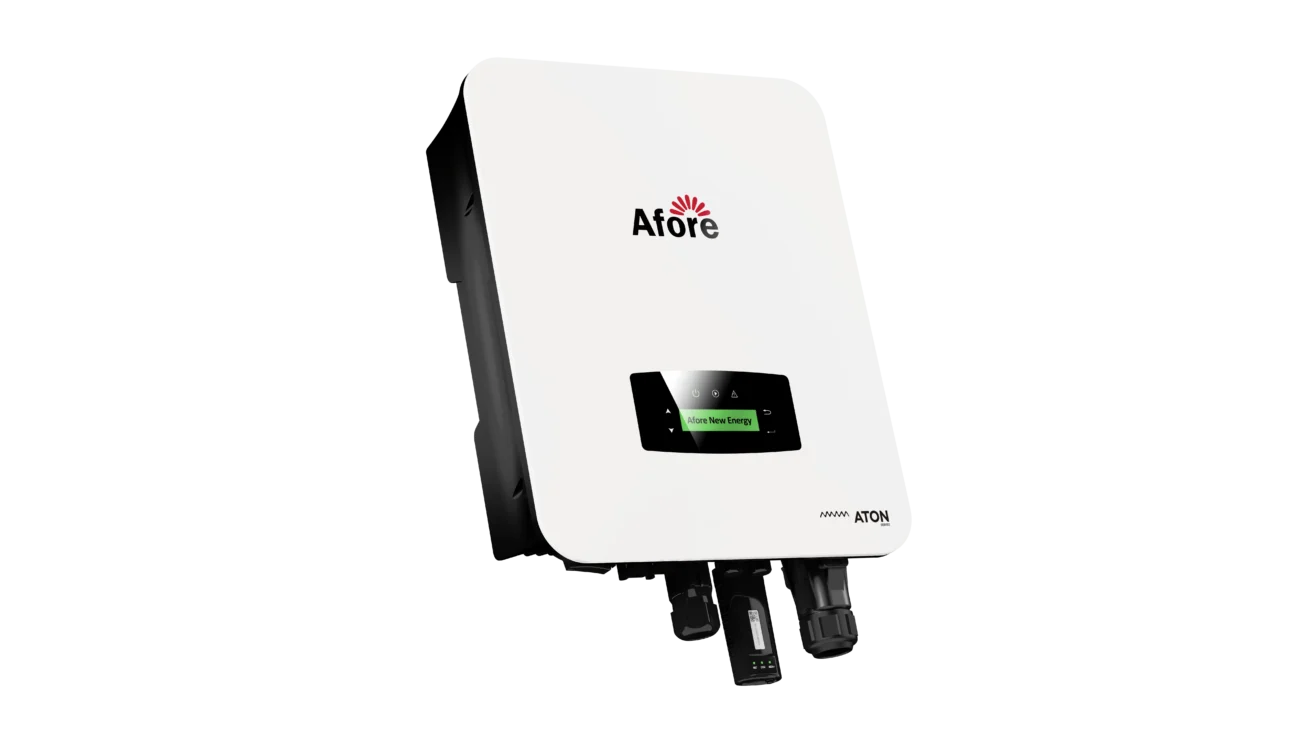
Detecting inverter earth leakage early can save you from bigger problems, like equipment damage or safety hazards. While some signs are obvious, others can be subtle, especially in systems with solar inverters. Here’s what to watch for.
One of the clearest signs of earth leakage is when your residual current devices (RCDs) or miniature circuit breakers (MCBs) trip repeatedly. If your breaker trips even when the load seems normal, it’s a strong indicator that electricity is leaking to the earth somewhere in the system. For example, some homeowners notice tripping only during rainy seasons or when certain appliances are running—both classic signals of inverter earth leakage.
Another symptom is intermittent flickering of lights or appliances connected to the inverter. Even if the RCD doesn’t trip immediately, leakage current can cause voltage fluctuations, which may affect sensitive devices. Flickering lights near the inverter or unusual resets in connected equipment often point to leakage paths forming somewhere in the circuit.
If you detect a burning smell, warm spots, or localized heat near your solar inverter or wiring junctions, it could be caused by leakage currents. These currents create small but continuous heat paths in unintended areas, which can degrade insulation further and potentially become a fire hazard. Always treat this as a serious warning sign and inspect immediately.
Simple visual checks can also reveal inverter earth leakage issues. Look for:
Even minor signs can indicate ongoing leakage that needs attention. Regular visual inspections are a low-effort but highly effective way to catch problems early.
Sometimes leakage doesn’t trigger breakers immediately but causes strange behavior: your solar inverter may shut down sporadically, or some circuits may perform inconsistently. Keeping a log of when these anomalies occur can help trace the source of leakage more quickly.
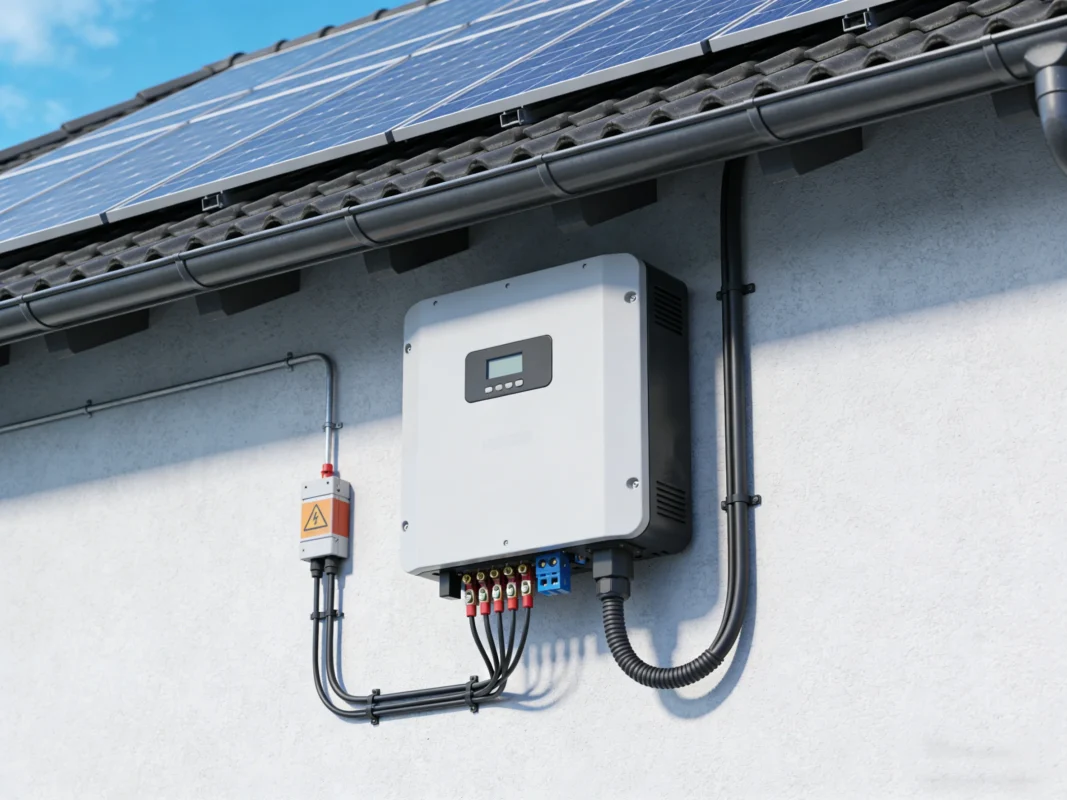
Knowing how to measure and test inverter earth leakage is crucial if you want to keep your electrical system safe and efficient. While low-level leakage is normal, identifying when it exceeds safe limits can prevent shocks, equipment damage, or frequent RCD trips. Here’s how professionals and even cautious homeowners approach it.
For DIY enthusiasts, a portable earth leakage tester is one of the simplest ways to check your system. The process is straightforward:
This method provides a quick assessment. If your reading is consistently above typical safe values, it’s time to investigate further.
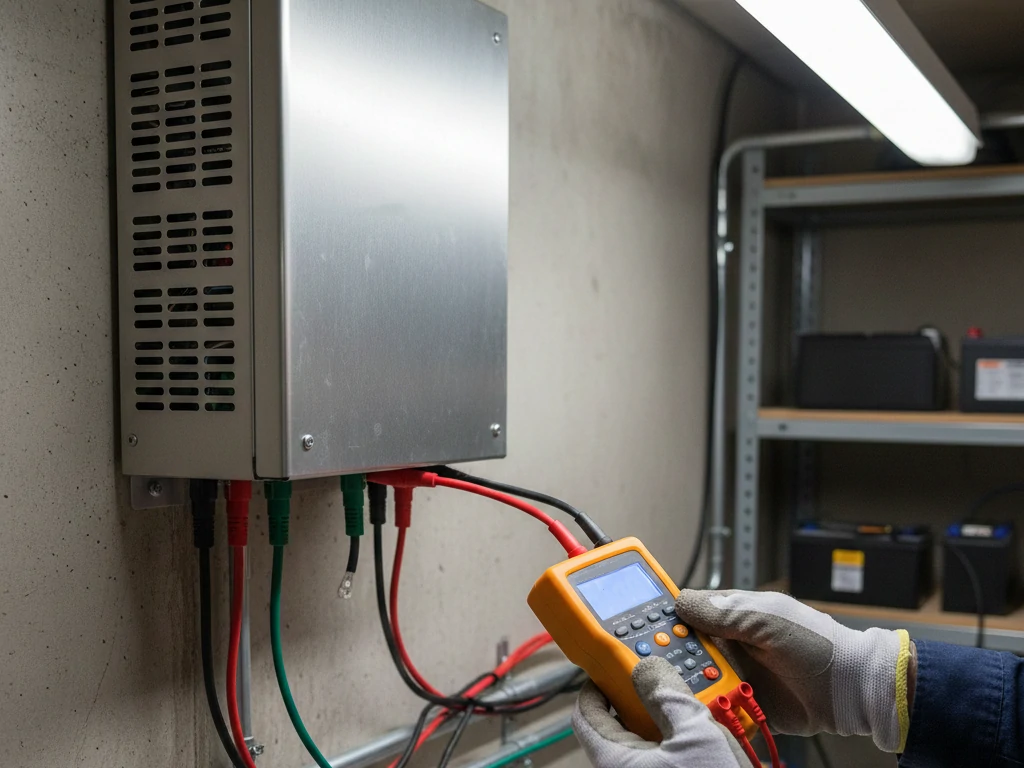
Electricians often use clamp meters or multimeters to measure leakage without disconnecting the inverter. This approach can identify whether the leakage originates from the inverter itself, wiring, or connected appliances. By measuring current in specific sections of the circuit, professionals can pinpoint problem areas more accurately.
For example, separating the DC and AC sides of a solar inverter during testing can reveal if the issue comes from internal components or from external loads. This level of detail is especially useful in hybrid or large-scale systems.
Not all leakage is dangerous. Typical safe ranges for inverter earth leakage are between 5–30 mA, depending on the system and local electrical codes. Values consistently above this range indicate potential hazards that should not be ignored. Low-level leakage is normal, but high readings—especially during dry weather—suggest insulation faults, moisture issues, or improper earthing.
By measuring leakage correctly, you not only protect yourself but also prolong the life of your solar inverter and connected devices. It’s a small investment of time that pays off in safety and reliability.
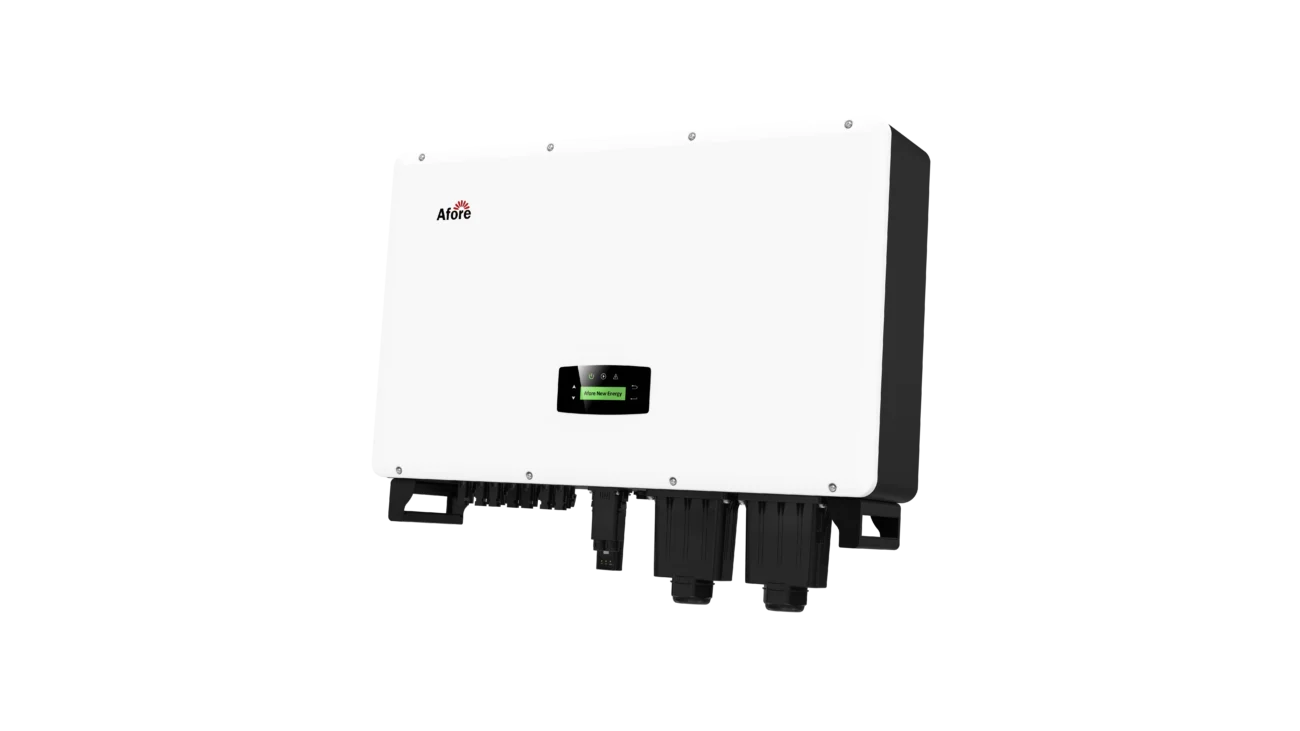
Once you’ve identified inverter earth leakage, the next step is knowing how to fix it. While some solutions require professional expertise, there are several practical measures you can take to reduce leakage and improve system safety. Here’s a detailed, hands-on guide.
A strong and properly installed earth connection is your first line of defense. Weak or corroded grounding can allow leakage currents to flow unpredictably. To improve earthing:
In areas with high moisture or rocky soil, adding a secondary grounding rod can further reduce leakage.
Loose or damaged wiring is one of the most common causes of persistent inverter earth leakage. Take the time to:
Even small adjustments can eliminate leakage paths and restore safe operation. This is often the simplest and most cost-effective solution.
Sometimes leakage originates inside the inverter itself. Components such as capacitors, isolators, or surge protection devices can deteriorate over time. Replacing these parts (with the inverter powered down and following safety precautions) can drastically reduce leakage. If you’re not comfortable opening the inverter, a licensed electrician should handle internal repairs.
Moisture is a recurring culprit in earth leakage, especially for outdoor solar inverters. Practical environmental fixes include:
These simple measures can prevent leakage from recurring, particularly in climates with heavy rain or high humidity.
While some fixes are DIY-friendly, high-voltage systems carry significant risks. If leakage persists despite basic maintenance, it’s time to call a professional. Experienced electricians can:
Remember, working on an energized solar inverter without proper training can be extremely dangerous. Safety always comes first.
While fixing inverter earth leakage is important, preventing it from occurring in the first place is even better. With a few practical steps and routine checks, you can significantly reduce the risk of leakage and ensure your system—especially if you have a solar inverter—operates safely and efficiently for years.
Prevention starts with regular maintenance. Just like you service a car to avoid breakdowns, inspecting your inverter and wiring can catch small issues before they turn into major problems.
How your solar inverter is installed makes a huge difference in leakage prevention. Follow these best practices:
Cheap or substandard components may save money initially but often lead to higher inverter earth leakage over time. Investing in high-quality cables, connectors, and protective devices not only reduces leakage but also improves system reliability. Remember, this applies to everything connected to the inverter, not just the unit itself.
Environmental factors like humidity, rain, and temperature swings can exacerbate leakage. Preventive measures include:
By addressing these environmental factors, you reduce the chances of leakage before it even starts.
Understanding and managing inverter earth leakage is essential for anyone with a solar inverter or electrical system. While low-level leakage is normal, persistent or high leakage poses safety risks and can damage equipment. Regular inspections, proper earthing, and prompt attention to symptoms are key to keeping your system safe and efficient. By following these practical tips, you can prevent problems before they escalate and enjoy a reliable, safe power system.
Yes, all inverters—including solar inverters—can have some level of earth leakage. This is because electricity sometimes finds a path to ground through insulation imperfections or connected devices. Low-level leakage (a few milliamps) is normal and usually not harmful. High leakage, however, indicates a problem that should be addressed promptly to prevent shocks or equipment damage.
Typical safe limits for inverter earth leakage range from 5 to 30 milliamps (mA), depending on system size and local regulations. Leakage consistently above this range suggests insulation issues, moisture ingress, or faulty wiring. Measuring and monitoring leakage periodically helps ensure your system remains within safe limits.
The most frequent causes include:
• Moisture or humidity around the inverter or wiring
• Aging or damaged insulation
• Faulty appliances or connections
• Improper or inadequate earthing
In most cases, addressing these root causes can significantly reduce leakage and improve safety.
Signs of a faulty inverter earth leakage include:
• Frequent tripping of RCDs or circuit breakers
• Flickering lights or malfunctioning appliances
• Unusual heat or burning smells near the inverter
• Visual clues like corrosion, discoloration, or damaged wires
Regular inspections and testing with an earth leakage tester or multimeter can confirm whether leakage is within safe limits.
Costs vary depending on the source of the problem. Simple fixes—like tightening connections, cleaning terminals, or replacing a few wires—can be free if done yourself. Professional repairs, such as replacing inverter components or improving earthing, typically range from $50 to $300, depending on complexity and labor. Investing in early repairs often saves more than waiting for a major failure.
Absolutely. Proper earthing is critical for both safety and system performance. It provides a controlled path for stray currents, minimizing the risk of electric shock and reducing inverter earth leakage. A well-grounded solar inverter is also less likely to experience nuisance tripping, equipment damage, or safety hazards.








 Turkish
  Romanian