


If you’re involved in solar energy projects, you know that commissioning a solar inverter isn’t just flipping a switch and hoping for the best. A thorough solar inverter commissioning checklist can save you from costly downtime, ensure safety, and maximize the efficiency of your PV system. In this guide, I’ll walk you through everything—from pre-start inspections to post-commissioning documentation—so your PV system startup procedure is smooth, safe, and compliant.
Whether it’s a residential setup or a large-scale commercial installation, following this checklist is key for commercial solar QA/QC and proper inverter testing.
Think of the solar inverter commissioning checklist as your project’s roadmap. Without it, you risk missing critical safety checks, misconfigurations, or underperforming equipment. Here’s why it’s essential:
Safety is non-negotiable. High-voltage DC from PV strings combined with AC from the grid can be dangerous. A proper checklist ensures that insulation, polarity, and grounding checks are completed before power-up.
Skipping steps can lead to suboptimal inverter performance. Following a solar inverter commissioning checklist ensures the inverter runs efficiently, responds to grid conditions, and communicates correctly with monitoring systems.
For commercial solar QA/QC, inspectors often require proof that the commissioning process followed standardized procedures. A checklist keeps you audit-ready and compliant with local regulations.
Before you even think about turning on the inverter, preparation is everything. A thorough pre-commissioning phase sets the foundation for a smooth PV system startup procedure and prevents costly mistakes down the line. Skipping this step can lead to misconfigurations, safety hazards, or delayed project timelines, so it’s worth taking the time to be methodical.
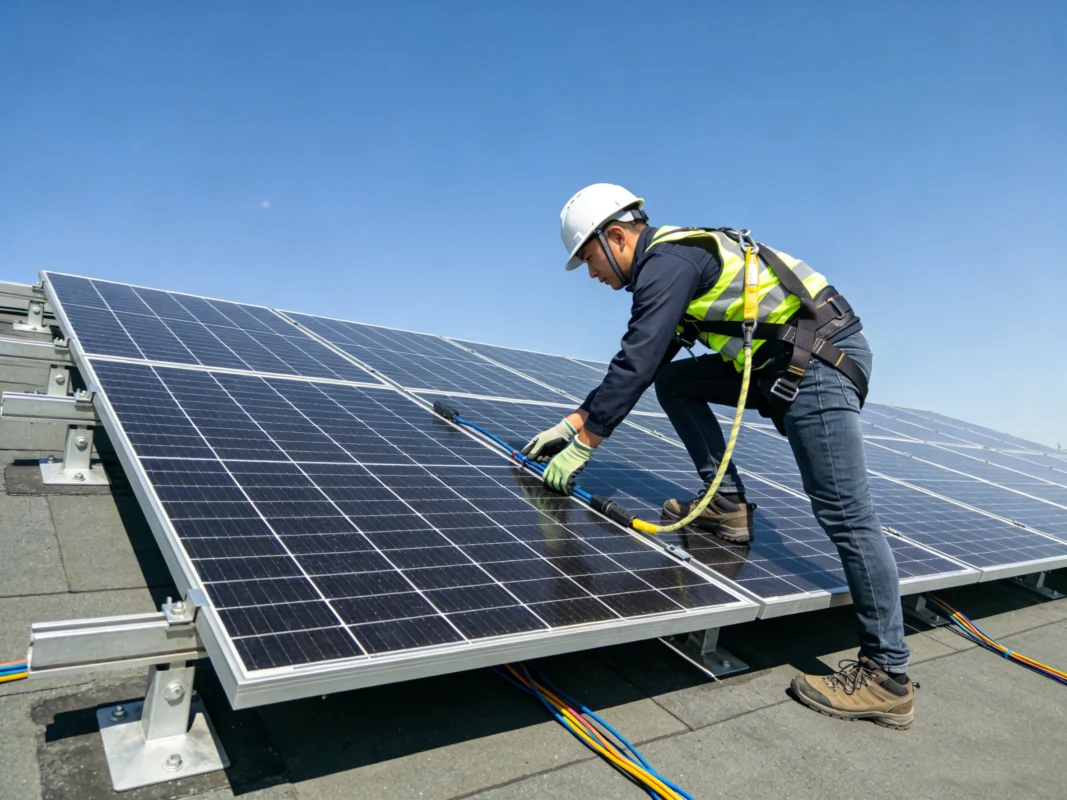
Start by walking the site from top to bottom. Look closely at the PV arrays: Are the panels securely mounted? Are the frames level and free from any mechanical stress? Check the cabling—ensure wires are routed neatly, supported properly, and protected from abrasion or environmental damage. Don’t forget to inspect the inverter location: it should have enough ventilation, be protected from direct sunlight or water ingress, and allow easy access for technicians. Safety signage is often overlooked but crucial; all high-voltage areas must be clearly marked. Documenting your observations at this stage is not just a formality—it becomes the first part of your solar inverter commissioning checklist, helping track issues that may need attention before energization.
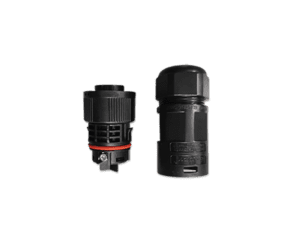
Next, verify that every piece of equipment matches your design specifications. Start with the PV modules: check that their ratings align with system calculations and that no physical defects are present. Move on to the inverter: confirm the model and capacity are correct for the installation and that firmware or settings are ready for configuration. Inspect combiner boxes, breakers, and fuses, ensuring they are properly rated and installed. Don’t overlook protective devices; grounding connections, surge protectors, and isolation switches must all be in place and functional. Keeping detailed records during this stage not only helps with commercial solar QA/QC but also lays the groundwork for smooth inverter testing and prevents surprises when you start powering up the system.
By completing a rigorous site inspection and equipment verification, you significantly reduce the risk of errors during commissioning and give your PV system the best chance to operate efficiently from day one.
Before the inverter sees a single volt, performing thorough electrical checks is essential. Skipping this step can lead to equipment damage, safety hazards, or failed PV system startup procedure. A detailed solar inverter commissioning checklist ensures that insulation, polarity, and voltage parameters are verified before energizing the system, protecting both technicians and the investment.
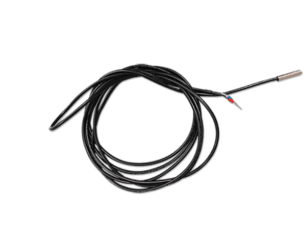
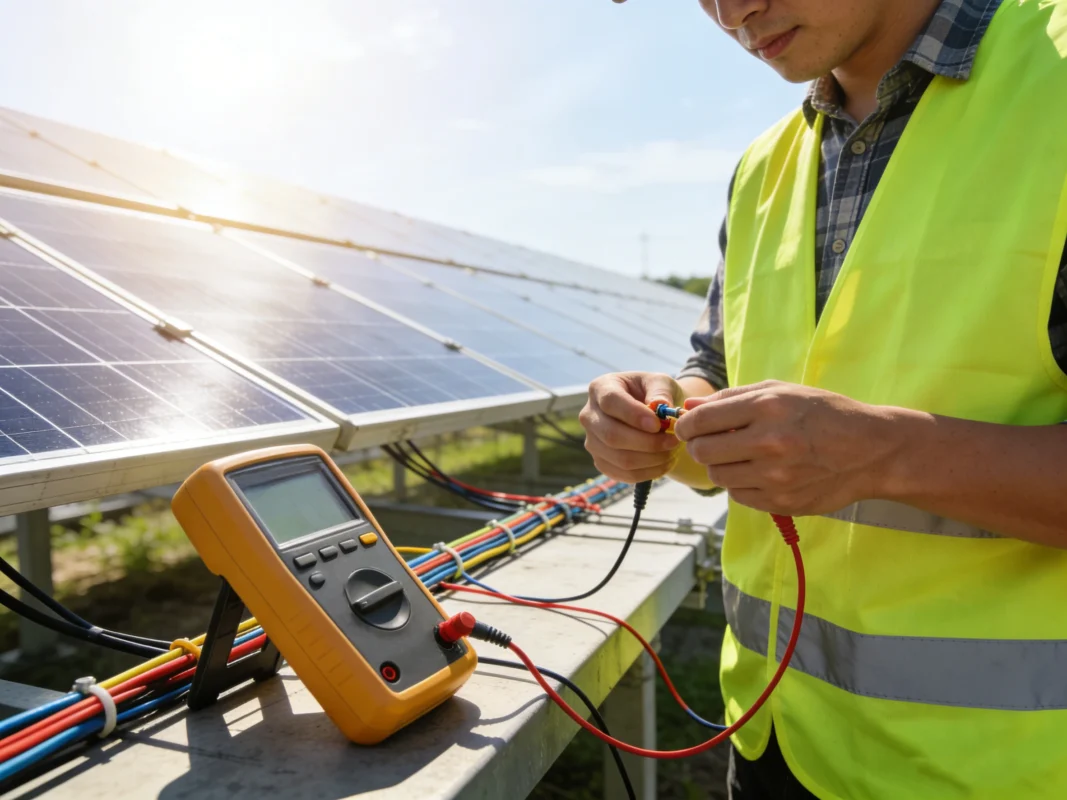
An insulation resistance test is your first line of defense against unexpected ground faults. Start by isolating all PV strings from the inverter. Using a megohmmeter, measure the resistance between each positive and negative conductor to ground. Ideally, resistance should exceed 1 MΩ per string, indicating the insulation is intact and there are no leakage paths. Record every reading meticulously; even a single low measurement could signal moisture ingress, damaged wiring, or potential module issues. This step is crucial not only for safety but also for accurate inverter testing, ensuring the system can handle operational voltages without risk of short circuits.
Once insulation is confirmed, move on to voltage and polarity verification. Measure the open-circuit voltage of each PV string and compare it to design specifications—values significantly higher or lower than expected can indicate wiring errors or module mismatches. Check polarity on each string carefully; reversing positive and negative leads can damage the inverter instantly. On the AC side, verify phase sequence and continuity, confirming that all breakers, fuses, and connections are correct. Grounding connections should also be measured for continuity and low resistance. By completing these voltage and polarity checks, you minimize the risk of inverter faults and ensure a smoother PV system startup procedure, making subsequent performance validation far easier.
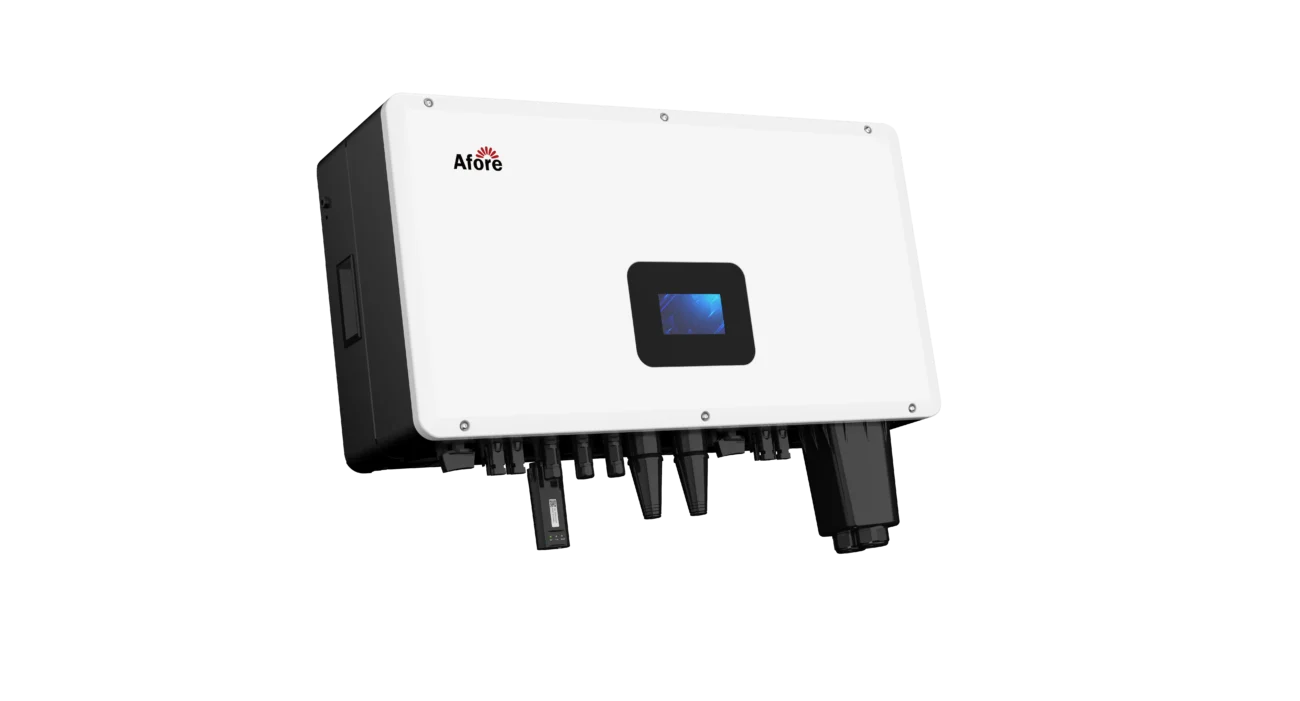
Once all pre-commissioning and electrical checks are complete, it’s time to configure the inverter properly. This step is critical to ensure that the PV system operates safely, efficiently, and in compliance with local grid requirements. Following a structured solar inverter commissioning checklist during setup helps prevent errors that could affect performance or trigger faults during inverter testing.
Start by entering the inverter’s location and grid parameters. Set the nominal AC voltage, frequency, and phase configuration according to the site specifications. Next, configure the maximum power point tracking (MPPT) settings to match the PV array layout; this ensures the inverter extracts the highest possible energy under varying sunlight conditions. Protective limits must also be defined at this stage, including overvoltage, undervoltage, and frequency trip thresholds. These settings are essential not only for system safety but also for achieving optimal energy yield. A careful, step-by-step approach here reduces troubleshooting later and supports effective commercial solar QA/QC, as inspectors often review the configuration logs during sign-off.
Equally important is establishing reliable communication between the inverter and monitoring systems. Check that all SCADA or remote monitoring interfaces are connected and transmitting data correctly. Verify the intervals at which data is logged and ensure alerts are set up for critical events such as faults or abnormal voltages. Confirming communication allows operators to track real-time performance, respond quickly to anomalies, and validate that PV system startup procedures were successful. Additionally, maintaining accurate monitoring records supports long-term maintenance planning and strengthens documentation for solar inverter commissioning checklist purposes.
By thoroughly completing the initial inverter settings and communication setup, you not only protect the system from misconfiguration but also set the stage for reliable operation, efficient energy production, and successful post-commissioning verification. Proper setup at this stage saves time, prevents costly errors, and builds confidence that the PV system will perform as designed.
After completing pre-commissioning checks and inverter configuration, it’s time to bring your system to life. Energizing the PV system is one of the most critical stages in a PV system startup procedure, and doing it carefully ensures safety, protects equipment, and lays the foundation for accurate inverter testing.
Start by closing the DC breakers connected to each PV string one at a time. Monitor the inverter display or control panel for any fault indications as you energize each string. Once all DC strings are connected, proceed to close the AC breakers gradually, ensuring the inverter synchronizes correctly with the grid. Pay attention to the inverter’s startup sequence: indicators should confirm proper MPPT operation and show that all protection systems are active. Throughout this process, have a second technician verify breaker positions, voltage readings, and indicator lights—two sets of eyes greatly reduce the risk of oversights. Document every voltage, current, and fault reading on your solar inverter commissioning checklist for future reference and compliance with commercial solar QA/QC standards.
Once the system is live, verify its performance immediately. Compare the measured DC and AC voltages and currents with expected design values for each string and the overall array. Check that the inverter is accurately tracking the maximum power point and generating the expected output under current irradiance conditions. Record ambient temperature, irradiance levels, and inverter temperature to establish a baseline for future monitoring. Observing the system in operation allows you to detect early issues such as shading impacts, string mismatches, or wiring problems. Capturing this data as part of your solar inverter commissioning checklist ensures that the PV system startup procedure is documented accurately, supports inverter testing, and provides evidence for successful commissioning.
Careful energization combined with thorough initial performance verification reduces long-term maintenance issues and builds confidence that the PV system will operate efficiently and safely from day one.
After your PV system is energized and the inverter is running, the work isn’t over. Post-commissioning checks are crucial to ensure long-term performance, safety, and compliance. Skipping this stage can lead to unnoticed configuration errors, safety risks, or documentation gaps that may cause delays in sign-off. Following a detailed solar inverter commissioning checklist during this phase guarantees that your system meets operational, safety, and regulatory requirements.
One of the first post-commissioning steps is verifying the inverter’s grid-support settings. Modern inverters are not just energy converters—they actively support the grid. This means you must confirm features like reactive power control, anti-islanding protection, frequency and voltage ride-through settings, and any active power curtailment limits. These settings should match the local grid operator’s requirements and be configured according to the PV system design. Testing these settings can involve simulating voltage dips, frequency changes, or temporary grid faults and observing the inverter’s response. Proper verification ensures the system can maintain stability during grid disturbances, prevents unnecessary trips, and safeguards both your equipment and the utility network. Document all findings carefully in your solar inverter commissioning checklist, including observed behaviors, test conditions, and any adjustments made. This step is particularly important for commercial solar QA/QC, as inspectors often check these settings before granting approval.
Safety continues to be a top priority even after energization. All DC and AC panels must be clearly labeled with voltages, warning signs, and breaker identifications. Grounding connections should be tested to confirm low-resistance continuity, and emergency shutdown procedures must be clearly marked and easily accessible. Conduct a final walk-through of the site to ensure no cables are exposed or strained and that access paths are unobstructed. It’s also a good idea to provide a quick briefing to operators and maintenance personnel, emphasizing emergency protocols and safe interaction with energized equipment. Completing these steps not only protects personnel but also aligns with industry best practices for PV system startup procedure and long-term operational safety.
The final—and often overlooked—step is thorough documentation. A comprehensive solar inverter commissioning checklist should include all pre- and post-commissioning readings, visual inspections, test results, and adjustments. As-built drawings, wiring diagrams, inverter settings screenshots, and photos of labeled panels add credibility to your reports. Documenting ambient conditions during commissioning, such as irradiance and temperature, provides context for performance verification and future troubleshooting. Ensure all reports are signed off by responsible engineers or supervisors to meet commercial solar QA/QC requirements. Proper documentation not only supports regulatory compliance but also provides a valuable reference for warranty claims, maintenance planning, and system performance audits. In practice, detailed reporting reduces disputes, accelerates project closeout, and demonstrates professionalism to clients and stakeholders.
Even the most meticulously planned PV system startup procedure can encounter hiccups. A well-prepared technician expects the unexpected. By anticipating common issues and having a structured troubleshooting approach, you can save time, reduce risks, and ensure that your solar inverter commissioning checklist remains accurate and actionable. In this section, we’ll break down typical problems into categories and provide practical solutions, based on hands-on commissioning experience.
Inverter faults are one of the most common challenges during commissioning. These can range from minor alerts to critical shutdowns.
Typical Issues:
Troubleshooting Approach:
Document each step in the solar inverter commissioning checklist to track recurring faults and support commercial solar QA/QC verification.
String-related issues are another common source of delays during commissioning.
Typical Issues:
Troubleshooting Approach:
These steps ensure that every PV string contributes optimally to the system and reduces surprises during initial power generation.
Monitoring system errors can often mimic inverter faults, making diagnosis tricky.
Typical Issues:
Troubleshooting Approach:
Clear documentation ensures any recurring issues are identified and resolved efficiently.
Sometimes, issues are not technical but environmental.
Typical Issues:
Troubleshooting Approach:
By accounting for environmental variables, you can differentiate between system faults and natural fluctuations.
Prevention is always better than troubleshooting. Incorporate these steps into your solar inverter commissioning checklist:
Consistently following these preventive steps reduces downtime and improves long-term system reliability.
Having a structured workflow ensures efficient problem-solving:
This approach not only speeds up resolution but also reinforces compliance with commercial solar QA/QC standards.

Getting your PV system up and running smoothly requires more than just flipping switches. Following a few practical tips can make commissioning faster, safer, and more reliable, while ensuring your solar inverter commissioning checklist is complete and accurate.
First, double-check all DC and AC wiring before energization. Loose connections are a common cause of inverter trips during startup. Always verify torque specifications on terminals and confirm polarity for each string. Conducting commissioning on clear, sunny days helps capture accurate readings for inverter testing and MPPT performance.
Second, have a second technician or engineer review critical settings, especially grid-support parameters and protection limits. Two sets of eyes catch errors that might otherwise go unnoticed.
Third, maintain detailed logs of every measurement, setting, and adjustment. Document ambient conditions such as irradiance and temperature to provide context for performance verification.
Finally, provide operators and maintenance staff with a quick briefing on emergency procedures and safe handling of energized equipment. Following these steps ensures your PV system startup procedure is efficient, safe, and fully compliant with commercial solar QA/QC standards, setting the stage for reliable long-term operation.
Proper inverter testing is more than a formality—it’s a key step to ensure your PV system operates safely, efficiently, and reliably. Even after completing all pre-commissioning checks and energizing the system, an inverter can still have hidden issues that only surface under load or operational conditions. Following a structured testing process, documented thoroughly in your solar inverter commissioning checklist, helps identify these problems early and supports commercial solar QA/QC requirements.
Functional testing verifies that the inverter performs all intended operations correctly. This includes start-stop cycles, protective trips, and response to simulated faults. For example, intentionally opening a string or simulating a grid voltage dip tests the inverter’s anti-islanding and fault detection capabilities. Communication interfaces should also be checked to confirm that SCADA or remote monitoring systems receive accurate data and alerts. Functional testing ensures that all safety mechanisms are operational and that the inverter will behave as expected under normal and abnormal conditions, providing confidence before full-scale system operation.
Performance testing assesses whether the inverter delivers the expected energy output under real operating conditions. Measure DC input from the PV strings and compare it to AC output, noting MPPT efficiency and conversion losses. Track output against ambient conditions like irradiance and temperature to establish baseline performance metrics. Monitoring power curves and voltage-current relationships helps identify underperforming strings, shading impacts, or configuration errors. Recording all observations in your solar inverter commissioning checklist not only validates the PV system startup procedure but also provides a reference for ongoing maintenance and troubleshooting.
A meticulous solar inverter commissioning checklist isn’t just paperwork—it’s a cornerstone of a successful PV project. By combining thorough pre-commissioning checks, proper inverter configuration, careful energization, and detailed documentation, you can ensure your PV system startup procedure is efficient, safe, and reliable.
Remember, whether you’re working on a small rooftop installation or a large commercial solar farm, this checklist saves time, reduces risks, and guarantees your inverter testing is thorough. Take the time to document everything, verify settings, and follow up on performance—you’ll thank yourself months down the line.
A complete checklist covers site inspection, equipment verification, insulation tests, voltage and polarity checks, inverter configuration, AC and DC energization, grid-support settings verification, safety labeling, and documentation for sign-off.
Disconnect the PV strings from the inverter and use a megohmmeter to test resistance between positive, negative, and ground. Resistance should typically be above 1 MΩ per string.
Ensure DC voltages match design specifications, confirm string polarity, check AC phase sequence, and verify grounding connections before energizing the inverter.
Check reactive power control, anti-islanding protection, and grid fault ride-through settings. Simulate grid disturbances if possible and monitor inverter response.
Commissioning reports with test results, as-built drawings, wiring diagrams, labeled photos of equipment, and signatures from responsible engineers are typically required.