


Solar inverter commissioning is one of the most crucial steps in ensuring your solar PV system performs safely and efficiently. Whether you’re handling a residential rooftop installation or a large commercial project, understanding the ins and outs of solar inverter commissioning is key. In this guide, I’ll walk you through everything you need to know, from inverter setup for installers to using a commissioning app guide.
Commissioning a solar inverter is more than just flipping a switch. It’s about verifying the system’s health, ensuring compliance, and preventing future downtime. A properly commissioned inverter can save money, increase efficiency, and extend the life of your solar investment.
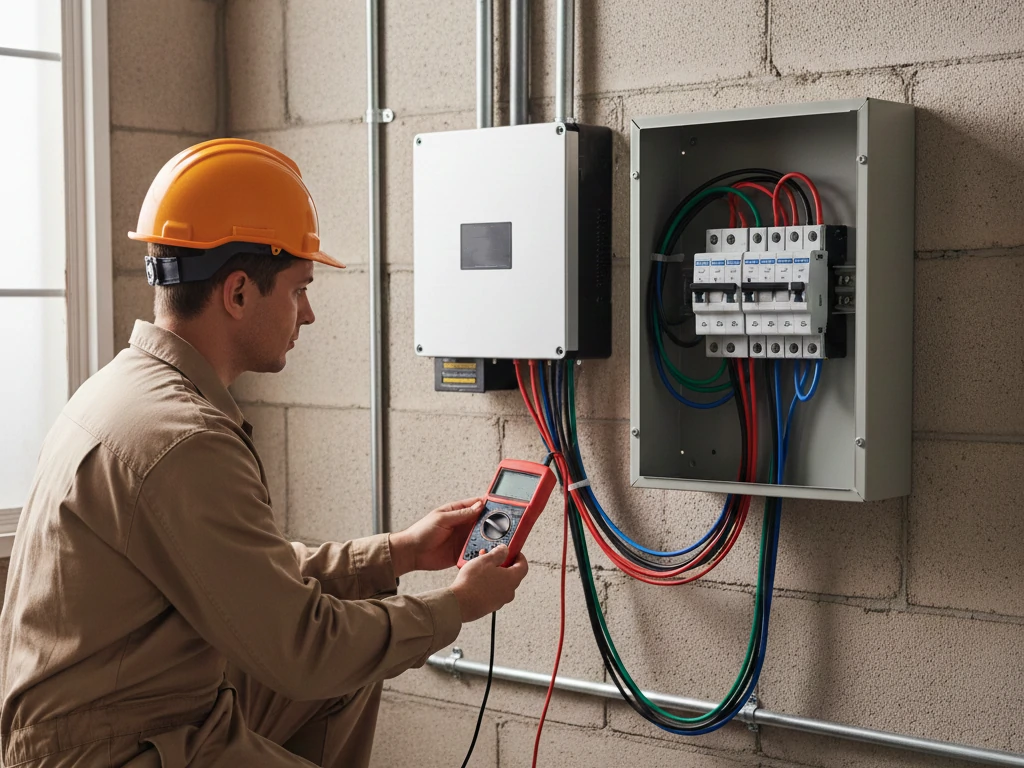
Before touching any equipment, make sure to follow all safety protocols. Always check the DC and AC isolation switches, use insulated tools, and wear proper personal protective equipment. Safety isn’t just a checklist—it’s a mindset.
Most grid operators require documentation proving the system was correctly commissioned. This includes performance data, safety checks, and inverter logs. Proper commissioning ensures that your solar inverter meets both local and national standards, reducing the risk of penalties or delays.
Proper preparation is the backbone of smooth and efficient solar inverter commissioning. Skipping steps here can lead to mistakes, system faults, or delays in getting your PV system online. Preparation is not just about gathering tools—it’s about understanding the site, the equipment, and the sequence of tests you’ll perform. Let’s break it down.
Before you even approach the inverter, make sure you have all the tools needed for solar inverter commissioning. Here’s a practical checklist:
Having these ready saves time and prevents last-minute stress, allowing you to focus on accurate inverter setup for installers.
Before energizing anything, walk through the entire PV system. A visual inspection can prevent headaches during testing. Key points to check:
Document any observations. Taking photos of the array layout and string connections is a simple way to create reference material for future troubleshooting.
Safety is non-negotiable during solar inverter commissioning. Take time to:
Remember, a safe work environment protects both you and the system and reduces the likelihood of delays during PV system testing.
Good documentation can save hours and is often required for compliance. Prepare:
By organizing your documentation before starting, you streamline the process, reduce errors, and ensure that your solar inverter commissioning meets both safety and regulatory standards.
Before applying power to the inverter:
This pre-power verification is a critical step in solar inverter commissioning because it prevents unnecessary faults and ensures that the system is ready for the official testing phase.
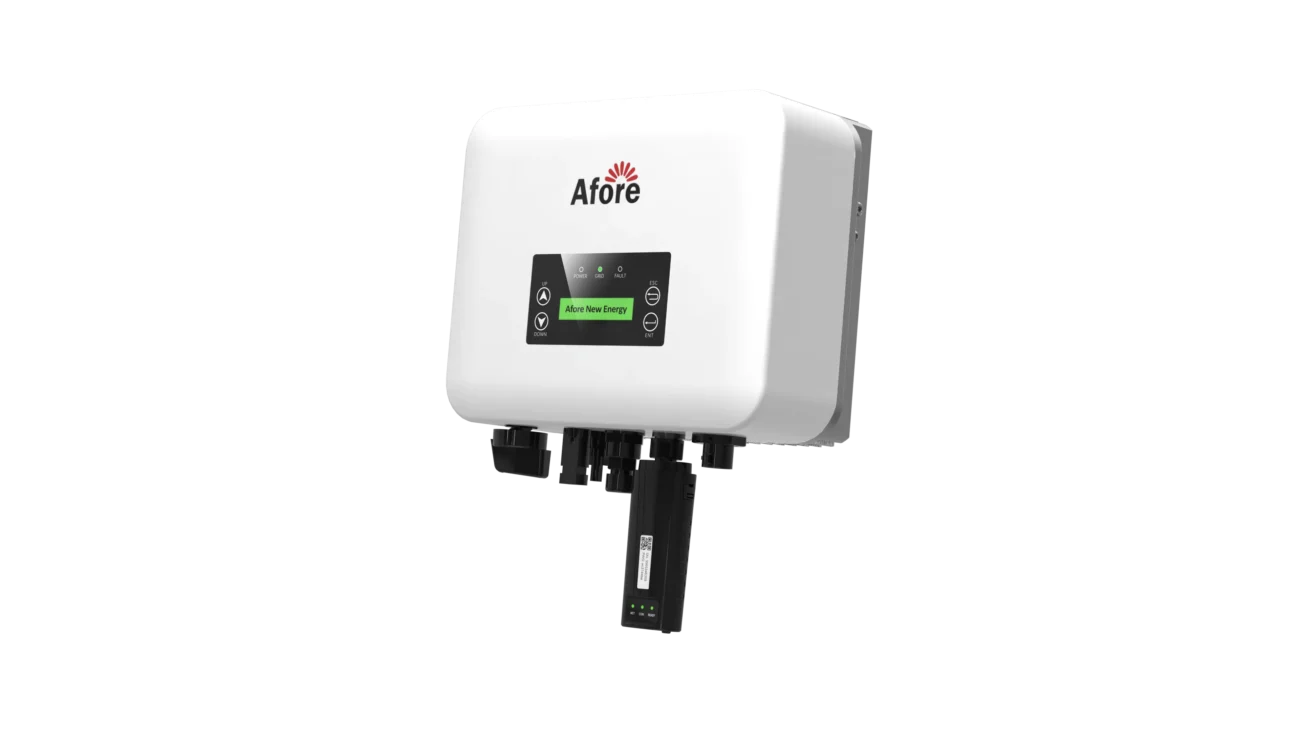
The initial inverter setup for installers is the foundation for smooth commissioning.
Ensure the inverter is mounted on a stable surface with proper ventilation. Connect DC inputs from the PV strings, AC outputs to the distribution panel, and grounding connections according to local codes. Double-check torque specifications to avoid loose connections.
Most modern inverters come with Wi-Fi, Ethernet, or 4G modules. Proper connection is essential for monitoring and remote troubleshooting. Use your commissioning app guide to link the inverter to the network, which allows real-time system data logging and alerts.
In modern solar inverter commissioning, using a commissioning app guide can make a huge difference. Gone are the days when you had to manually configure every setting or guess if a string voltage was correct. Apps streamline the process, reduce errors, and even allow remote troubleshooting. But to get the most out of it, you need to understand how to use it effectively.
First things first, your inverter must communicate with the app. Most systems offer Wi-Fi, Ethernet, or 4G connectivity. Here’s a step-by-step approach:
Using the app at this stage ensures your inverter setup for installers is accurate from the start and reduces errors later during PV system testing.
Once the inverter is connected, the app allows you to input site-specific settings. This includes:
By following a commissioning app guide, you ensure all parameters match the design and avoid misconfigurations that could compromise system efficiency or safety.
One of the biggest advantages of using the app is automated diagnostics. Most apps offer:
These automated checks save time and provide a reliable baseline for your solar inverter commissioning. They also serve as evidence for compliance if inspectors require documentation.
The app is not just for initial setup. During commissioning, you can monitor inverter performance in real-time:
Troubleshooting communication errors is often easier via the app. For instance, if the inverter loses connection, the app will usually log the reason—whether it’s a Wi-Fi password issue, incorrect IP settings, or outdated firmware.
A commissioning app guide can also assist with documentation. Most apps allow you to export reports detailing:
This documentation is essential for inspections, grid approval, and long-term maintenance records. It ensures your solar inverter commissioning process is fully traceable and verifiable.
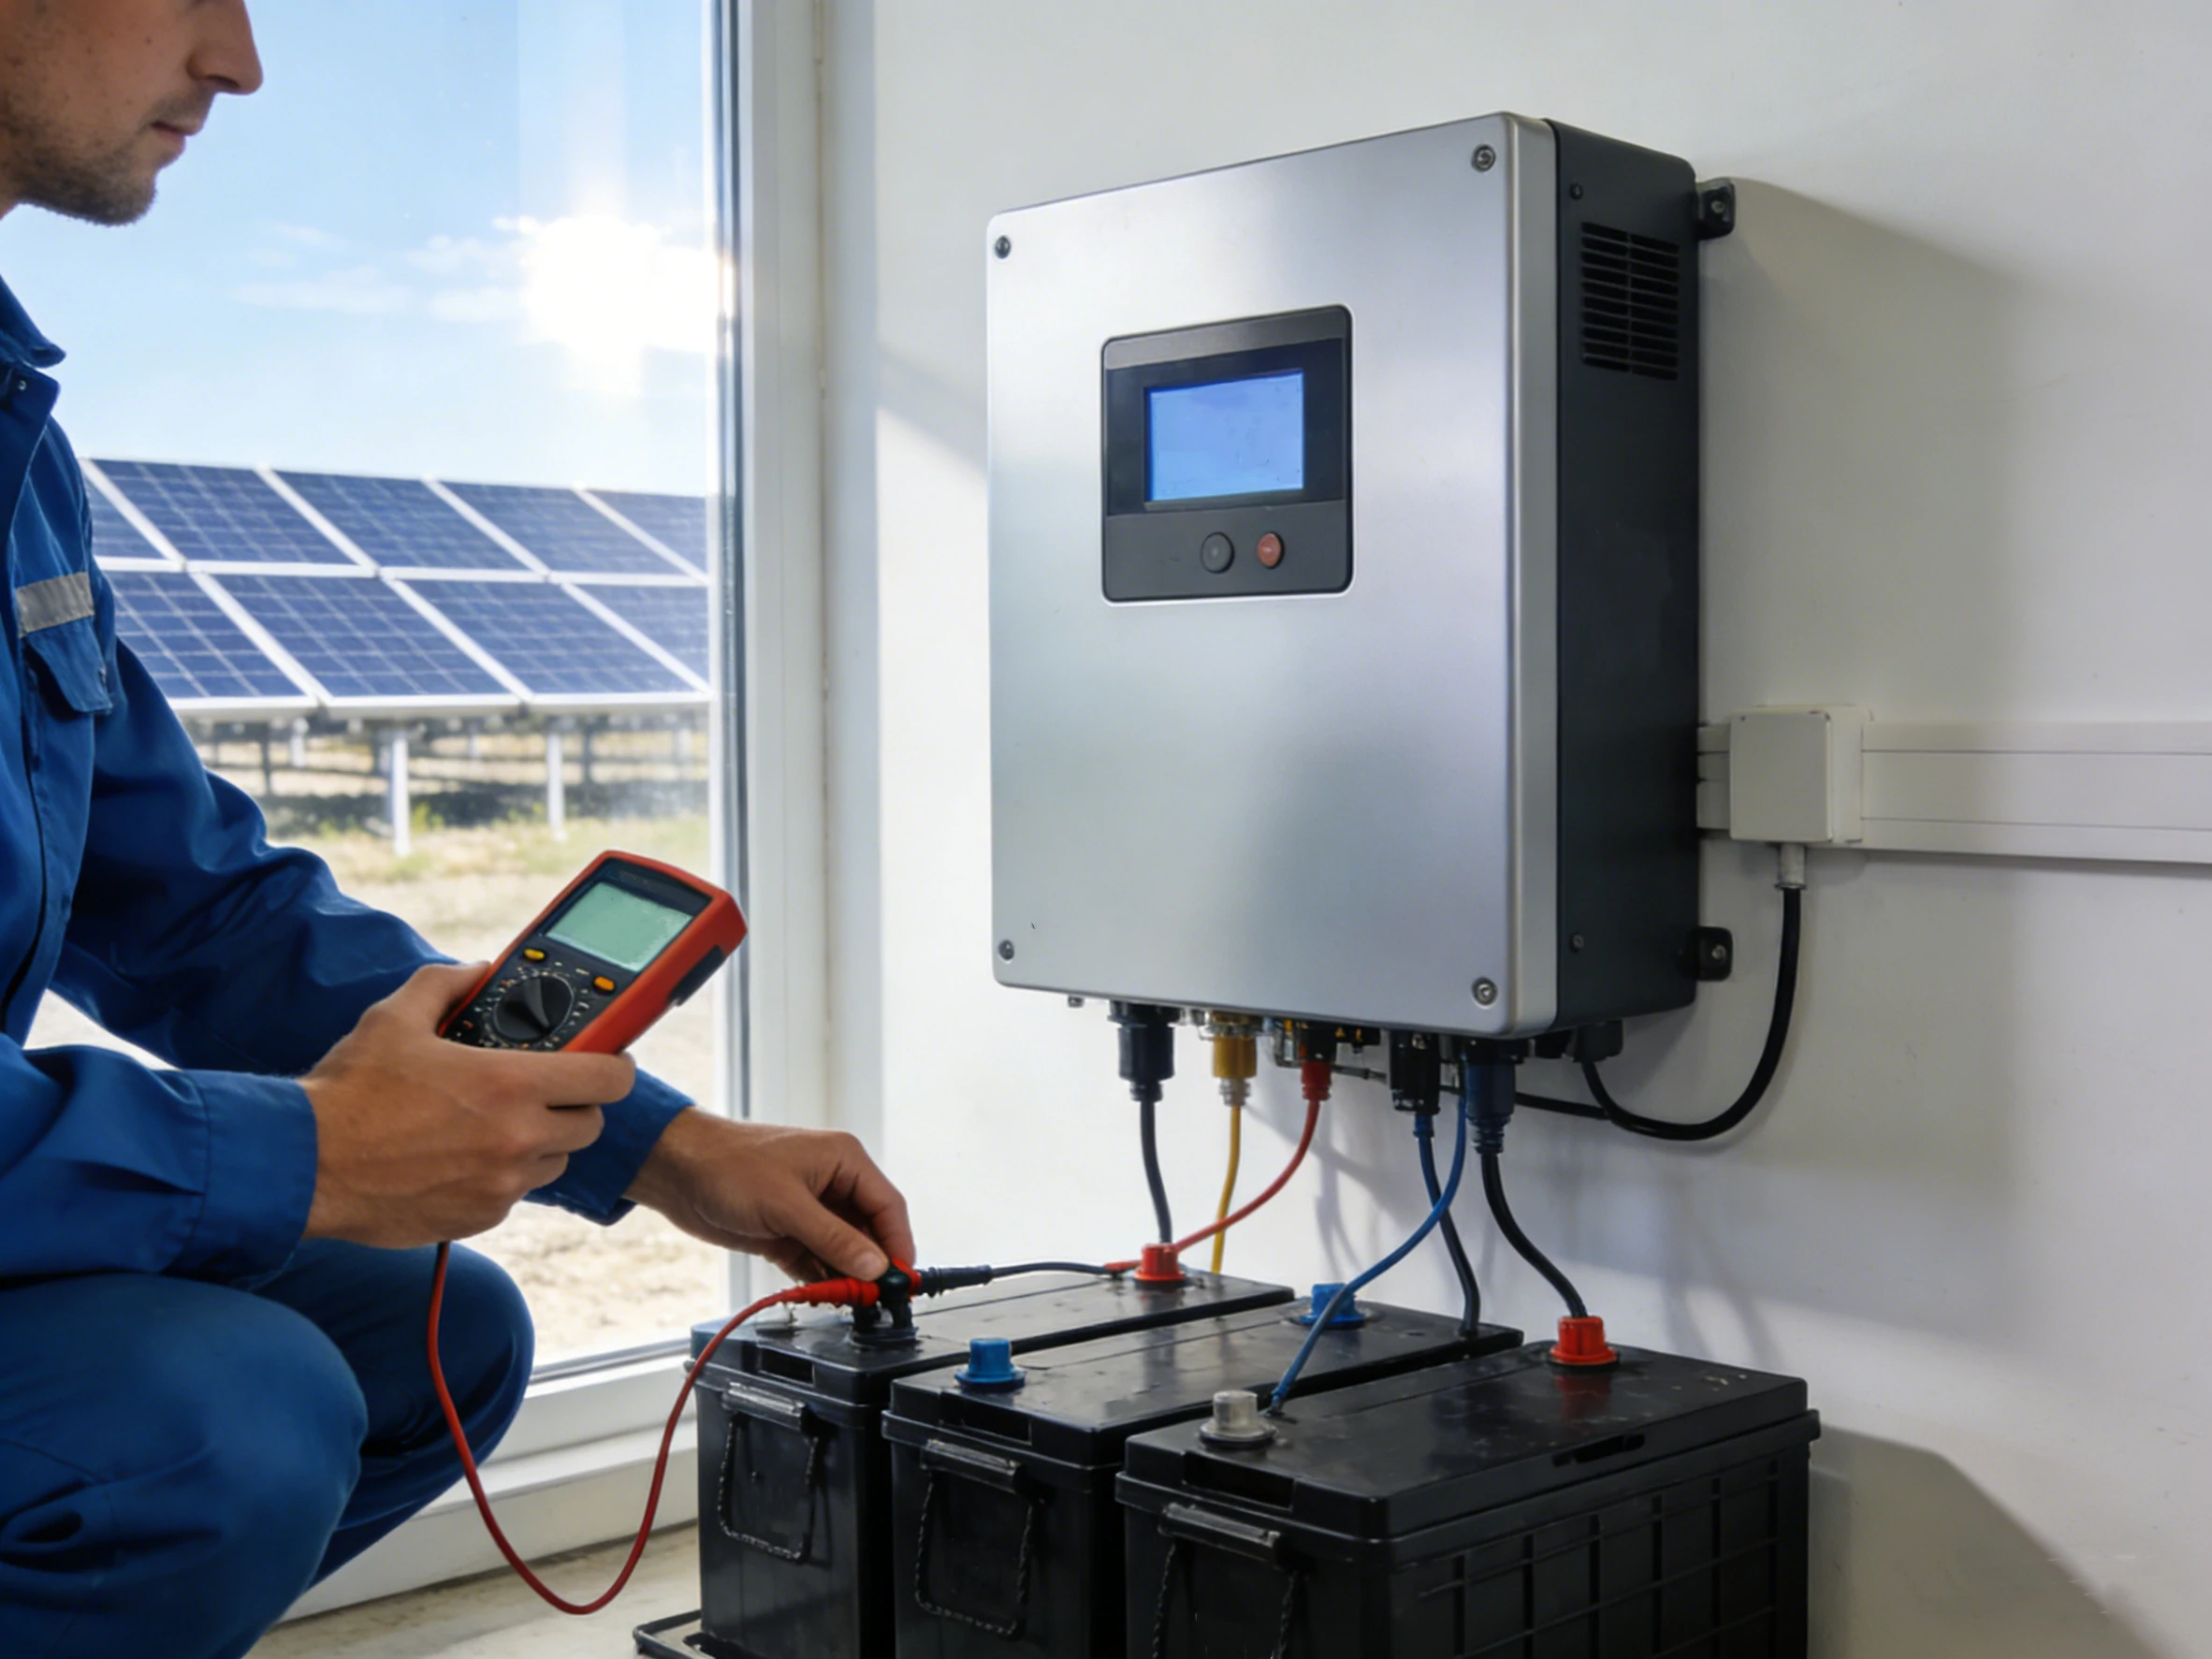
After the inverter is properly set up, the next critical phase in solar inverter commissioning is PV system testing. This step ensures the entire solar array, wiring, and inverter communicate correctly and perform safely before connecting to the grid. Skipping or rushing testing can lead to faults, reduced efficiency, or even safety hazards. Here’s a structured approach to testing your system.
The first step in PV system testing is checking the DC side:
This step is essential to confirm that your inverter setup for installers is functioning as intended and prevents unnecessary inverter shutdowns once the system goes live.
After DC verification, it’s time to test the AC output. This includes:
Proper AC testing during solar inverter commissioning guarantees the system will deliver energy safely and reliably.
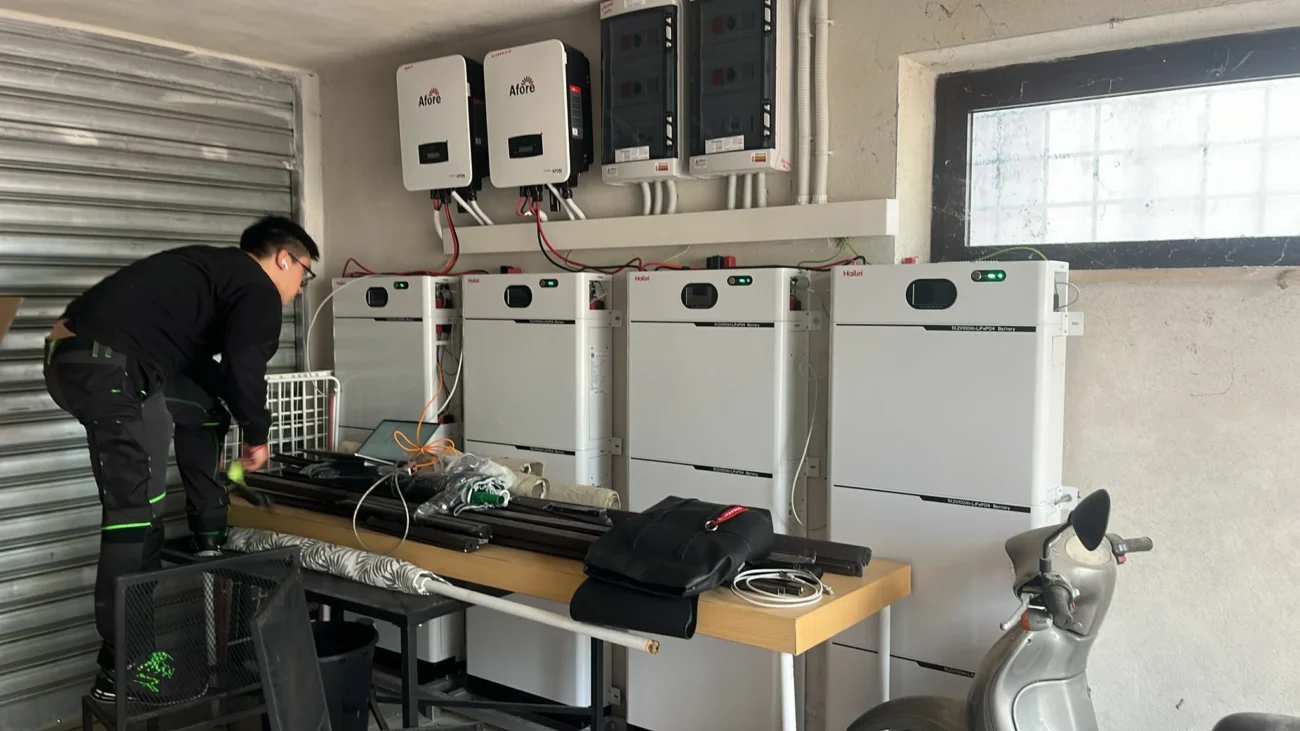
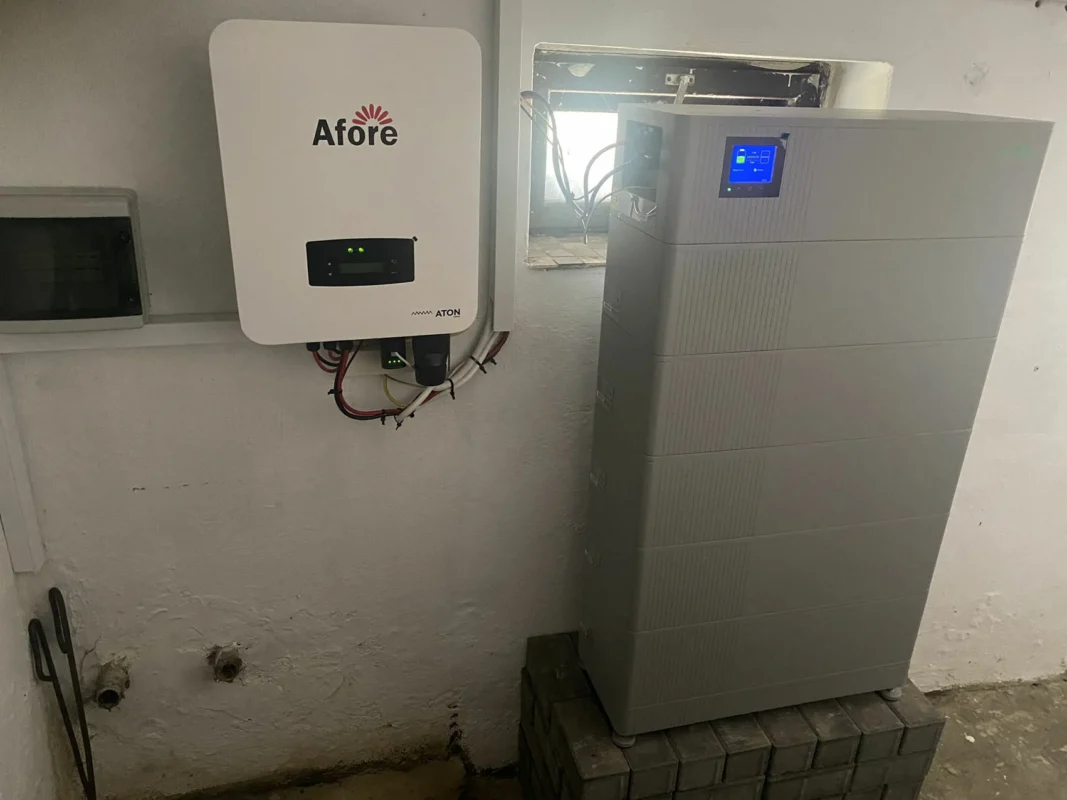
If your system includes energy storage, testing the hybrid inverter operation is critical:
This step is particularly important because hybrid systems are more complex, and small misconfigurations can reduce efficiency or even damage batteries.
During commissioning, confirm that monitoring systems are working properly:
Reliable communication is a cornerstone of professional solar inverter commissioning, especially for commercial installations where remote monitoring can save time and money.
Finally, record all testing results. Documentation should include:
Keeping thorough records not only satisfies inspection requirements but also serves as a reference for future maintenance.
During solar inverter commissioning, updating firmware is crucial. Manufacturers often release updates to improve performance, fix bugs, or add new features.
Firmware updates can prevent future headaches and ensure the inverter communicates effectively with monitoring platforms.
Set parameters like overvoltage protection, anti-islanding, and maximum power point tracking. Proper configuration safeguards the system and aligns with local utility regulations.
Before energizing your system fully, conduct a final series of inspections.
Most grid operators require documentation proving that all PV system testing has been completed. Typical tests include:
Record all readings, firmware versions, and test results. This documentation is often mandatory for grid approval and can serve as a reference for future maintenance.
Even with careful preparation, problems can arise during solar inverter commissioning. Understanding common issues and how to troubleshoot them efficiently is crucial for minimizing downtime and ensuring a smooth start-up. In this section, we’ll cover the most frequent challenges installers face and practical solutions based on hands-on experience.
Communication errors are among the most common obstacles during solar inverter commissioning. These can occur between the inverter and the monitoring platform, mobile app, or local network.
Causes:
Solutions:
By addressing communication errors early, you prevent false alarms and ensure reliable remote monitoring.
Inverters often display fault codes or alarms during commissioning. These can be intimidating, but understanding them is key.
Common Examples:
Troubleshooting Tips:
Properly addressing alarms ensures your inverter setup for installers is safe and compliant with operational standards.
Hybrid inverters add complexity to commissioning, particularly when integrating battery storage. Common problems include:
How to troubleshoot:
This ensures your hybrid inverter operates safely and efficiently, maintaining reliability for both PV energy use and backup power.
Sometimes issues stem from outdated firmware or app versions. Symptoms may include:
Steps to resolve:
Regular firmware updates prevent common errors and ensure your solar inverter commissioning aligns with the latest safety and performance standards.
Efficient solar inverter commissioning isn’t just about following a checklist—it’s about combining preparation, methodical testing, and smart documentation to ensure the system runs safely and reliably from day one. By adopting best practices, installers can reduce errors, save time, and deliver consistent results across multiple projects.
A detailed checklist is the foundation of efficient commissioning:
Checklists reduce the risk of missing critical steps and ensure all aspects of inverter setup for installers are addressed systematically.
Efficiency starts with preparation. Before touching the inverter:
Being fully prepared minimizes interruptions and allows for smoother PV system testing.
Modern commissioning apps aren’t just convenient—they’re essential for reducing human error:
Apps enhance efficiency by providing actionable insights, helping installers complete solar inverter commissioning faster and more accurately.
Good documentation is part of professional practice and compliance:
Documenting each step ensures accountability, simplifies inspections, and serves as a reference for maintenance or troubleshooting in the future.
Before handing the system over:
A thorough final review prevents post-commissioning issues and demonstrates professionalism, ensuring that solar inverter commissioning meets both safety and performance standards.
Every commissioning project is an opportunity to refine your process:
By adopting a mindset of continuous improvement, installers not only streamline inverter setup for installers but also enhance their reputation for reliability and expertise.
Solar inverter commissioning is the bridge between installation and reliable system operation. By following best practices, using a commissioning app guide, performing thorough PV system testing, and properly configuring hybrid inverters, installers can ensure long-term performance, safety, and compliance. The process may seem detailed, but careful preparation and methodical execution make it manageable, efficient, and ultimately rewarding.
Proper commissioning not only protects your investment but also guarantees the solar system operates at peak efficiency for years to come.
1. Inspect PV arrays and wiring.
2. Mount and wire the inverter.
3. Connect communication interfaces.
4. Power up and check DC/AC parameters.
5. Use a commissioning app guide for configuration.
6. Conduct PV system testing.
7. Record all readings for compliance.
Install the app, connect to the inverter via Wi-Fi or 4G, enter system parameters, and follow the prompts to run automated checks and ensure communication is working properly.
Inspectors typically require DC voltage and insulation tests, AC output verification, anti-islanding tests, and documentation confirming all readings match design specifications.
Connect the inverter to the network, open the commissioning app or software, download the latest firmware, install it, and verify functionality with PV system tests.
Check network connections, confirm correct IP and Wi-Fi/4G settings, restart communication modules, and ensure firmware is up to date. The commissioning app usually provides diagnostic logs to pinpoint the issue.